Switch Robot
1. Hardware Connection
Prepare the Ethernet Cable
Take out the provided Ethernet cable and check if both ends are intact.
Connect the Telesuit Main Control to the Telebox Fixed IP Port
Insert one end of the Ethernet cable into the rectangular slot interface on the top of the main control, ensuring a secure connection.
Insert the other end of the Ethernet cable into the port labeled "Fixed IP" on the Telebox. The interface indicator light should be flashing orange, indicating a successful connection.
| Ethernet Cable | Device Location | Interface Location |
|---|---|---|
 |
2. Connect to WiFi
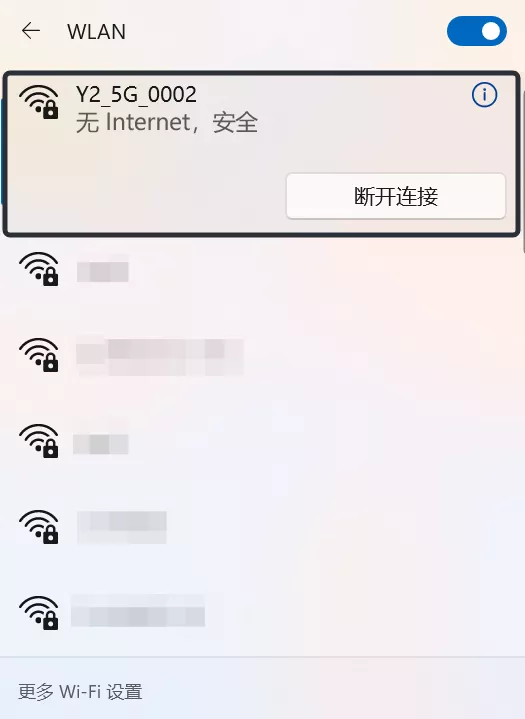
Prepare a device that can connect to WiFi normally and connect it to the same router WiFi as the teleoperation device.
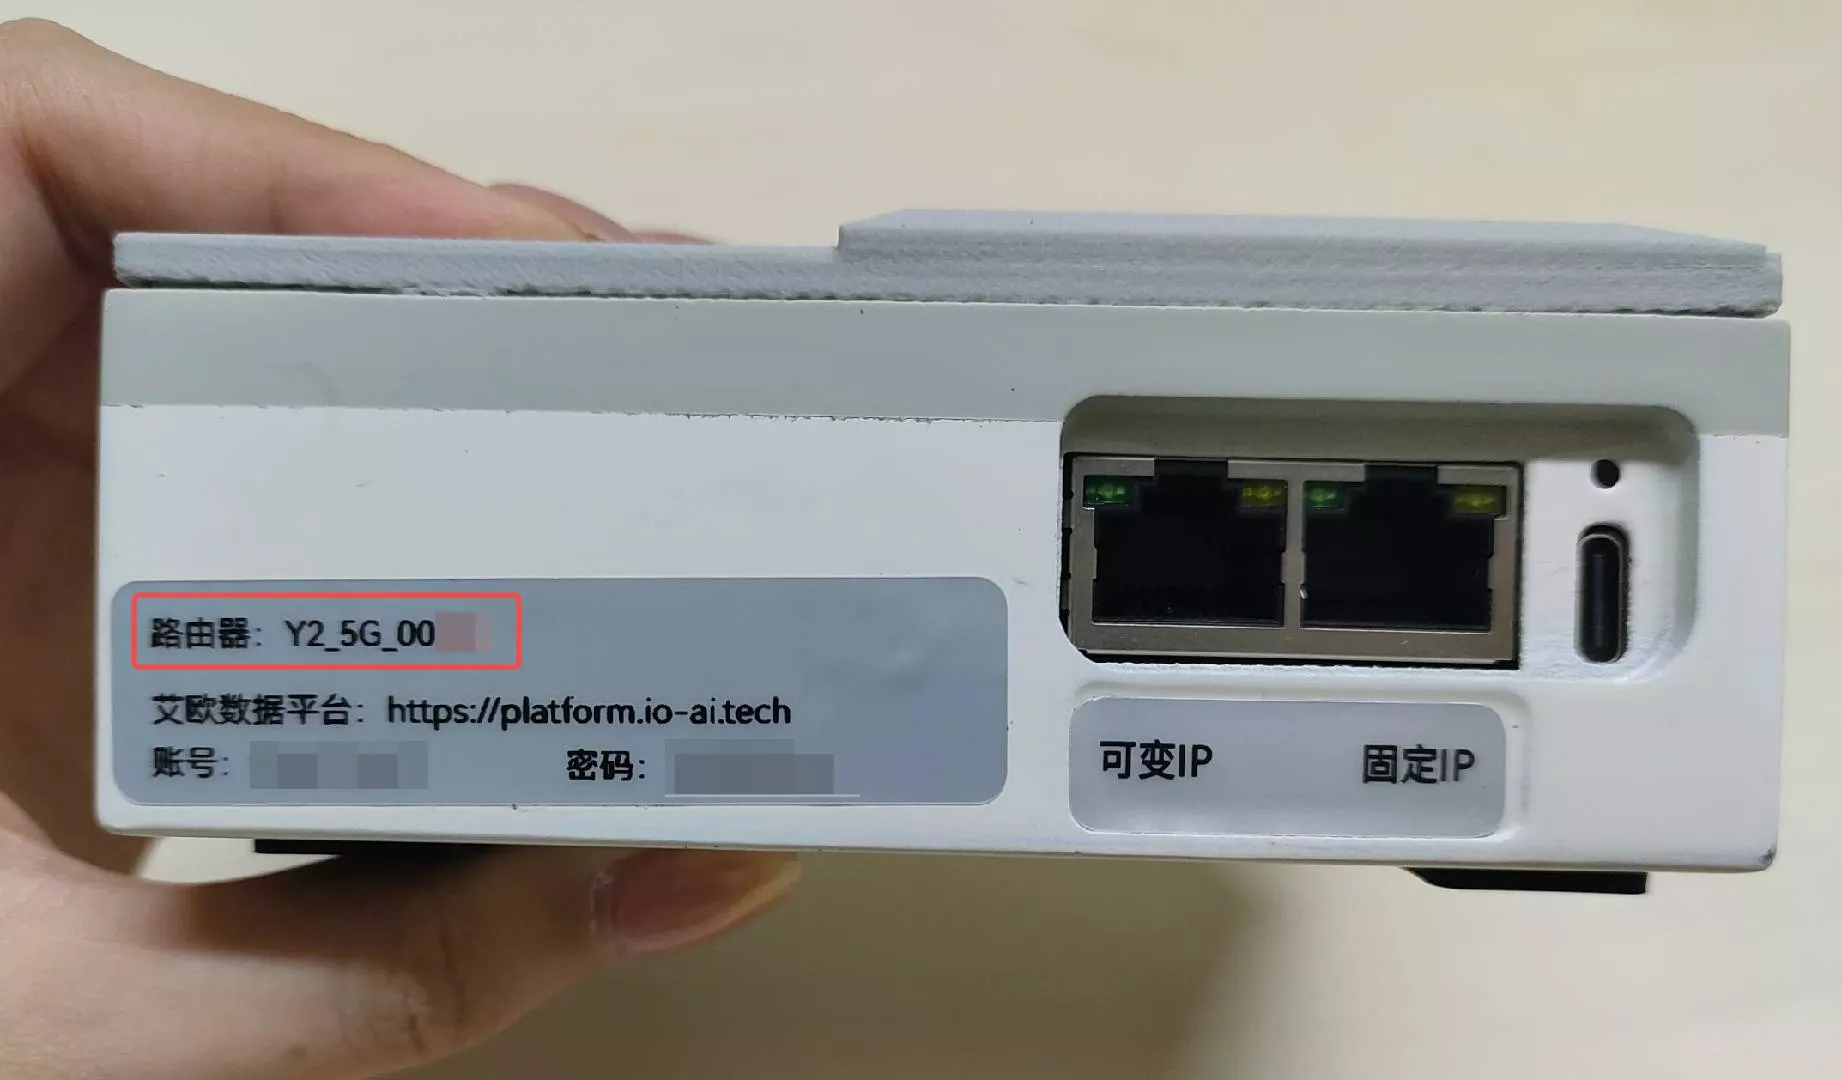
Router WiFi Name: Check the sticker on the side of the Telebox
Router WiFi Password: minnanoIO2023
| WiFi Name | Connect to WiFi | Connection Successful |
|---|---|---|
 |  |  |
3. Configure the Web Page
Open a browser, enter the URL http://10.42.0.3:7876/dashboard and navigate to the TeleXperience configuration web page.
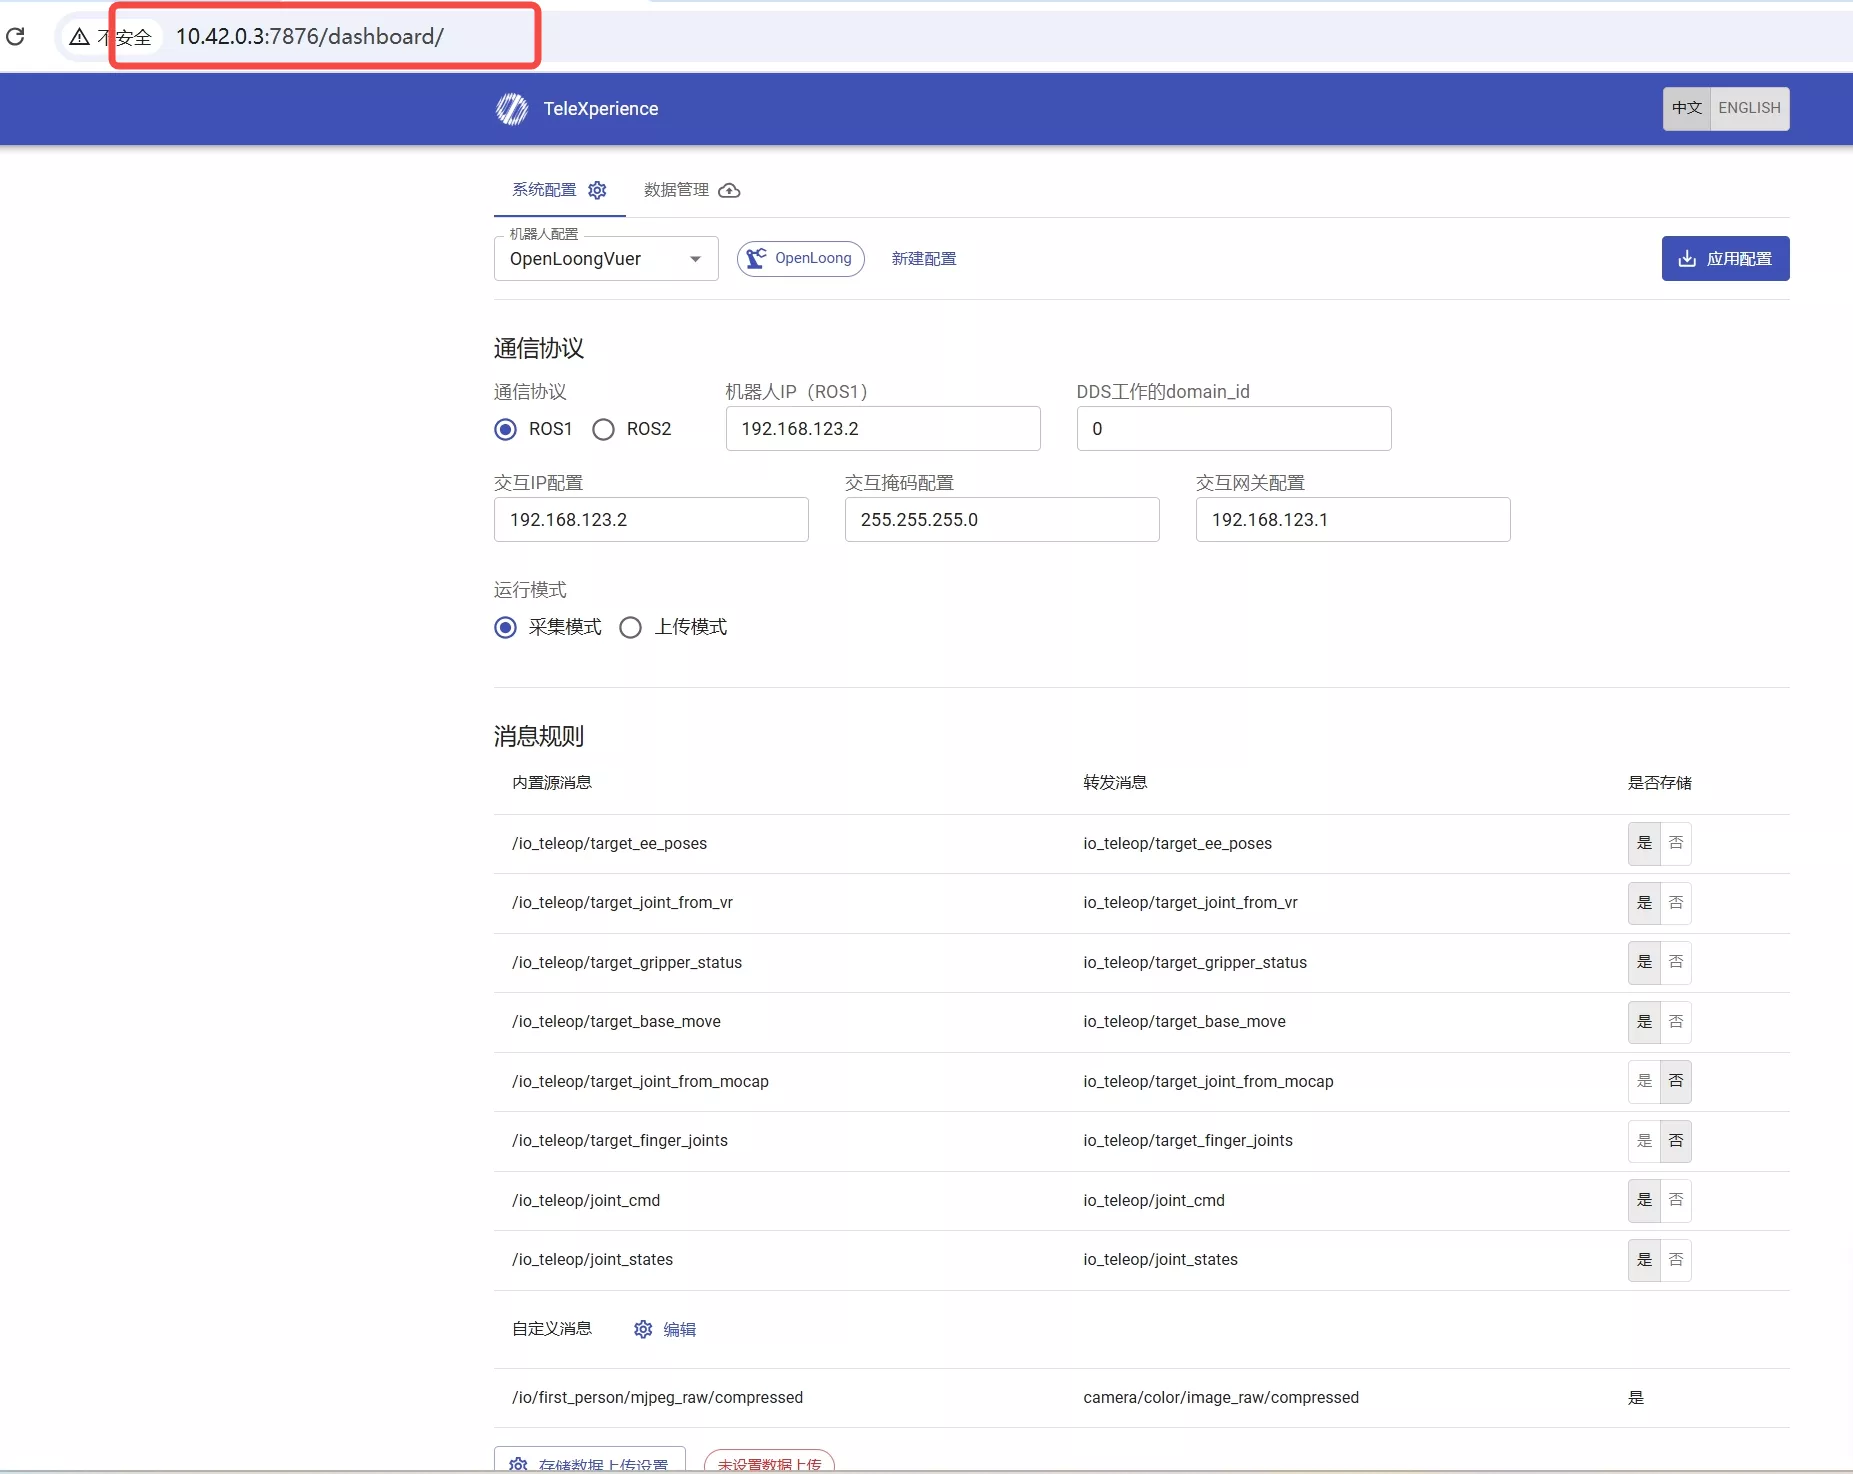
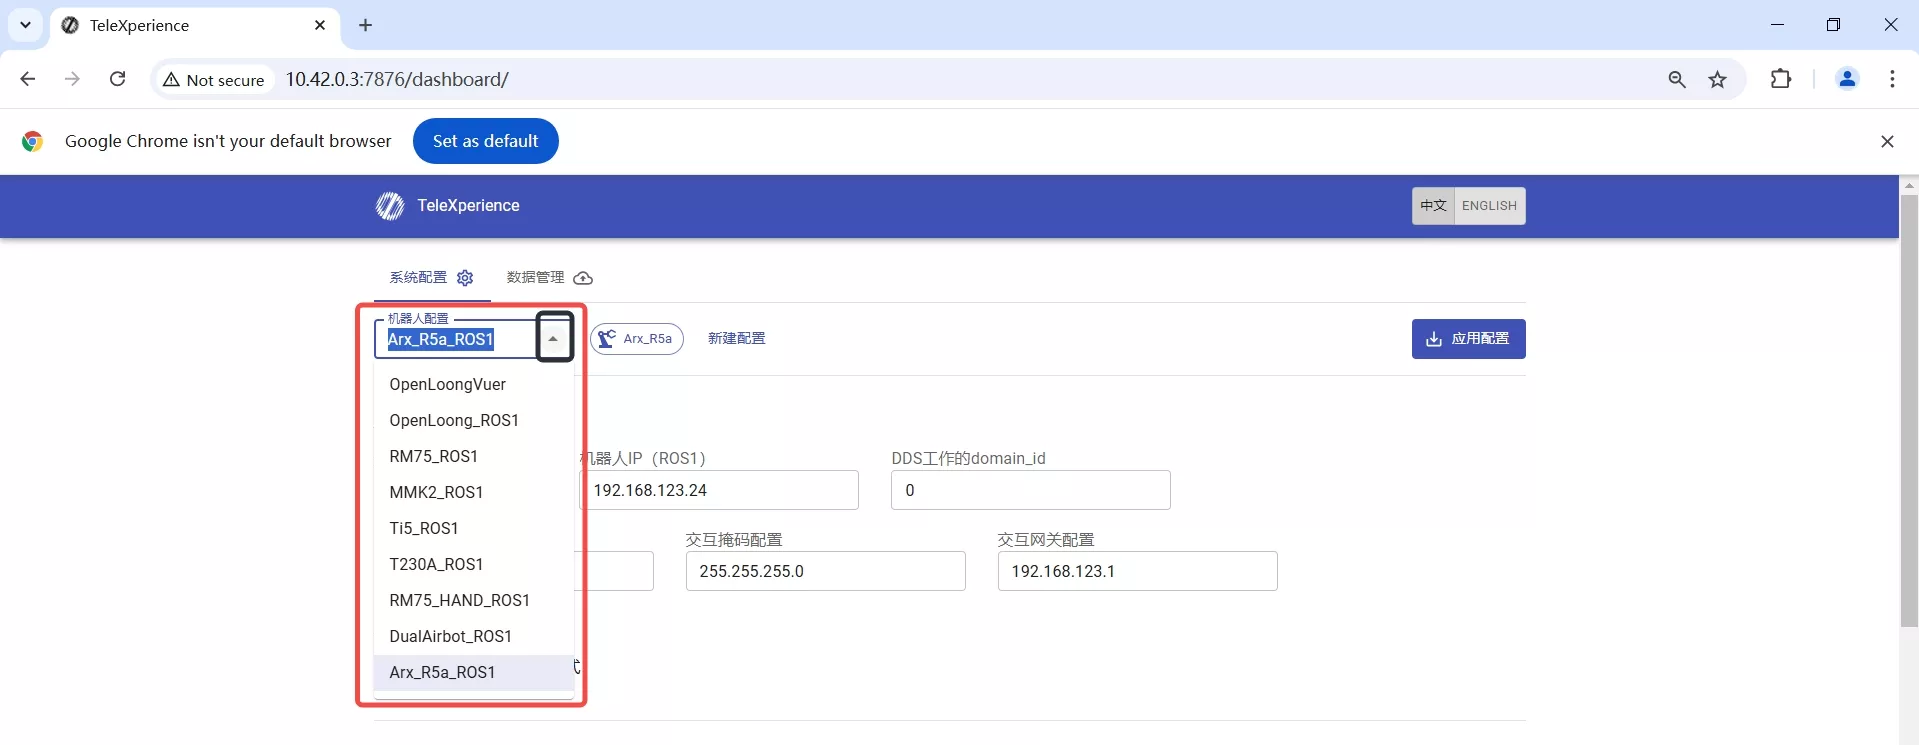
Click the dropdown triangle of the Robot Configuration option box, a dropdown menu will appear, select the appropriate robot configuration.
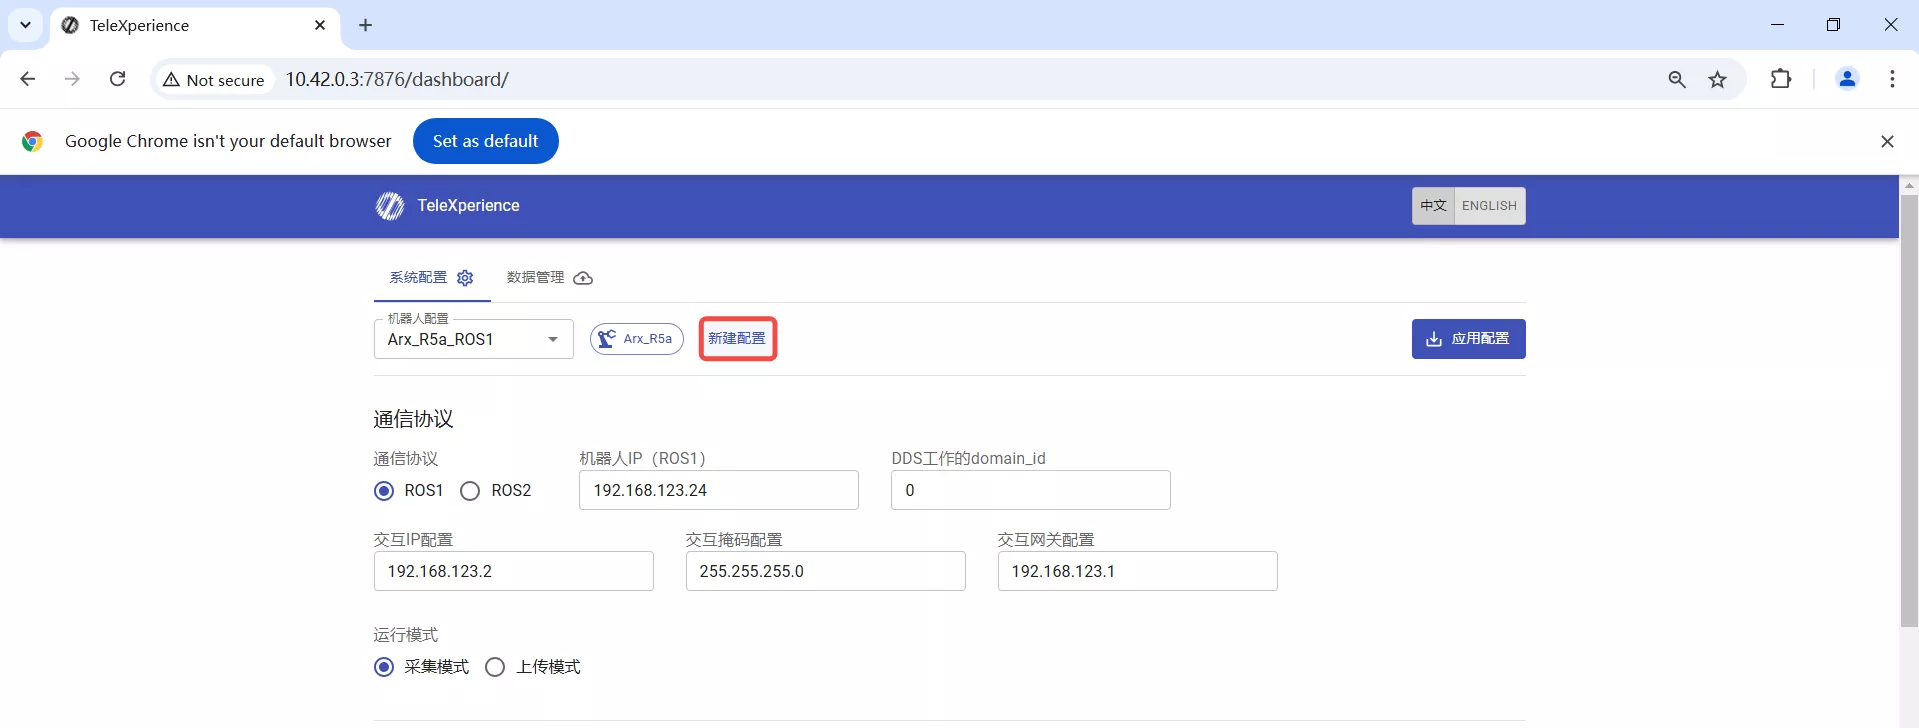
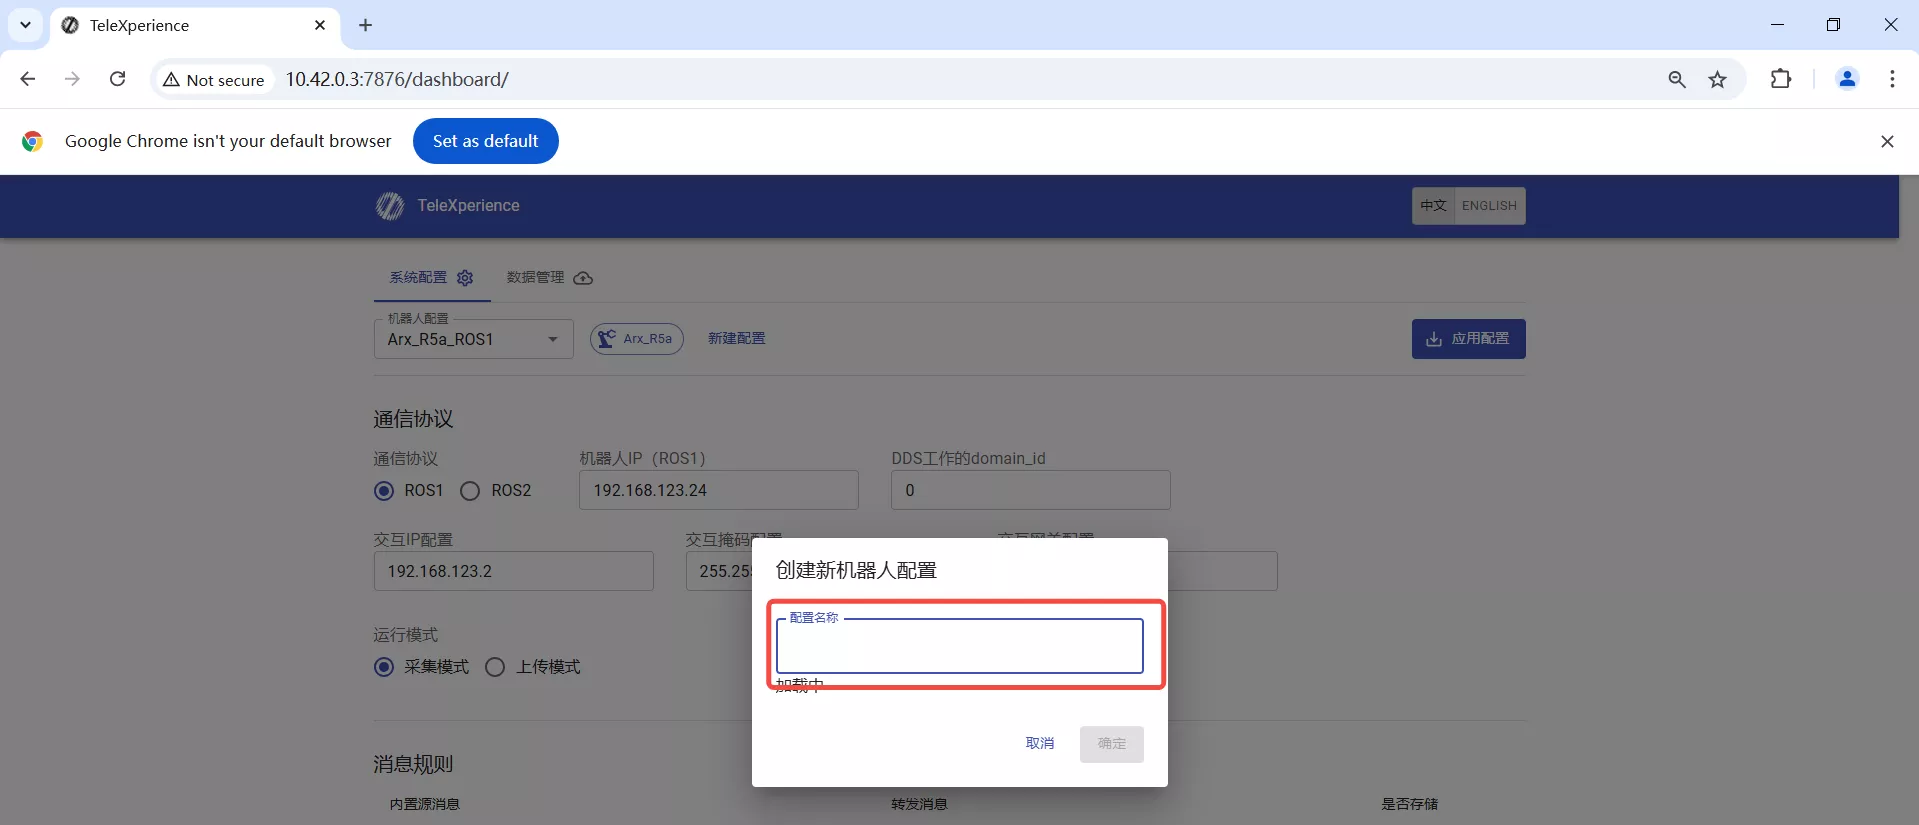
You can also click Create New Configuration and follow the popup instructions to create a new robot configuration (refer to New Robot Demonstration Adaptation Process for specific steps).
| Create New Configuration | Fill in Configuration |
|---|---|
 |  |
Click Apply Configuration to save the configuration options.
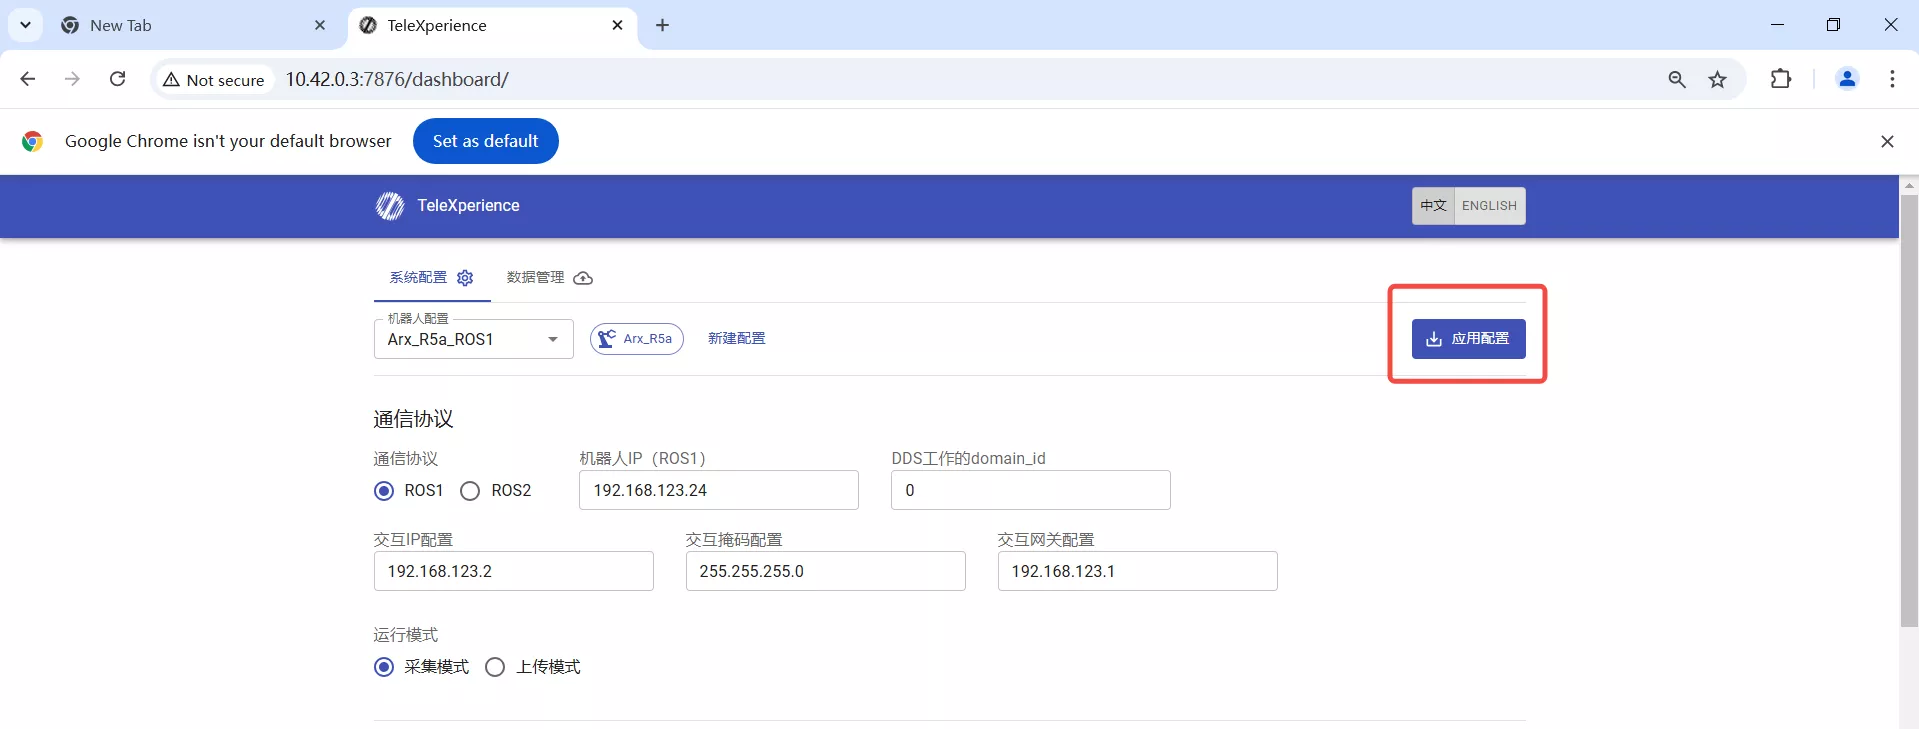
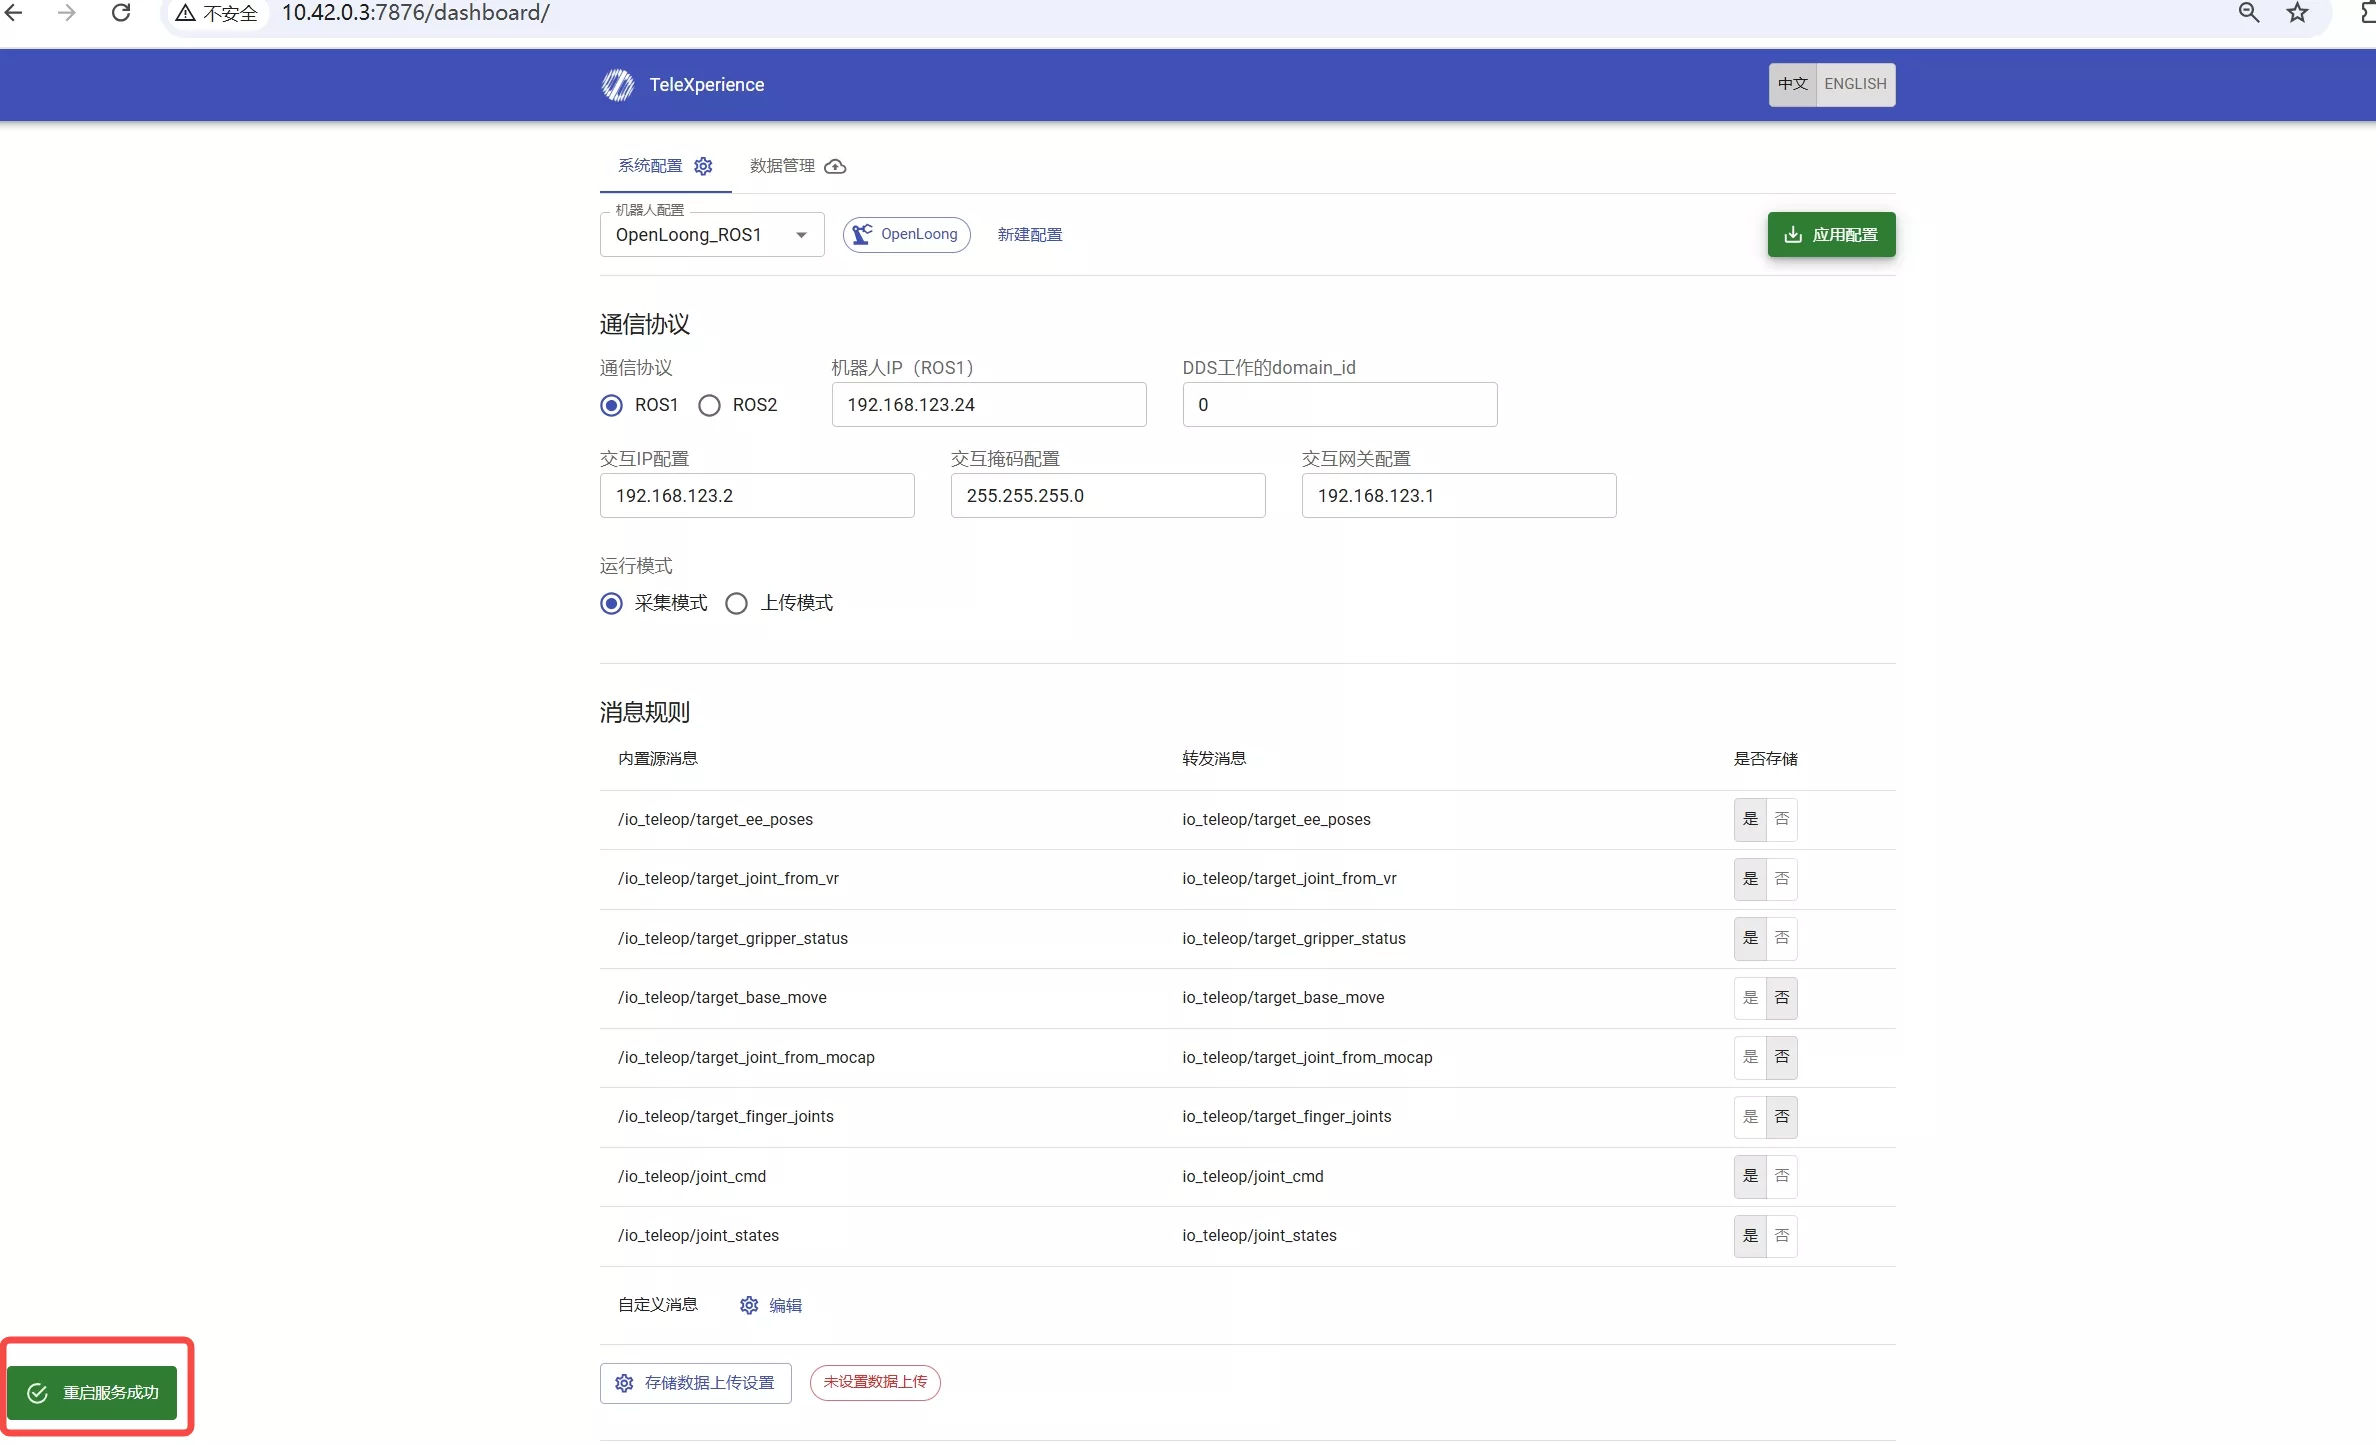
A green popup will appear in the lower left corner of the page, first "Configuration saved successfully, applying new configuration..." then "Service restarted successfully", indicating that the robot configuration has been successfully switched.
| Configuration Saved Successfully | Service Restarted Successfully |
|---|---|
 |  |
4. Start the Industrial Control Program
On the debugging laptop or the robot main control, start the corresponding robot industrial control program.
By following the above steps, the robot switch can be completed.