导览课:人类到机器人
30分钟看懂人型机器人背后的工程逻辑
1. 训练
- 显卡: Nvidia RTX 3070/4060,8 GB 显存
- 内存: 16 GB
- 硬盘容量: 200 GB
1.1 环境配置
【推荐】ioenv_cli一键配置
推荐使用使用我们的ioenv_cli,一键部署训练环境
-
依赖安装
-
下载
ioenv_cligit clone https://github.com/ioai-tech/ioenv_cli.git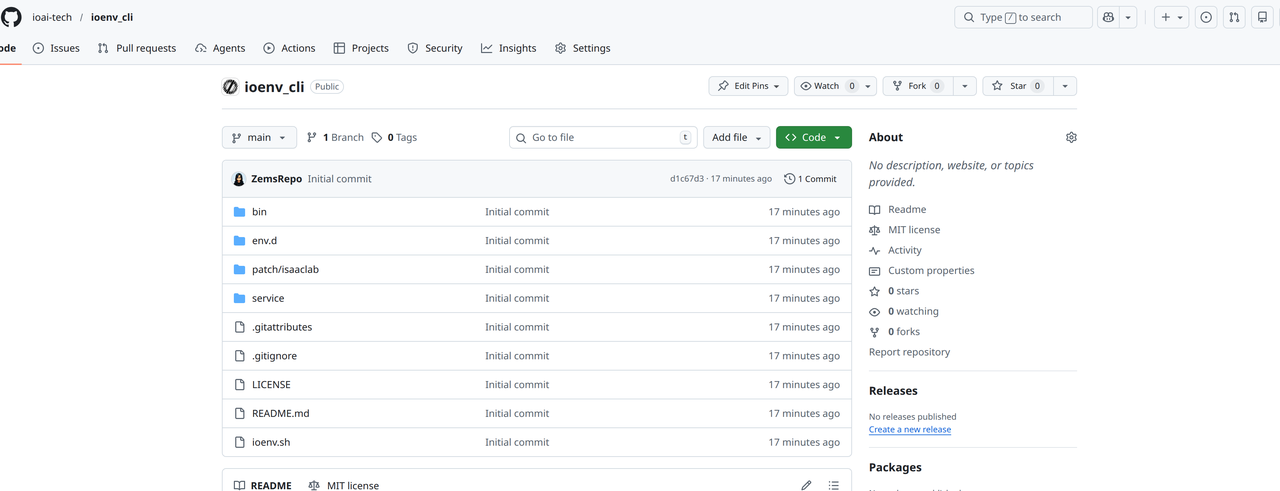
-
加载环境变量
cd ioenv_cli
source ioenv.sh -
使用
ioenv list查看可用镜像ioenv list
ENVIRONMENT IMAGE CONTAINER STATUS
----------- ----- --------- ------
isaaclab yes yes running
mujocosim yes -- --
onboard -- -- -- -
使用
ioenv pull <ENVIRONMENT>拉取镜像ioenv pull isaaclab提示如果你的地区无法访问docker hub,可以使用
ioenv pull <ENVIRONMENT> --from-mirror从镜像服务器拉取docker image -
通过
ioenv run <ENVIRONMENT>启动镜像。如果本地不存在镜像,启动之前会自动拉取对应镜像ioenv run isaaclab-
运行之后会在
$HOME/ioenv_ws下,创建一个共享文件夹isaaclab_ws,可以通过这个文件夹在本地$HOME/ioenv_ws/isaaclab_ws和docker$HOME/workspace之间传输文件,执行命令更改isaaclab_ws目录的权限# 在主机环境里
sudo chown $USER:$USER $HOME/ioenv_ws/isaaclab_ws -
训练需要用到的框架,都放在docker内的
/opt目录下
-
手动配置
手动配置只支持训练宇树g1
-
安装
IsaacLab2.1.0版本(预计30分钟) 下载地址-
建议下载
uv作为python包管理工具curl -LsSf https://astral.sh/uv/install.sh | sh -
使用
venv创建env_isaaclab虚拟环境cd /opt
sudo mkdir -p env_isaaclab
sudo chown -R $USER:$USER env_isaaclab
uv venv --python 3.10 env_isaaclab
source env_isaaclab/bin/activate -
在虚拟环境下,依次安装
torch,isaacsim# 针对cuda12的用户
uv pip install torch==2.9.1 torchvision --index-url https://download.pytorch.org/whl/cu121
uv pip install --upgrade pip
uv pip install 'isaacsim[all,extscache]==4.5.0' --extra-index-url https://pypi.nvidia.com -
下载
IsaacLab仓库,并切换到release/2.1.0分支,运行安装脚本cd /opt
sudo git clone https://github.com/isaac-sim/IsaacLab.git
sudo chown -R $USER:$USER IsaacLab
cd IsaacLab
git checkout release/2.1.0
sudo apt install cmake build-essential
./isaaclab.sh --install # or "./isaaclab.sh -i"
-
-
安装
GMR(预计10分钟)-
下载
GMR,使用pip安装cd /opt
sudo git clone https://github.com/YanjieZe/GMR
sudo chown -R $USER:$USER GMR
uv pip install -e GMR -
下载SMPLX模型, 复制到
GMR/assets/body_models路径下
-
-
安装
whole_body_tracking(预计5分钟)-
下载
whole_body_tracking,使用pip安装cd /opt
sudo git clone https://github.com/HybridRobotics/whole_body_tracking.git
sudo chown -R $USER:$USER whole_body_tracking
cd whole_body_tracking
uv pip install -e source/whole_body_tracking -
下载
unitree_descriptionscurl -L -o unitree_description.tar.gz https://storage.googleapis.com/qiayuanl_robot_descriptions/unitree_description.tar.gz && \
tar -xzf unitree_description.tar.gz -C source/whole_body_tracking/whole_body_tracking/assets/ && \
rm unitree_description.tar.gz -
注册Wandb账号,https://wandb.ai,并在终端登录,建议保存
WANDB_API_KEY到.bashrc中$ wandb login
wandb: Currently logged in as: fox-io-ai (ioai) to https://api.wandb.ai. Use `wandb login --relogin` to force relogin
-
1.2 训练Pipeline
下列指令需在虚拟环境env_isaaclab中运行
-
启动虚拟环境
cd /opt/env_isaaclab
source bin/activate -
执行
GMR的转换脚本,将准备好的SMPLX动作文件重映射到指定的机器人上,并录制预览视频注意镜像内自带一个相对安全的动作
/opt/examples/General_A4_-_Look_Around_stageii.npz供测试使用,请先仿真验证后进行实机部署。实机部署需要保证机器人位于安全空旷的环境中。cd /opt/GMR
# --robot {agibot_x2, unitree_g1} 可用灵犀x2和宇树g1
python scripts/smplx_to_robot.py --smplx_file <path_to_smplx_data> --robot <robot_model> --save_path <path_to_save_robot_data.pkl> --rate_limit --record_video -
将GMR重映射的pkl文件,转换成
whole_body_tracking的csv格式python scripts/batch_gmr_pkl_to_csv.py --folder <motion_saved_folder> -
执行
whole_body_tracking的转换脚本,将csv文件转换成训练用的npz格式,并上传到你的wandb registrycd /opt/whole_body_tracking
# --robot {agibot_x2, unitree_g1} 可用灵犀x2和宇树g1
python scripts/csv_to_npz.py --input_file <motion_name.csv> --robot <robot_model> --input_fps 30 --output_name <motion_name> --headless
# 转换完需要手动退出提示第一次运行
whole_body_tracking时需要登陆wandb账号,并且账号里需要已经有一个名为motions的registry -
预览wandb上保存的动作文件(可选)
注意内存小于32g执行此步骤可能会导致系统卡死
# --robot {agibot_x2, unitree_g1} 可用灵犀x2和宇树g1
python scripts/replay_npz.py --robot <robot_model> --registry_name=<your-organization>-org/wandb-registry-motions/<motion_name> -
执行
whole_body_tracking的训练脚本-
(宇树g1)选择训练任务
Tracking-Flat-G1-Wo-State-Estimation-v0,避免状态估计误差造成机器人不稳定的情况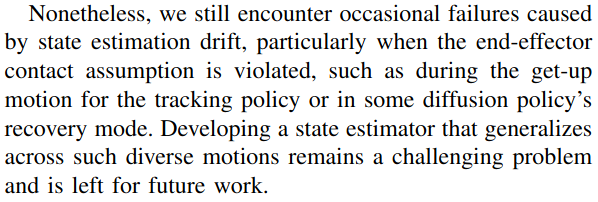
python scripts/rsl_rl/train.py --task=Tracking-Flat-G1-Wo-State-Estimation-v0 --registry_name <your-organization>-org/wandb-registry-motions/<motion_name> --headless --logger wandb --log_project_name <experiment_name> --run_name <run_name> -
(灵犀x2)选择训练任务
Tracking-Flat-X2-Wo-State-Estimation-v0python scripts/rsl_rl/train.py --task=Tracking-Flat-X2-Wo-State-Estimation-v0 --registry_name <your-organization>-org/wandb-registry-motions/<motion_name> --headless --logger wandb --log_project_name <experiment_name> --run_name <run_name> -
登陆wandb并检查训练过程,大约训练2.5k个迭代,模型接近收敛

-
-
在训练过程中,执行
whole_body_tracking的验证脚本,检查当前模型的跟随效果注意内存小于32g执行此步骤可能会导致系统卡死, 内存小于8g建议停止训练后验证
python scripts/rsl_rl/play.py \
    --task=Tracking-Flat-G1-Wo-State-Estimation-v0 \
    --num_envs=2 \
    --wandb_path=<wandb_run_path>
机器人能够比较精确地跟随动作,可以开始Sim2Sim的验证
-
训练结果存储在
/opt/whole_body_tracking/logs/<robot>_flat/<wandb_run_name>里,把他移动到/root/workspace可被主机找到, 也可在wandb run 里下载
2. 仿真
2.1 环境配置
【推荐】ioenv_cli一键配置
推荐使用我们的ioenv_cli,一键部署仿真环境
-
下载
ioenv_cligit clone https://github.com/ioai-tech/ioenv_cli.git -
加载环境变量
cd ioenv_cli
source ioenv.sh -
使用
ioenv pull mujocosim拉取mujocosim仿真环境ioenv pull mujocosim -
运行
mujocosim仿真环境ioenv run mujocosim提示需要有线/��蓝牙连接xbox手柄,否则会出现以下报错
docker: Error response from daemon: error gathering device information while adding custom device "/dev/input/js0": no such file or directory -
运行之后会在
$HOME/ioenv_ws下,创建一个共享文件夹mujocosim_ws,可以通过这个文件夹在本地$HOME/ioenv_ws/mujocosim_ws和docker$HOME/workspace之间传输文件,执行命令更改mujocosim_ws目录的权限# 在主机环境里
sudo chown $USER:$USER $HOME/ioenv_ws/mujocosim_ws -
Docker内的
/opt目录下的ros2_ws包含原始的motion_tracking_controller部署程序,io_ws包含我们修改后的实现。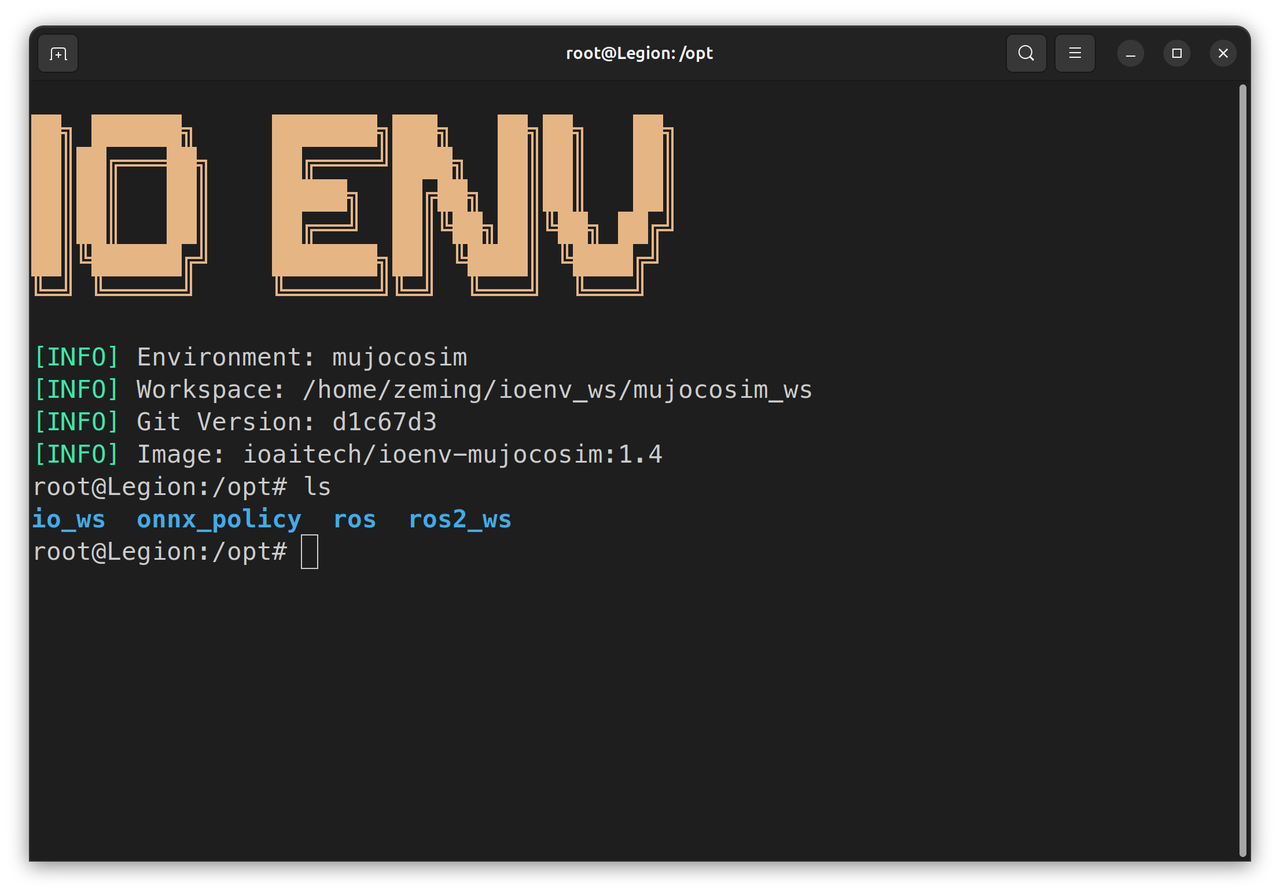
手动配置
-
安装ROS2 Humble Desktop (预计30分钟)
- 按照官方教程安装完整的ROS2 安装教程
-
安装
legged_control2(预计10分钟)安装教程# Add apt source
echo "deb [trusted=yes] https://github.com/qiayuanl/legged_buildfarm/raw/jammy-humble-amd64/ ./" | sudo tee /etc/apt/sources.list.d/qiayuanl_legged_buildfarm.list
echo "yaml https://github.com/qiayuanl/legged_buildfarm/raw/jammy_humble-amd64/local.yaml humble" | sudo tee /etc/ros/rosdep/sources.list.d/1-qiayuanl_legged_buildfarm.list
echo "deb [trusted=yes] https://github.com/qiayuanl/simulation_buildfarm/raw/jammy-humble-amd64/ ./" | sudo tee /etc/apt/sources.list.d/qiayuanl_simulation_buildfarm.list
echo "yaml https://github.com/qiayuanl/simulation_buildfarm/raw/jammy-humble-amd64/local.yaml humble" | sudo tee /etc/ros/rosdep/sources.list.d/1-qiayuanl_simulation_buildfarm.list
echo "deb [trusted=yes] https://github.com/qiayuanl/unitree_buildfarm/raw/jammy-humble-amd64/ ./" | sudo tee /etc/apt/sources.list.d/qiayuanl_unitree_buildfarm.list
echo "yaml https://github.com/qiayuanl/unitree_buildfarm/raw/jammy-humble-amd64/local.yaml humble" | sudo tee /etc/ros/rosdep/sources.list.d/1-qiayuanl_unitree_buildfarm.list
sudo apt-get update
sudo apt-get install -y \
ros-humble-legged-control-base \
ros-humble-mujoco-ros2-control \
ros-humble-unitree-description \
ros-humble-unitree-systems \
ros-humble-xacro \
ros-humble-rosbag2-storage-mcap -
下载并编译
motion_tracking_controller(预计5分钟)mkdir -p ros2_ws/src
cd ros2_ws/src
git clone https://github.com/qiayuanl/unitree_bringup.git
git clone https://github.com/HybridRobotics/motion_tracking_controller.git
cd motion_tracking_controller
git checkout 491efc416bbea8a943e83abff7207e26f5426bde
cd ../..
source /opt/ros/humble/setup.bash
colcon build --symlink-install --cmake-args -DCMAKE_BUILD_TYPE=Release --packages-up-to unitree_bringup motion_tracking_controller
2.2 运行仿真
-
把训练好的onnx模型放入主机的
$HOME/ioenv_ws/mujocosim_ws里,映射到docker里的/root/workspace。另外/opt/onnx_policy里也有我们训练好的模型 -
先试试原始版本的
motion_tracking_controller,启动之后会立即开始执行动作。但是动作执行结束后因为没有切换到站立模型,所以会直接摔倒在地。cd /opt/ros2_ws
source install/setup.bash
ros2 launch motion_tracking_controller mujoco.launch.py policy_path:=<onnx_policy.path>-
运行默认使用宇树g1模型,使用
organization:=agibot robot_type:=x2选项可加载智元灵犀x2模型ros2 launch motion_tracking_controller mujoco.launch.py organization:=agibot robot_type:=x2 policy_path:=<onnx_policy.path>
-
-
再试试我们修改后的版本,运行launch脚本,会加载5个模块
-
state_estimator -
standby_controller -
stand_loop_controller -
motion_tracking_controller -
walking_controller
cd /opt/io_ws
source install/setup.bash
ros2 launch humanoid_controller mujoco.launch.py policy_path:=<onnx_policy.path>-
双击左键选择部位,Ctrl+右键拖拽,xbox手柄RB+Y运行动作
-
运行
/opt/onnx_polcies/中提供的训练好的模型 -
运行默认使用宇树g1模型,使用
organization:=agibot robot_type:=x2选项可加载智元灵犀x2模型ros2 launch humanoid_controller mujoco.launch.py organization:=agibot robot_type:=x2 policy_path:=<onnx_policy.path> -
灵犀x2的配置文件中xbox手柄RB+X运行动作
因为灵犀x2的urdf文件为非官方提供,可能导致训练效果不理想
-
3. 实机部署
因为unitree_g1原生的ROS2版本是Foxy,但是motion_tracking_controller只发布了ROS2 Humble 和 Jazzy的版本,所以必须在Docker环境中运行。
Docker 内的/opt/onnx_policy包含我们预训练的模型。实机部署前,需在仿真中验证动作是否安全!实机运行时,操作人员需远离机器人!
3.1 端侧环境配置
- 进入机器人开发计算单元,使用我们的
ioenv_cli,一键部署仿真环境。
使用ssh进入机器人开发计算单元查看章节3.2
-
下载
ioenv_cligit clone https://github.com/ioai-tech/ioenv_cli.git -
加载环境变量
cd ioenv_cli
source ioenv.sh -
运行
onboard环境后会在$HOME/ioenv_ws下,创建一个共享文件夹onboard_ws,可以通过这个文件夹在本地$HOME/ioenv_ws/onboard_ws和docker$HOME/workspace之间传输文件,执行命令更改onboard_ws目录的权限# 在主机环境里
sudo chown $USER:$USER $HOME/ioenv_ws/onboard_ws
3.2 运行实机部署
�部署宇树g1
-
机器人开机后,长按手柄
L2+R2,切换到调试模式,机器人面部灯带变成黄色 -
在电脑终端上ssh到机上的ubuntu环境,进入
onboard环境,运行控制脚本ssh unitree@<wlan_ip>
source ioenv_cli/ioenv.sh
ioenv run onboard -
第一次启动镜像时,在
/root/.bashrc末尾中添加宇树g1的环境变量echo "source /opt/robot_config/unitree_g1_setup.bash" >> /root/.bashrc
source /root/.bashrc -
运行训练好的动作
source /opt/io_ws/install/setup.bash
ros2 launch humanoid_controller real.launch.py network_interface:=eth0 policy_path:=<onnx_policy.path>
部署智元灵犀X2
-
灵犀x2开机后,ssh进入开发计算单元(Orin NX)
ssh agi@10.0.1.41 #网线连接 -
通过开发计算单元进入运控计算单元,结束主控制进程,并且加载手柄驱动
ssh agi@10.0.1.40
aima em stop-app mc # 结束主控制进程
tmux new-session -d -s joy "ros2 launch teleop_twist_joy teleop-launch.py" #加载手柄驱动 -
回到开发计算单元,查看无线网卡ip,并用无线方式ssh到开发计算单元
ifconfig #查看无线网卡ip
ssh agi@<wlan_ip> -
启动onboard镜像
cd ~/ioenv_cli
source ioenv.sh
ioenv run onboard -
第一次运行,在
/root/.bashrc末尾中添加灵犀X2的环境变量echo "source /opt/robot_config/lingxi_x2_setup.bash" >> /root/.bashrc
source /root/.bashrc -
运行训练好的动作
source /opt/io_ws/install/setup.bash
ros2 launch humanoid_controller real.launch.py organization:=agibot robot_type:=x2 network_interface:=eth0 policy_path:=<onnx_policy.path>