Unbox and Power On
This chapter will guide you through the complete process of teleoperation and data collection using the built-in unboxing demo.
Please read and watch all teaching content in this chapter when using for the first time. After familiarization, you can directly refer to CheatSheet.
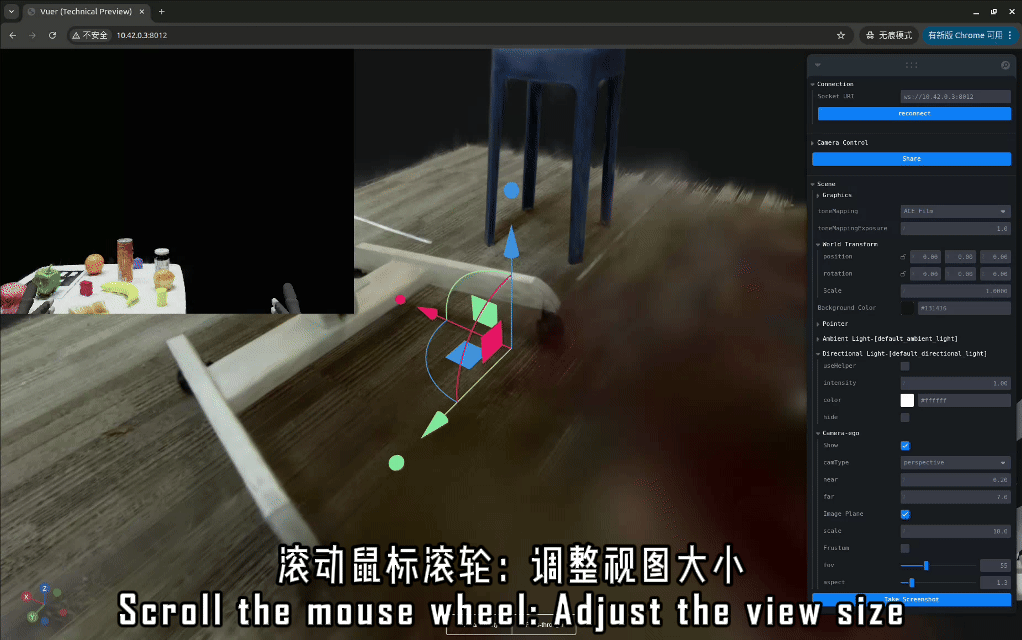
Launch Vuer
We have built a robot simulation page in TeleBox to help you quickly experience device functions when using for the first time. Please prepare a laptop to launch the Vuer web page.
Laptop Requirements: No system requirements, just needs to connect to WiFi and access web pages.
Usage Steps:
- Connect the laptop to Telesuit WiFi.
- Open a browser and enter the URL http://10.42.0.3:8012.
Note:
- Chrome browser is recommended for better compatibility and performance.
- If you encounter webpage lag, try using a computer with stronger GPU performance to improve smoothness.
Use IO TeleXperience APP
Please follow the video below to try the unboxing demo.
Motion Capture Calibration
If you require motion accuracy, refer to the Motion Capture Calibration section for calibration.
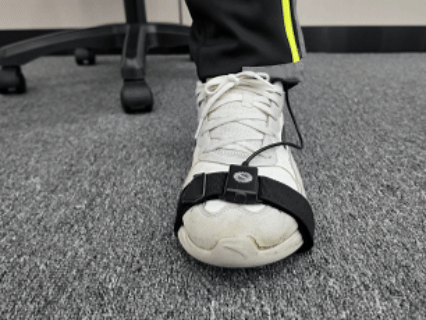
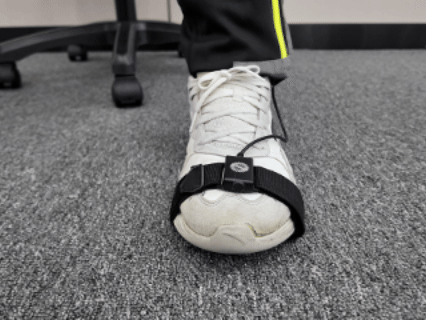
Foot Control
If you are using a professional version device, you can refer to the following tutorial to learn basic foot control movements, then complete the unboxing demo according to CheatSheet.
The following content uses the left foot as an example. Right foot operations can be easily mastered by analogy.
Note: This tutorial only applies to professional version devices.
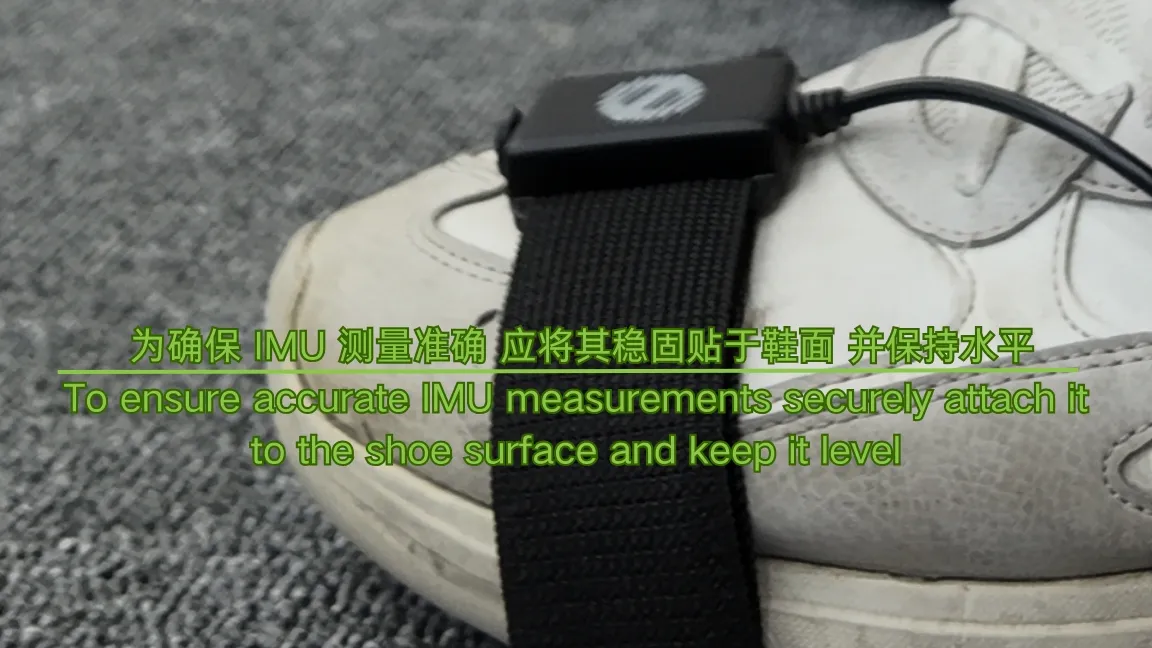
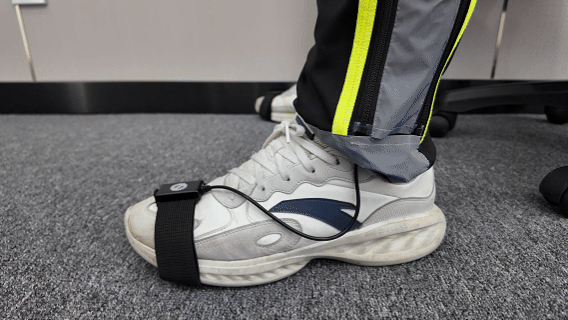
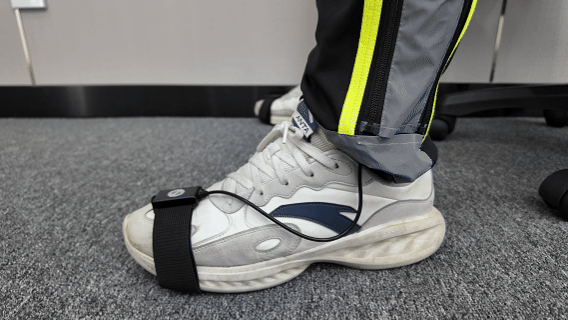
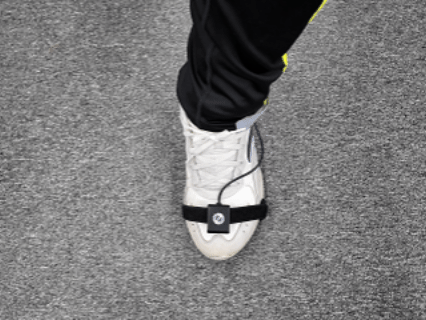
To ensure motion accuracy, please wear the foot IMU according to the diagram below.
Left Foot Eversion
Left Foot Inversion
Left Foot Heel Lift and Hold
Left Foot Toe Lift and Hold
Left Foot Rotate Left and Hold
CheatSheet
| Command | Standard Version | Professional Version |
|---|---|---|
| Start Motion Capture | Press START MOCAP button in VR | |
| Start Teleoperation | Press START TELEOP button in VR | |
| VR View Calibration | Long press calibration key Note: VR view calibration cannot be redone after starting sync. If calibration is needed, please stop sync first, calibrate, then start sync again | |
| Start Sync | After starting teleoperation, briefly press right controller A button | After starting teleoperation, right foot eversion then return |
| Stop Sync | After starting teleoperation, briefly press right controller B button | After starting teleoperation, right foot inversion then return |
| Control Arm | After starting sync, robotic arm follows VR controller movement | After starting sync, robotic arm follows human palm movement |
| If motion capture is enabled before starting sync and human arm posture is similar to robot arm posture, after starting sync, you can experience the 7-DOF robotic arm's null space optimization function | ||
| Lock Arm End-Effector Orientation | After starting sync, hold left controller front trigger | After starting sync, both feet eversion and hold |
| Lock Arm End-Effector Position | After starting sync, hold right controller front trigger | After starting sync, both feet inversion and hold |
| Control End-Effector | After starting sync, hold controller side middle finger trigger | After starting sync, dexterous hand follows human finger movement |
| Control Base | After starting sync, push left controller joystick up/down/left/right | After starting sync, Left foot heel lift and hold, robot moves forward Left foot toe lift and hold, robot moves backward Left foot rotate left and hold, robot turns left Left foot rotate right and hold, robot turns right |
| Control Torso | After starting sync, push right controller joystick up/down/left/right | After starting sync, Right foot toe lift and hold, robot rises Right foot heel lift and hold, robot descends |
| Control Head | After starting sync, wear VR headset properly, robot head movement follows human head movement | |
| Robot Return to Zero | Both joysticks push horizontally outward, hold for 1 second then return | Both feet rotate outward, hold for 1 second then return |
| Start Data Recording | After starting sync, briefly press left controller X button | After starting sync, left foot inversion then return |
| End Data Recording | After starting sync, briefly press left controller Y button | After starting sync, left foot eversion then return |
| Cancel Data Recording | After starting sync, long press left controller Y button for 2 seconds | After starting sync, left foot eversion hold for 2 seconds then return |
| Switch to Passthrough Mode | Press both controller joysticks simultaneously | |