Software Upgrade
TeleXperience software is continuously being iterated to continuously improve system stability and expand functionality, providing you with a richer and more reliable teleoperation experience. If you need to perform software updates, please contact your sales representative to obtain the software upgrade package and installation tools.
Device Access and Data Package Transfer
Login to Device
Connect to TeleSuit
# Password: 123456
ssh io@10.42.0.2
Connect to TeleBox
# Password: 123456
ssh orangepi@10.42.0.3
Copy Data Package
Transfer Files to TeleSuit
# Password: 123456
scp ${your_data_path} io@10.42.0.2:/home/io
Transfer Files to Telebox
# Password: 123456
scp ${your_data_path} orangepi@10.42.0.3:/home/orangepi
Update Installation Tool
Refer to Device Access and Data Package Transfer, copy the installation package to the target device.
Uninstall old version:
sudo dpkg -r io-dev-updator
Install new version (example):
sudo dpkg -i io_dev_updator_vx.x.x.deb
Software Package Update
Applicable software packages: io_teleop_v3, teleopbox_app, io_teleop_robot_descriptions and other components.
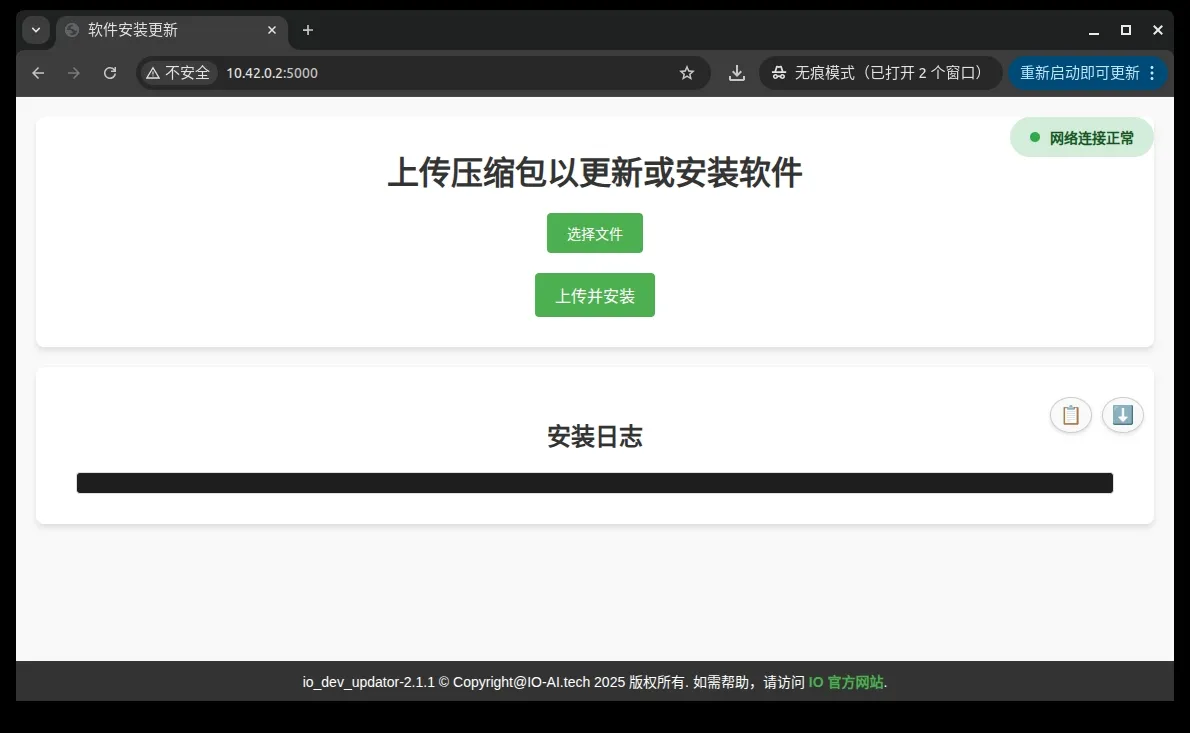
Access the installation tool web page io-dev-updator in a browser:
- Determine the access URL based on device IP address, for example: http://10.42.0.2:5000
- Click the Select File button on the page to specify the package to upload;
- Click Upload and Install to start the installation process.
Suit 2.0 Device Install Docker Software (Requires Internet)
Note: Do not install in stable mode
Connect to internet through telesuit router.
Update System Sources
sudo apt update
If update fails, execute the following commands to clean sources and update again:
sudo rm /etc/apt/sources.list.d/ros-latest.list
sudo rm -rf /var/lib/apt/lists/*
sudo apt clean
sudo curl -fsSL https://raw.githubusercontent.com/ros/rosdistro/master/ros.key | sudo gpg --dearmor -o /usr/share/keyrings/ros-archive-keyring.gpg
sudo apt update
Install Docker and Dependencies
sudo apt install -y docker.io pigz fuse-overlayfs
### Create docker group
sudo groupadd docker  # Add current user to docker group
sudo usermod -aG docker $USER
### Apply group changes (or re-login)
newgrp docker
Configure Docker daemon, create or edit /etc/docker/daemon.json:
sudo mkdir -p /etc/docker
sudo nano /etc/docker/daemon.json
Add the following configuration:
{
    "storage-driver": "fuse-overlayfs"
}
After saving, start Docker service:
sudo systemctl enable docker
sudo systemctl restart docker
Old TeleBox Install Dependencies Required for Docker Image Import
Online Installation
Connect to internet through telesuit router.
When using Docker version for the first time, please Connect to TeleBox and execute:
sudo apt install pv pigz -y
Offline Installation
Note: Please contact sales representative to obtain installation package.
Refer to Transfer Files to Telebox, copy the installation package to box, and install according to the following commands.
sudo dpkg -i pigz_2.6-1_arm64.deb
sudo dpkg -i pv_1.6.6-1build2_arm64.deb
Docker Image Import and Management�
Debug Machine Environment Preparation
Note: Please do not update in telesuit's stable environment
Install Required Dependencies
sudo apt install pv pigz -y
Check Target Machine Remaining Storage Space
Refer to Login to Device, connect to target device and execute:
df -h
Please ensure the root directory (/) has at least 5GB of available space. If space is insufficient, you can free up space by cleaning old Docker images:
docker images # View docker image list
teleop-docker stop # Stop teleoperation service (if needed)
docker rmi <ImageID> # Delete specified image
Transfer and Load Docker Image
Execute on debug machine
time pv xxxxxxxx-image-xxxxxxxx.tar.gz | ssh ${user}@${ip} "pigz -dc - | docker load"
Recommended wait time:
- Wired connection: about 3–5 minutes
- Wireless connection: about 5–10 minutes
Telesuit
time pv io_teleop_v3-image-xxxxxxxx.tar.gz | ssh io@10.42.0.2 "pigz -dc - | docker load"
Telebox
time pv teleopbox_app_image-xxxxxxxx.tar.gz | ssh orangepi@10.42.0.3 "pigz -dc - | docker load"
Common Issues
Installation Failed, Insufficient Space
Refer to checking if there is sufficient remaining space in the target machine root directory for cleanup and retry

Missing Dependencies
Refer to Old TeleBox Install Dependencies Required for Docker Image Import and install, then retry

Update VR APP
If you need to update the VR application, please contact your sales representative to obtain the update package and guidance assistance.