Data Annotation
Data Viewing
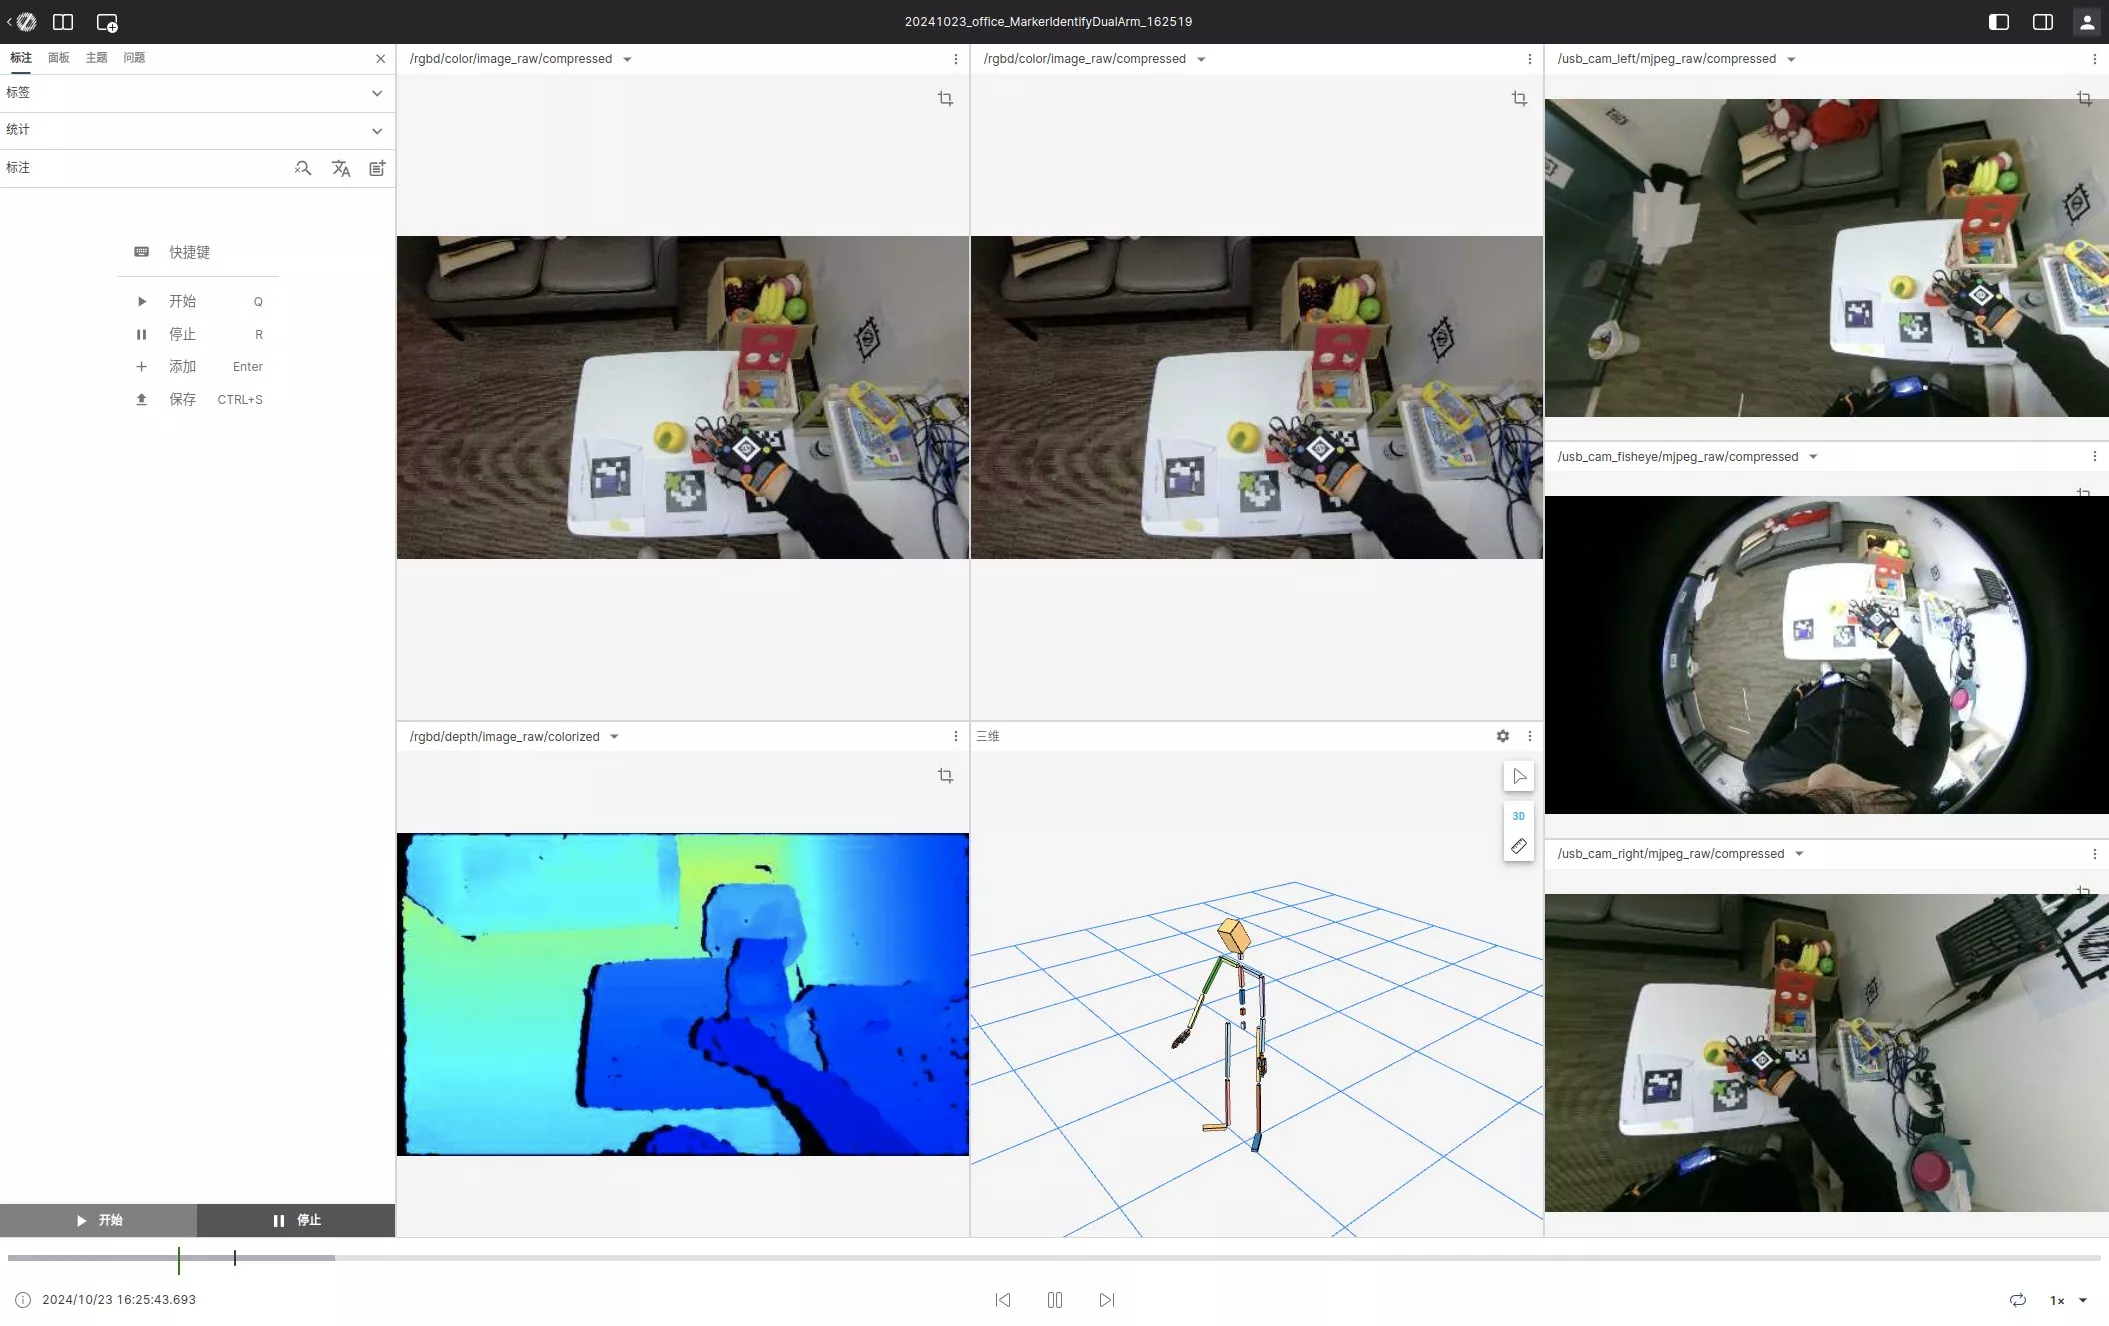
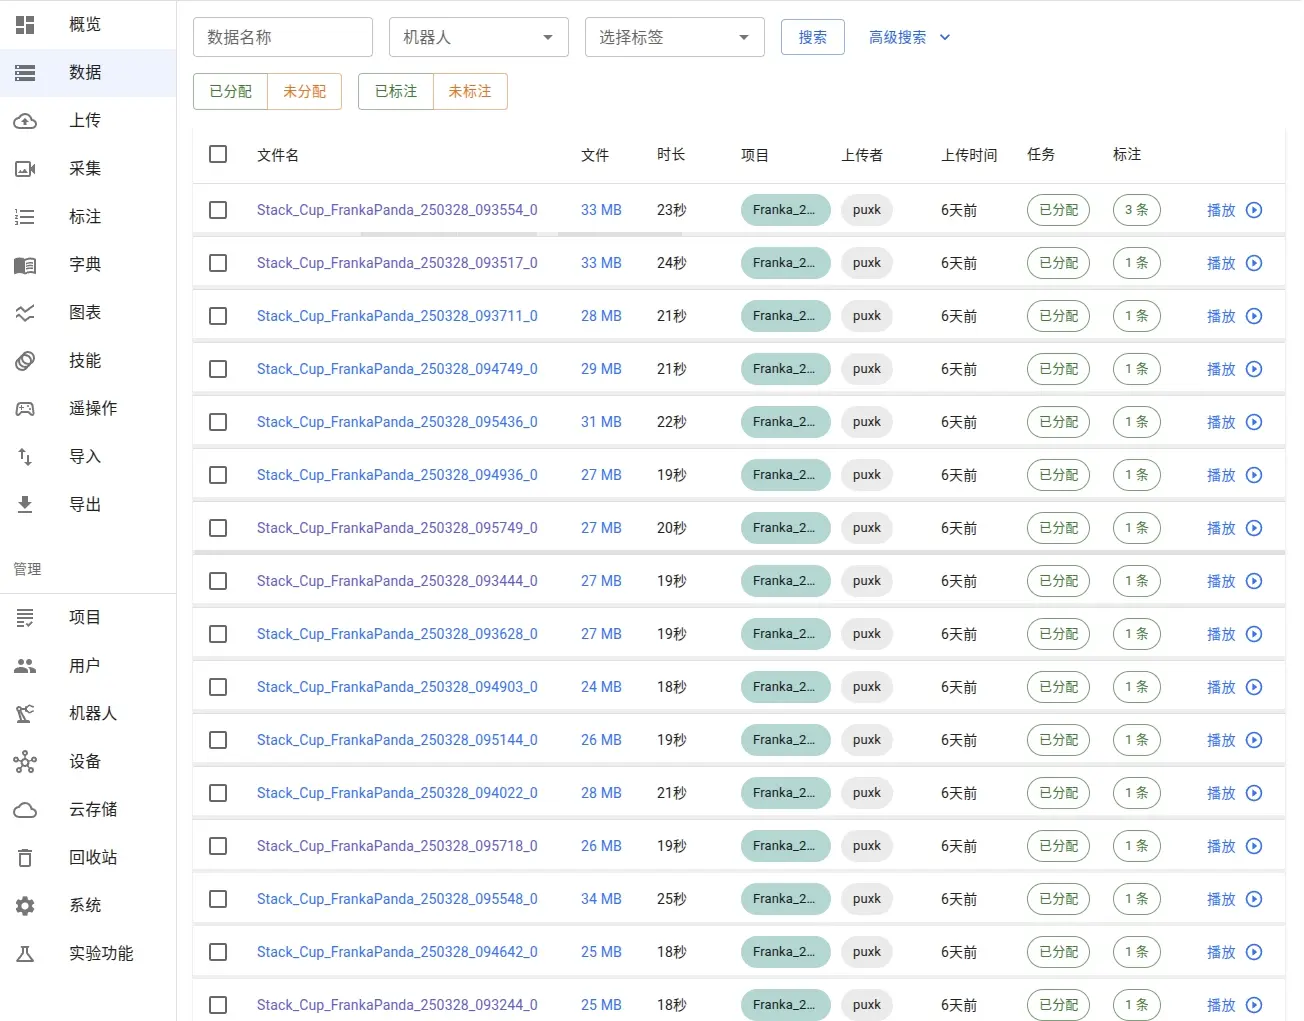
Go to the Data page and click the corresponding file name link to start viewing and annotating data. The data page displays all available datasets, and you can quickly find the data you need using the search and filter functions.

Panel
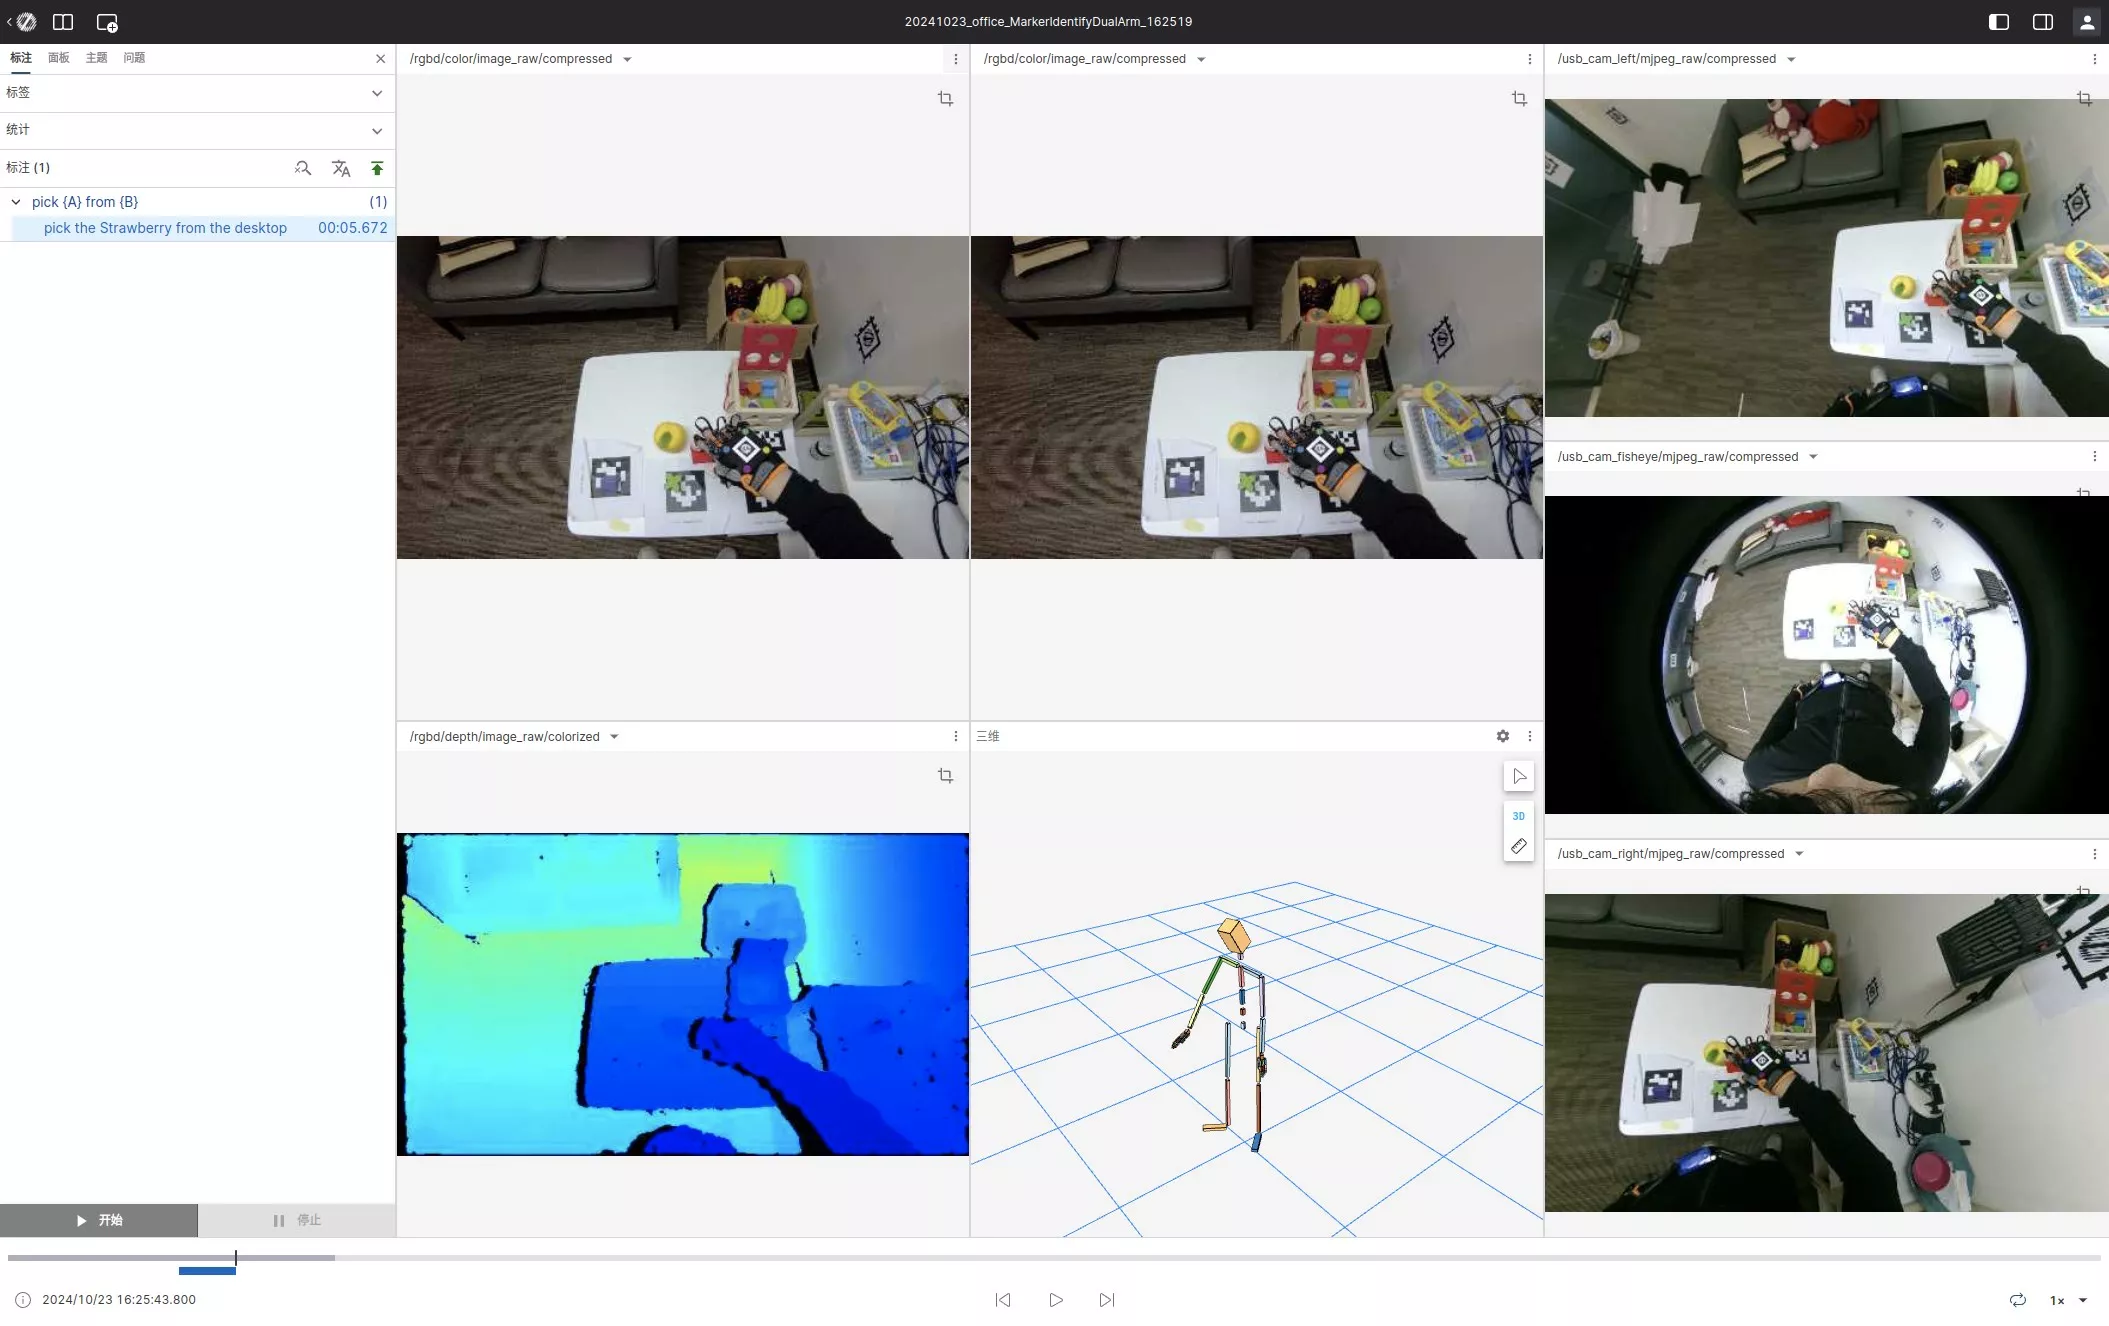
A panel is the rendering unit of data, similar to a camera perspective (Topic).
Each data entry usually contains multiple camera perspectives, which are represented by multiple panels. You can flexibly adjust the size, position, and number of panels to browse the data in the optimal way. The flexible layout allows you to view data from different angles simultaneously, significantly improving annotation efficiency.
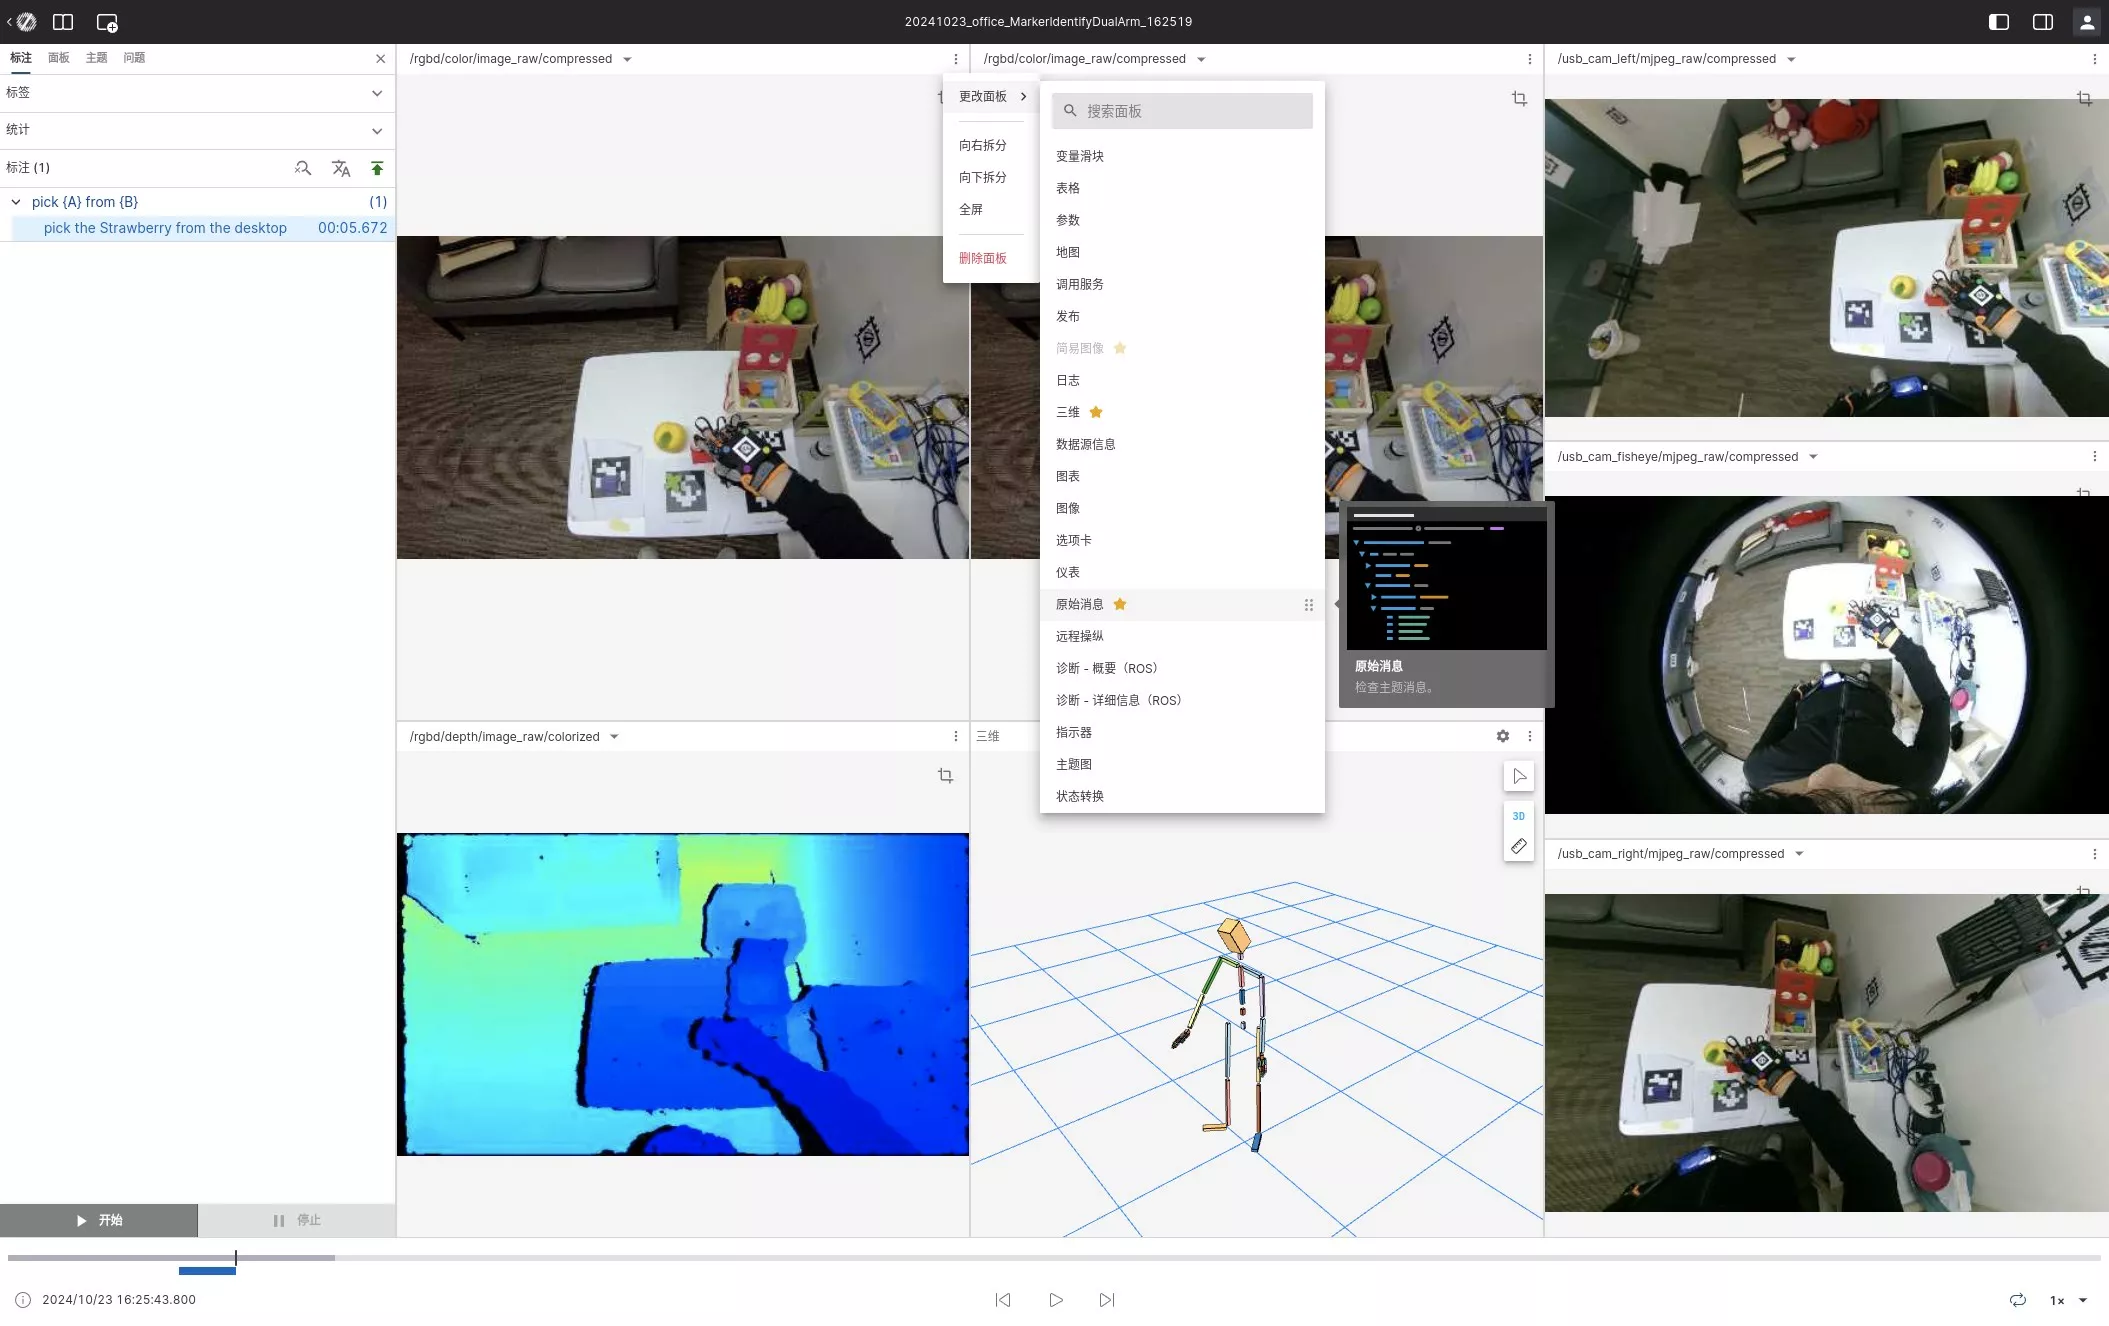
Switching Render Panels
You can easily change the content displayed in any panel:
- Click the settings button in the upper left corner of the panel
- Select the desired panel type from the dropdown menu
This allows you to quickly switch between different data views according to your current task needs.
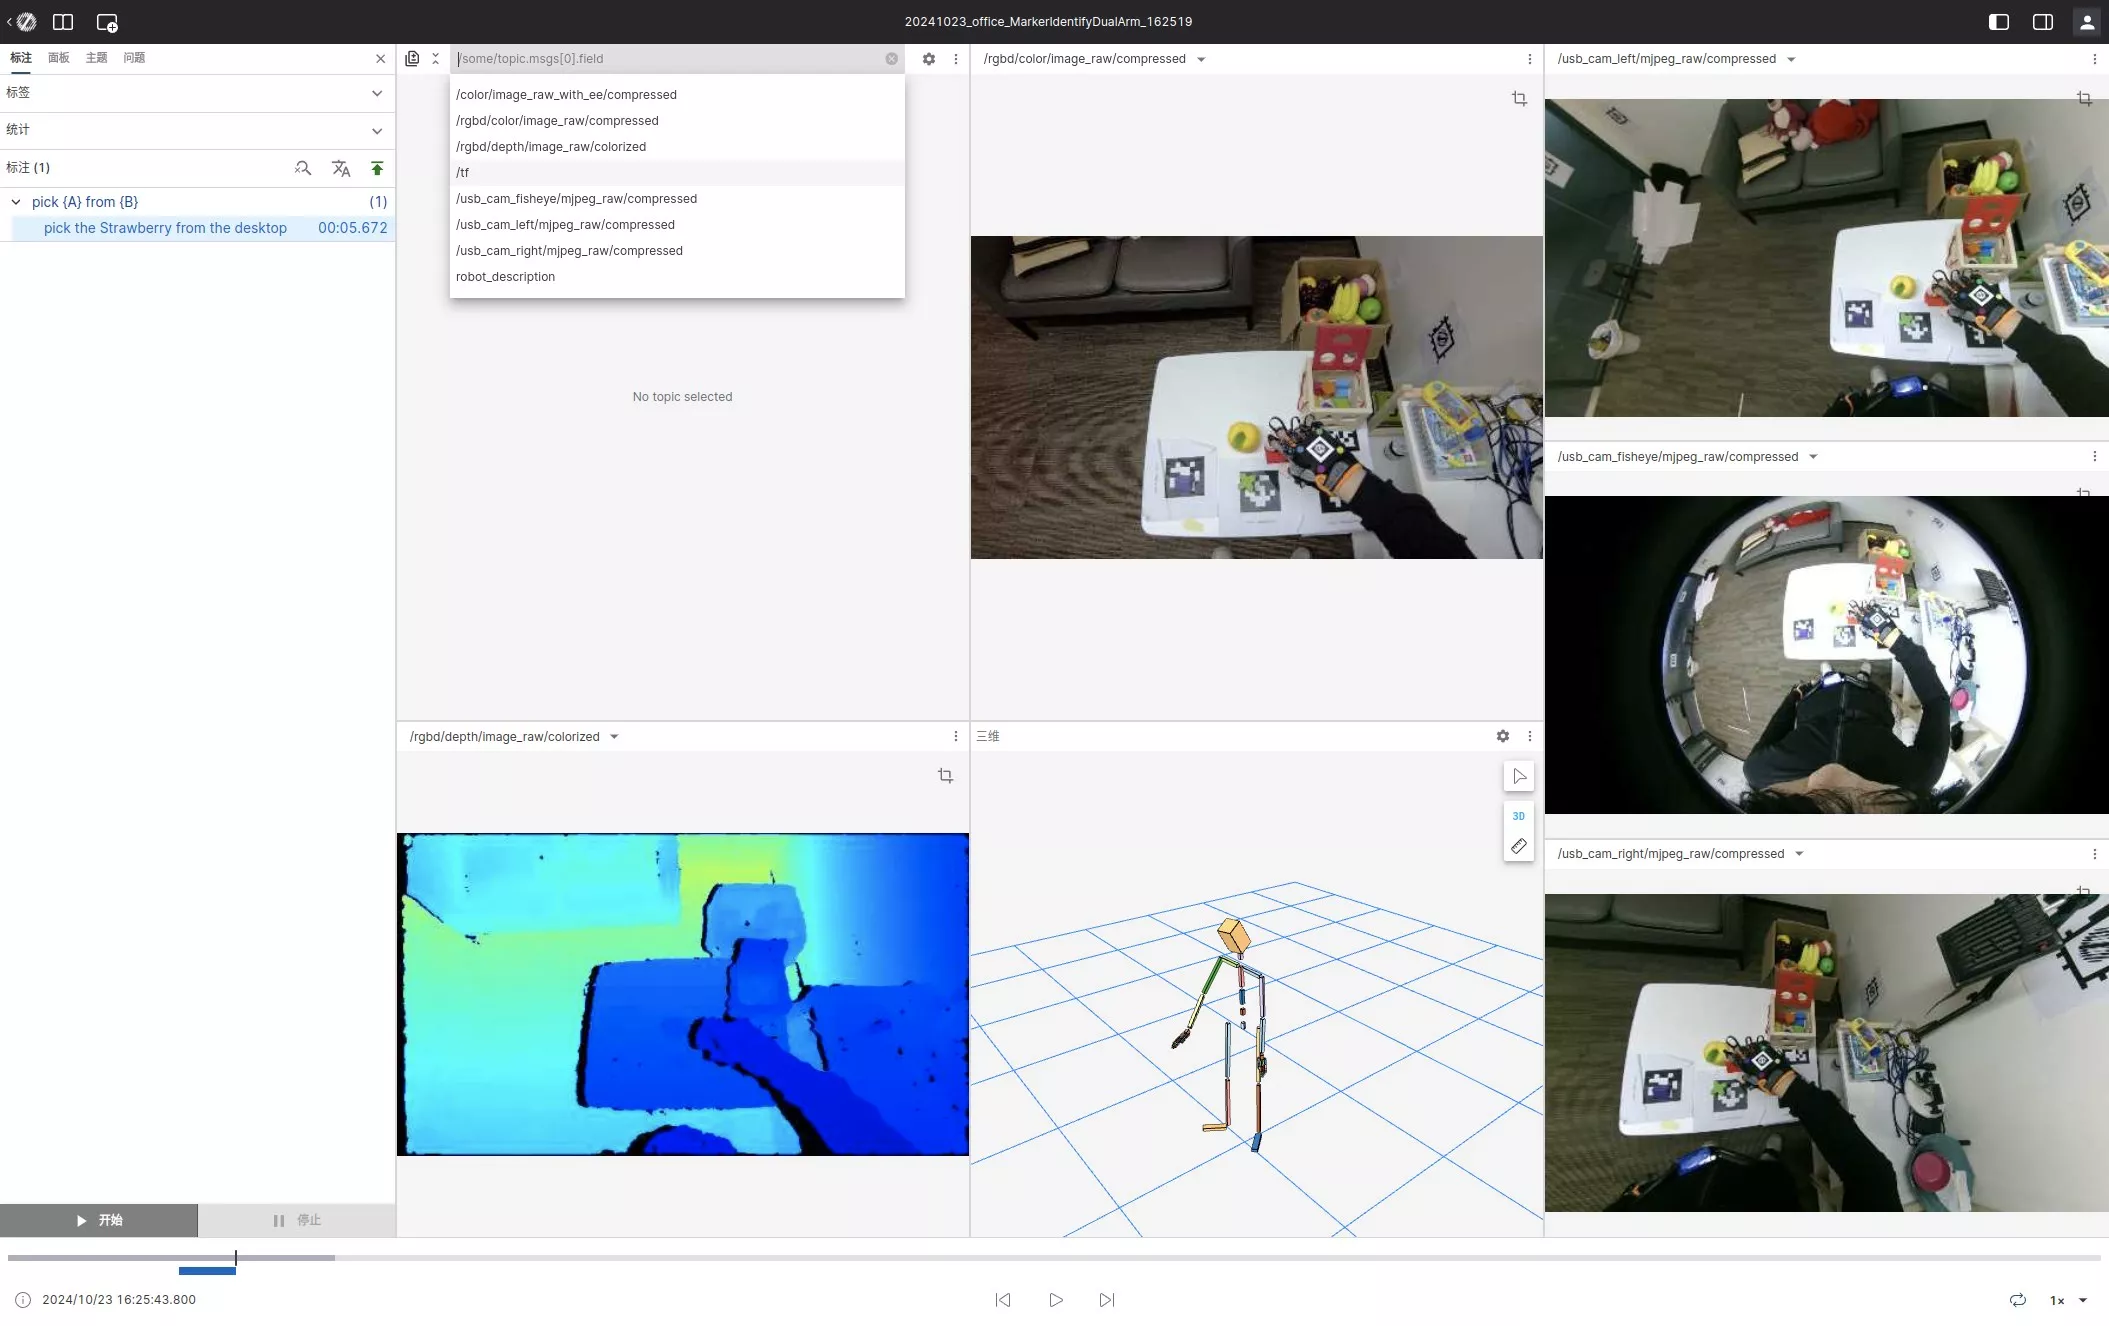
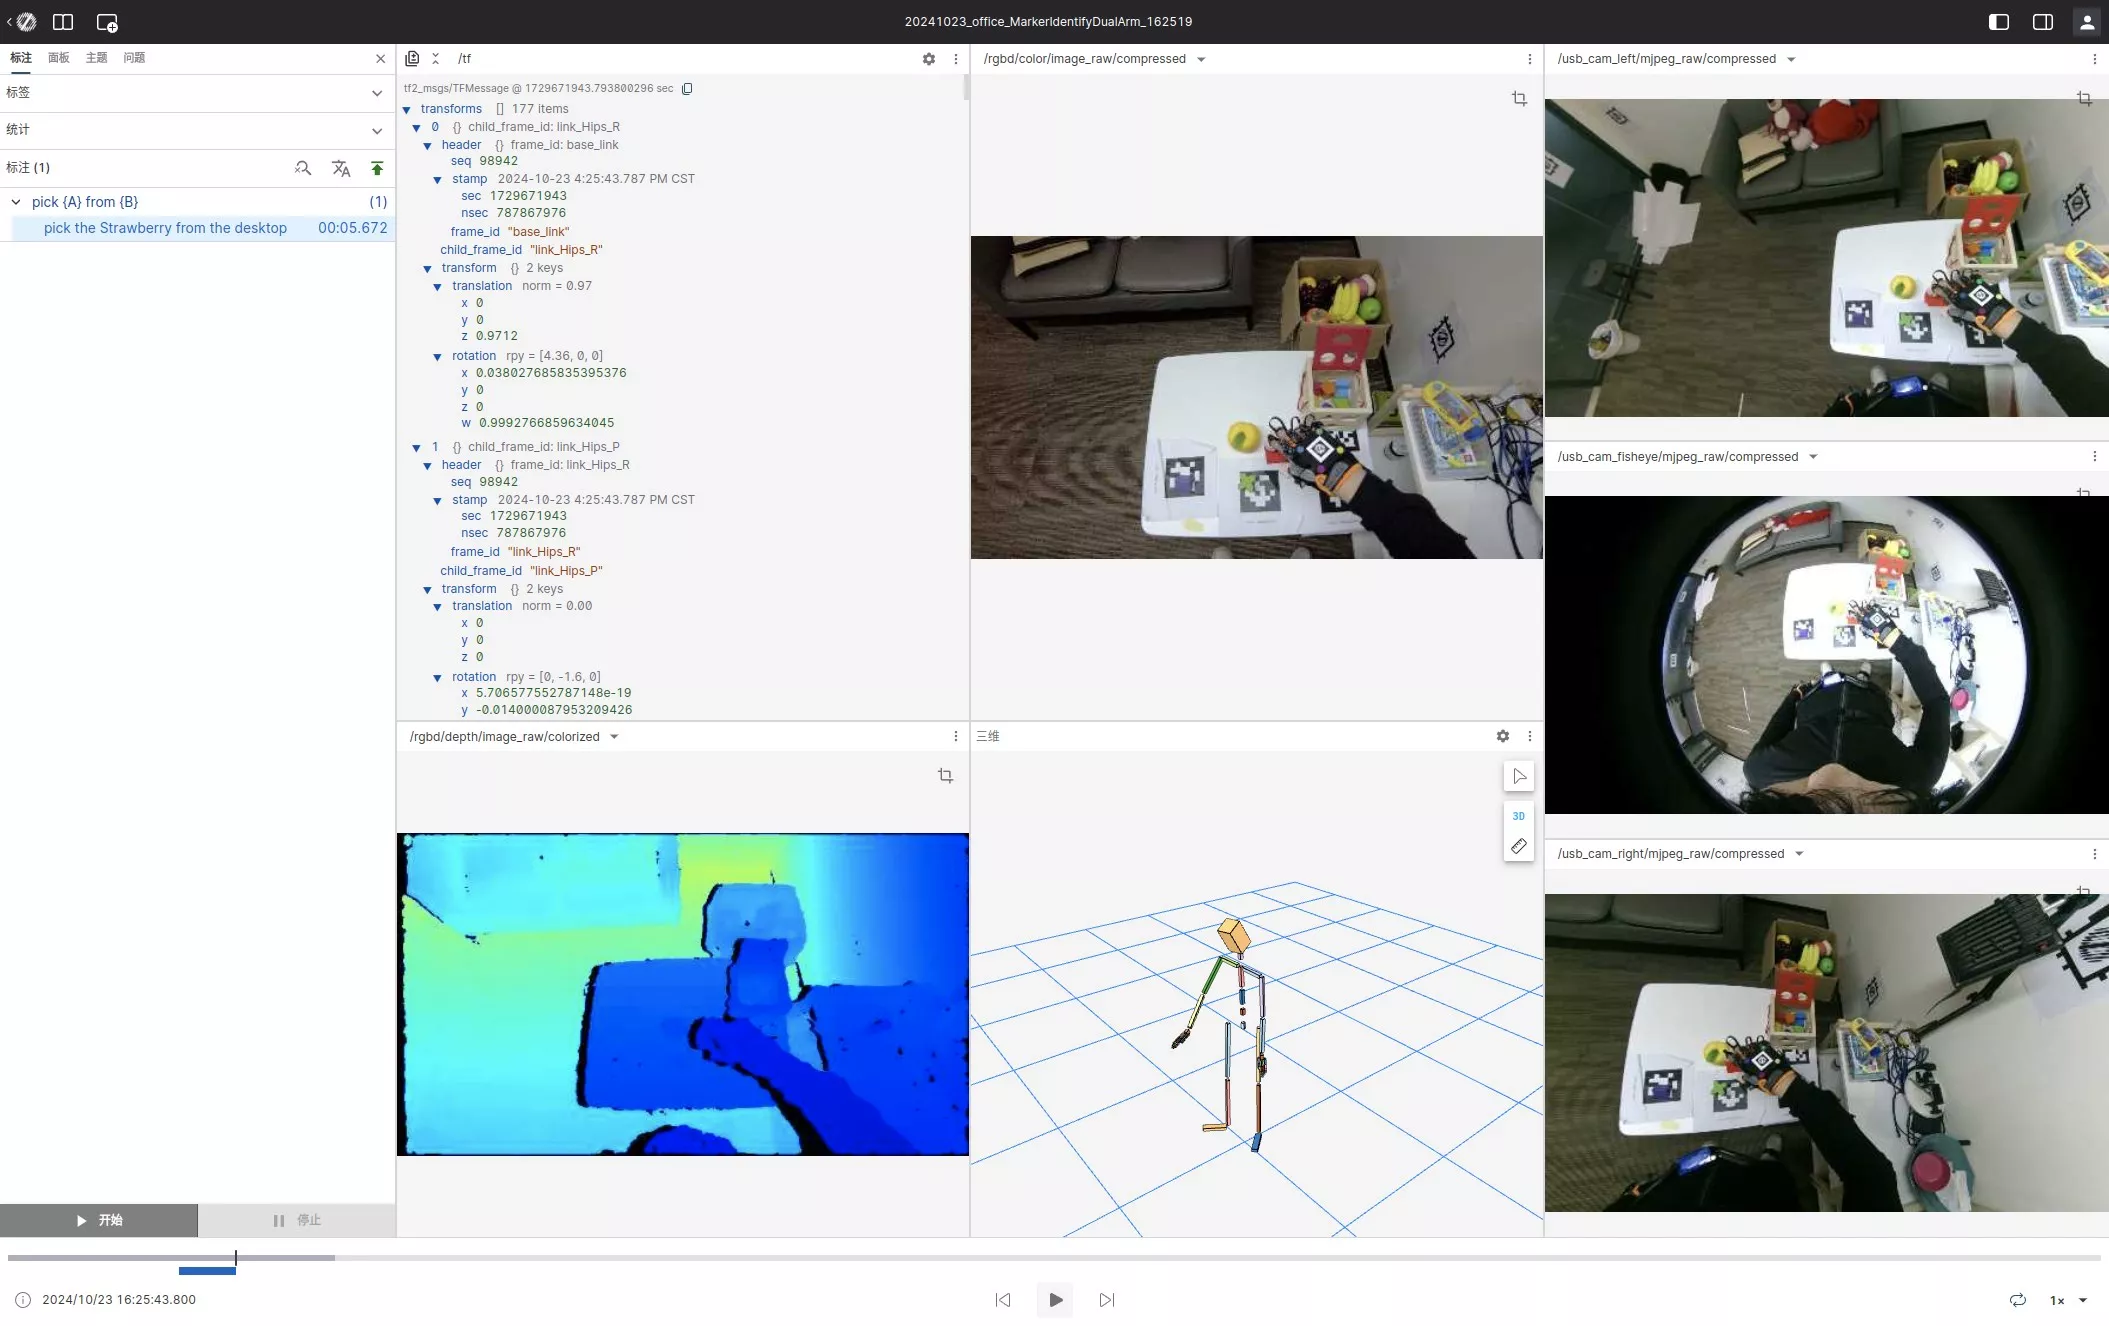
Changing Subscription Topics
You can also change the data source displayed in the panel:
- Click the settings button in the upper left corner of the panel
- In the pop-up settings menu, select the Topic message source you want to switch to
This enables you to view different data streams to meet various annotation scenarios.
Fine-grained Annotation
The annotation method in this section is suitable for segment annotation containing multiple atomic actions, especially when a single data entry contains multiple tasks. Fine-grained annotation allows you to mark multiple different actions or events within a single data stream.
For annotation task workflow, please refer to:
Start Annotation
Click the "Start" button (or press shortcut key Q) to mark the start time point of an action or event. The system will record the current timestamp as the start point of the annotation.

You can:
- Play automatically (press Space)
- Manually jump forward/backward (press Left/Right arrow keys)
- Control jump speed (hold CTRL to speed up or ALT to slow down)
These flexible playback controls help you precisely locate the time point to annotate.
End Annotation
When the action or event ends, click the "End" button (or press shortcut key R) to end the current annotation. The system will record the current timestamp as the end point, thus determining the complete time range.
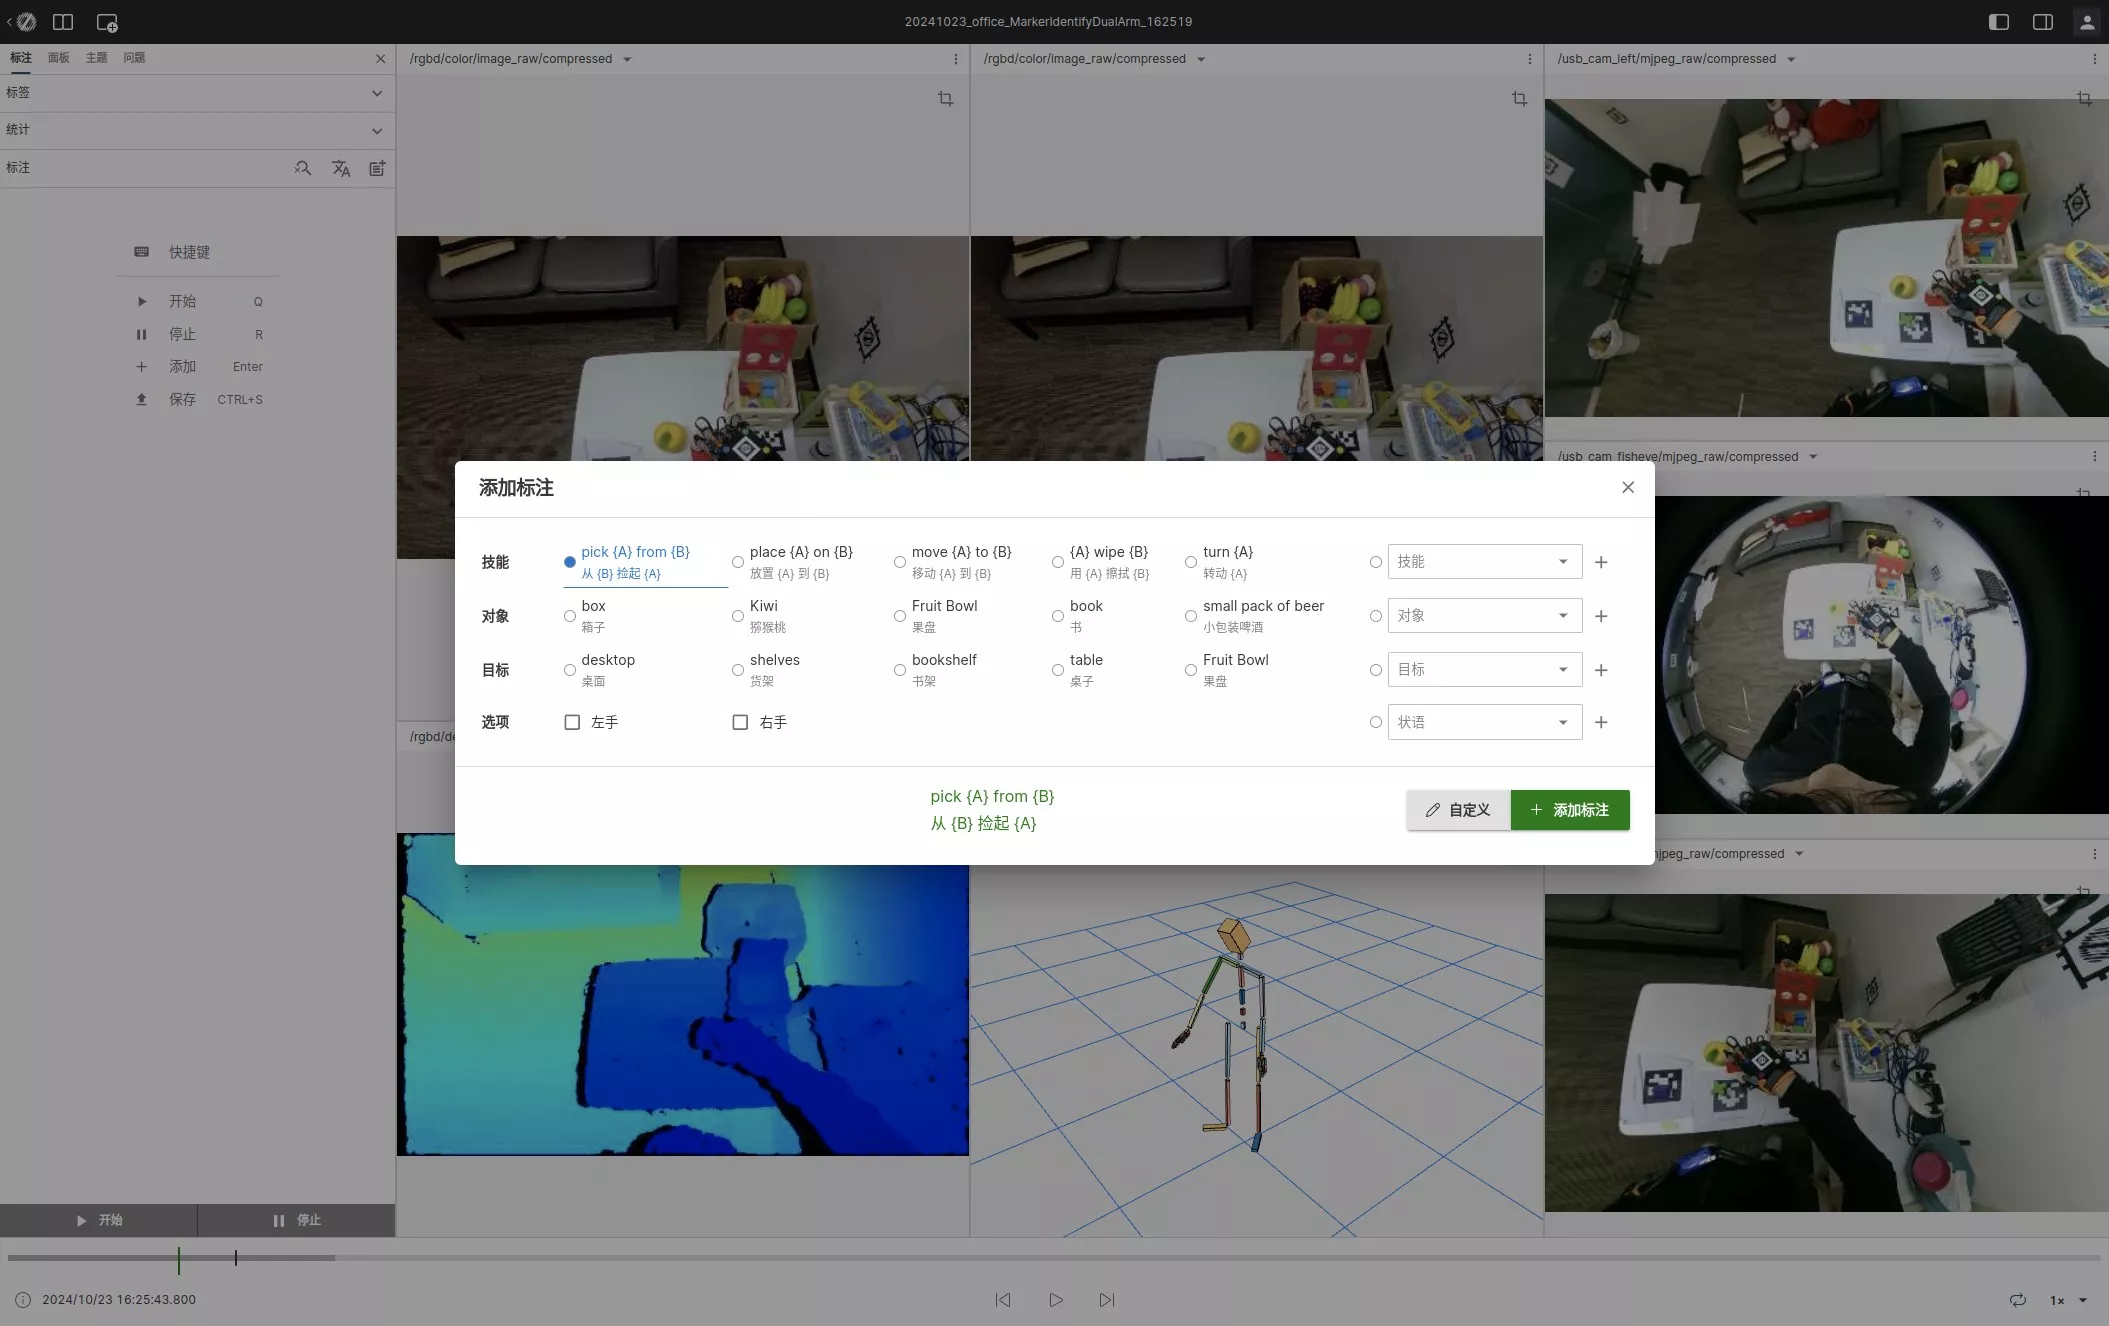
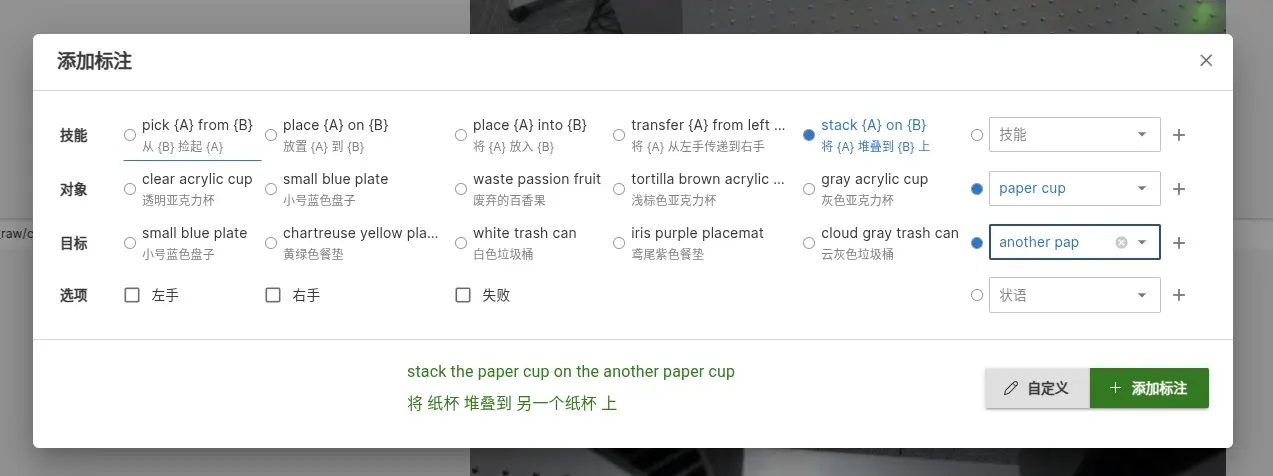
Add Semantic Information
After marking the time segment, you need to add semantic information for the annotation:
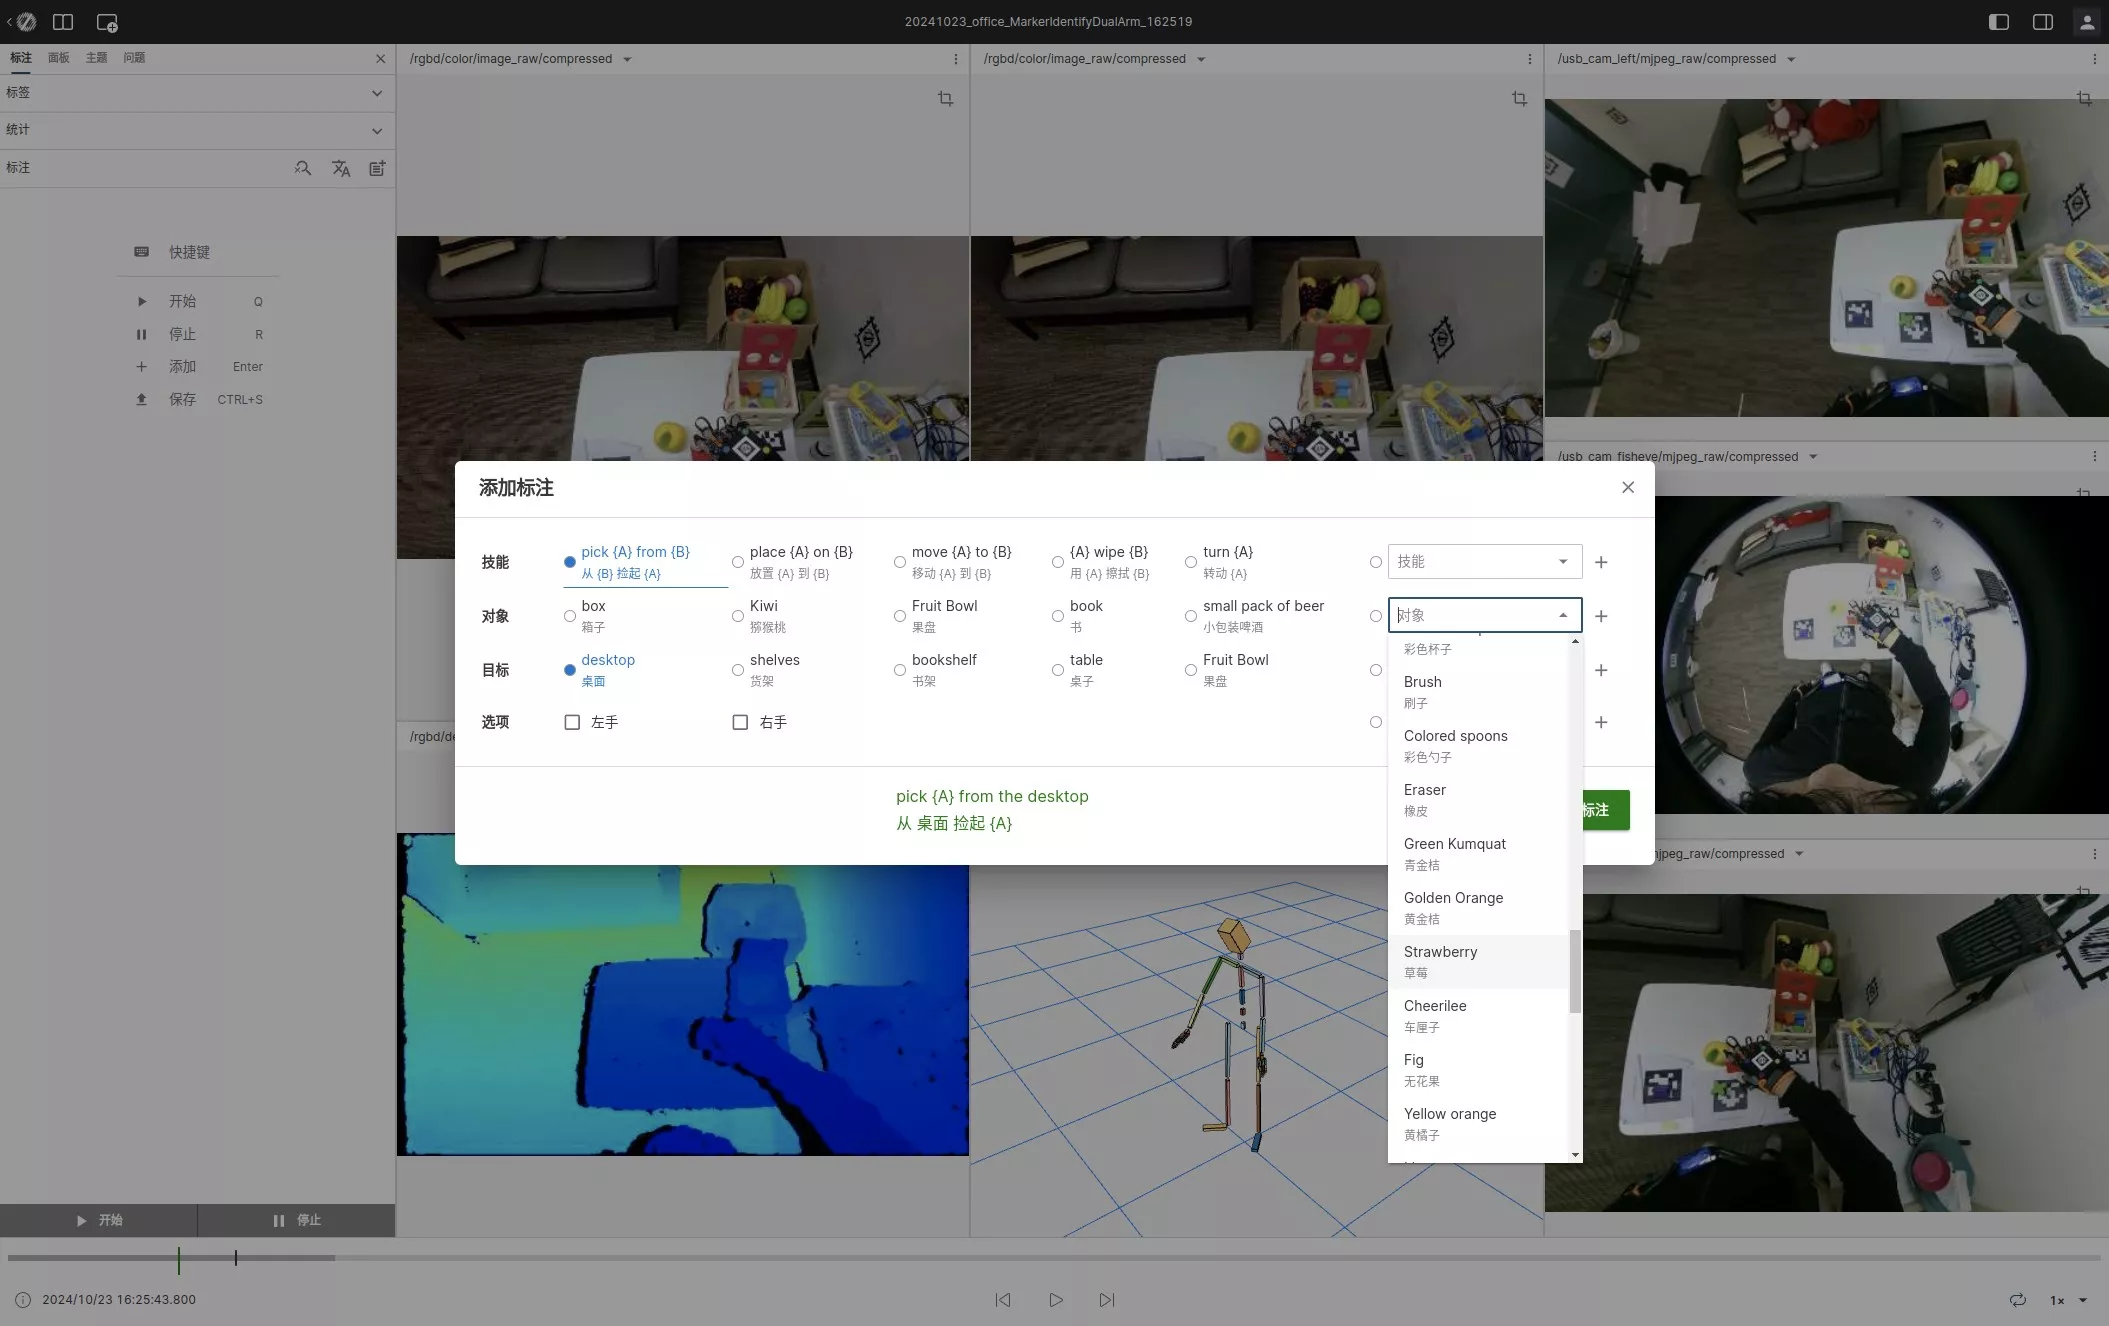
- Fill in the form information
- Select the corresponding natural language description or add a new dictionary entry
- Save the information
Detailed semantic descriptions help with subsequent data training and analysis.
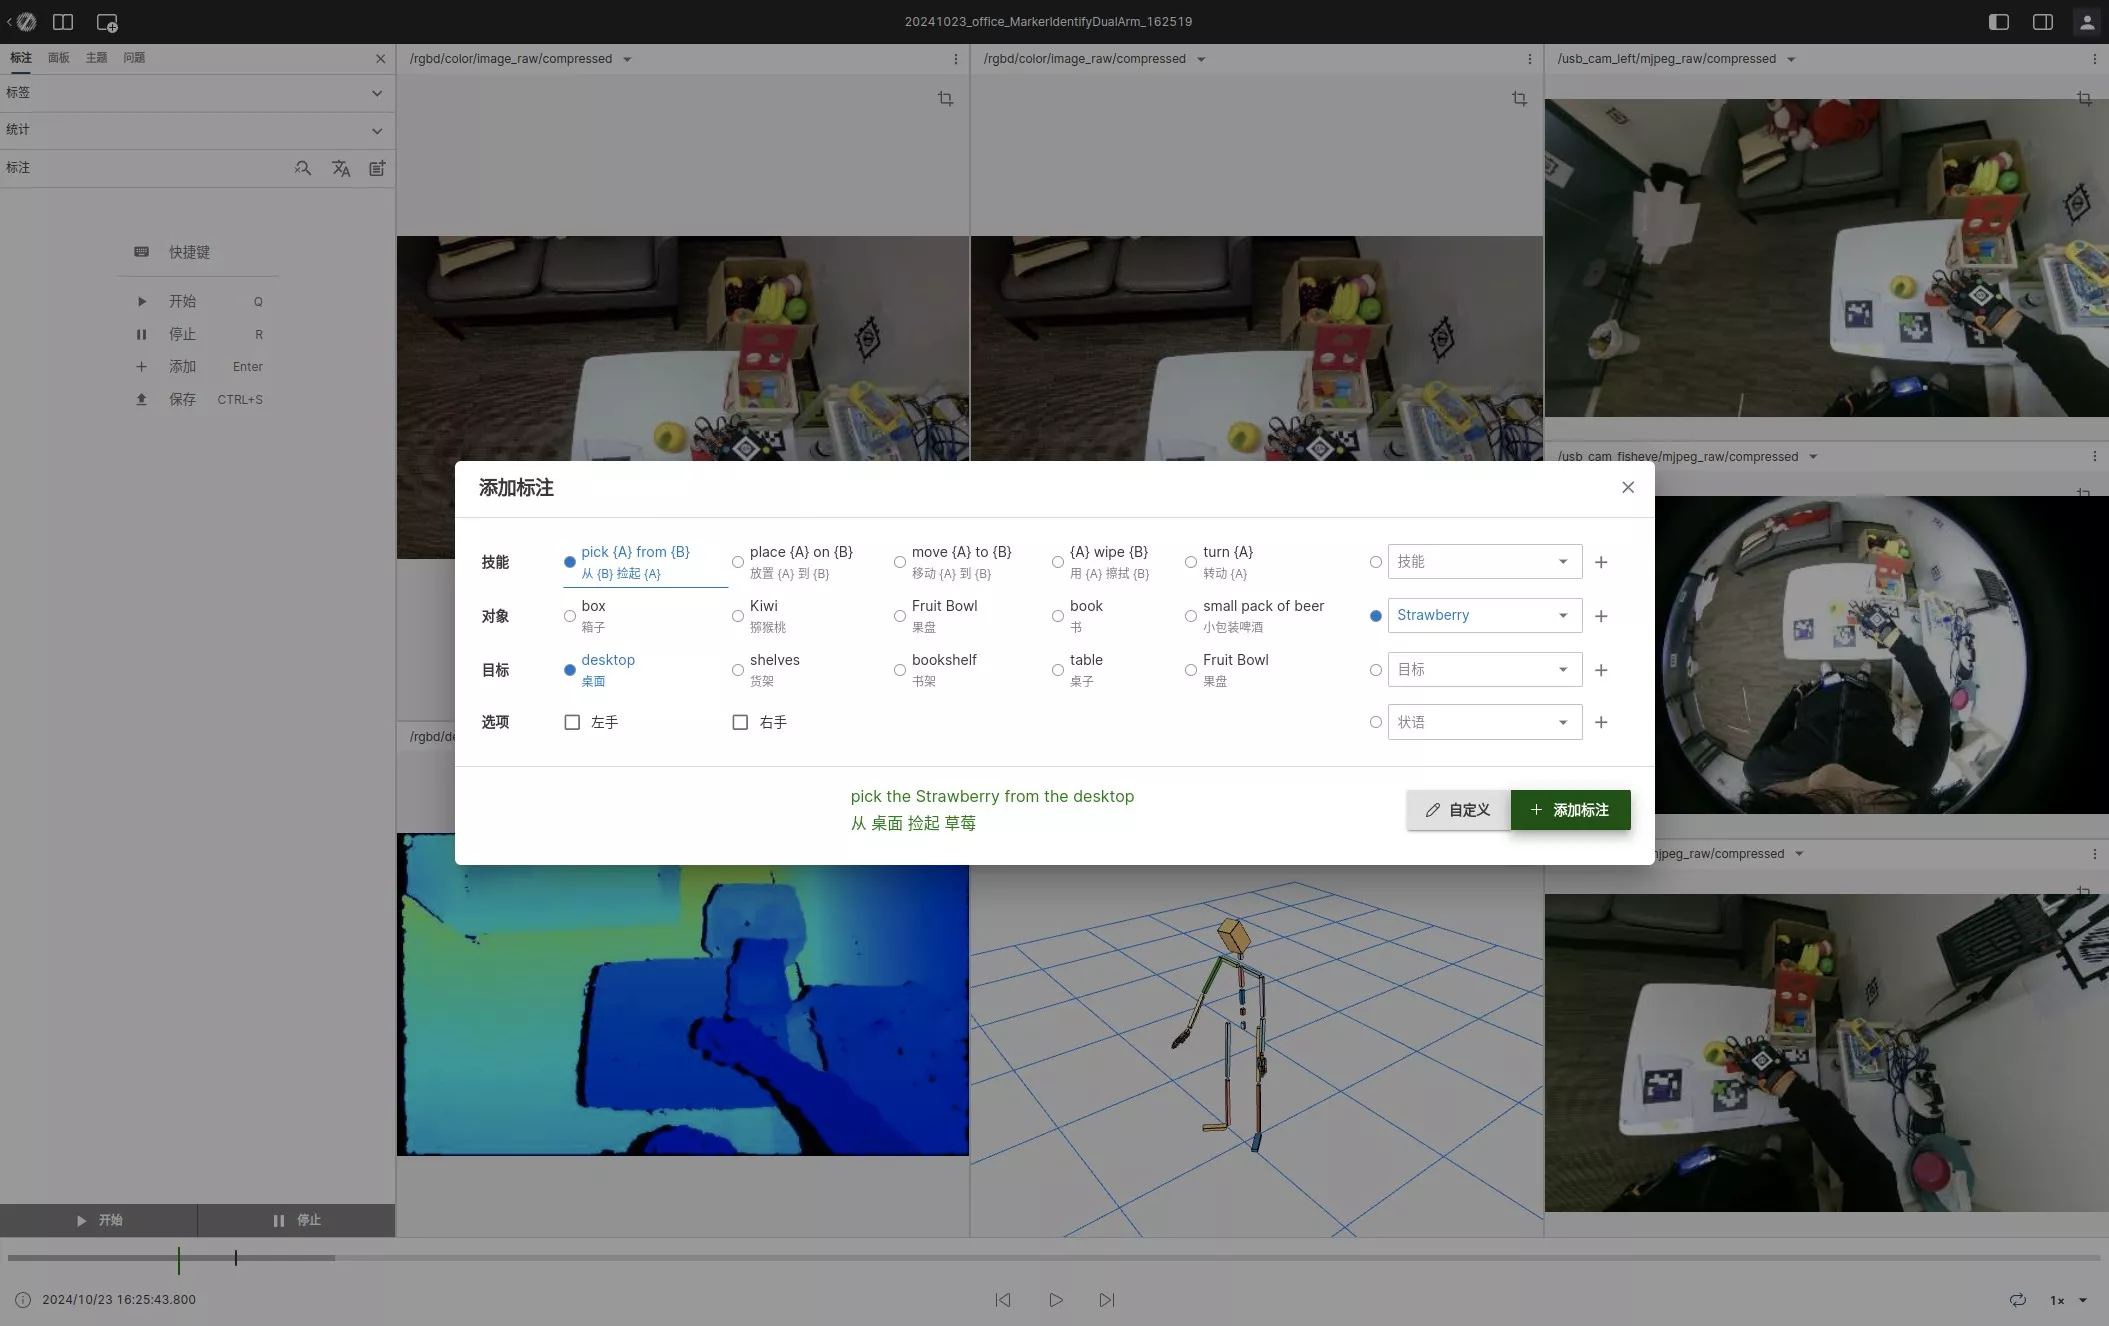
Add Annotation
After completing the above steps, click the "Add Annotation" button (or press Enter) to add this annotation to the current data's annotation list. If you need to annotate multiple actions, repeat the above steps.
Save Annotation
After completing all annotations, click the yellow upload button in the upper right corner to save the annotations to the server. Please make sure to save your work before leaving the page to prevent data loss.

Batch Annotation
This feature allows you to apply the annotation results of one data entry to multiple similar homogeneous data entries, significantly saving annotation time.
For single-task scenarios (such as 100 data entries with the same action), the batch annotation feature can greatly improve efficiency.
Batch Annotation Process
-
Select Sample Data: Batch select homogeneous data from the data list
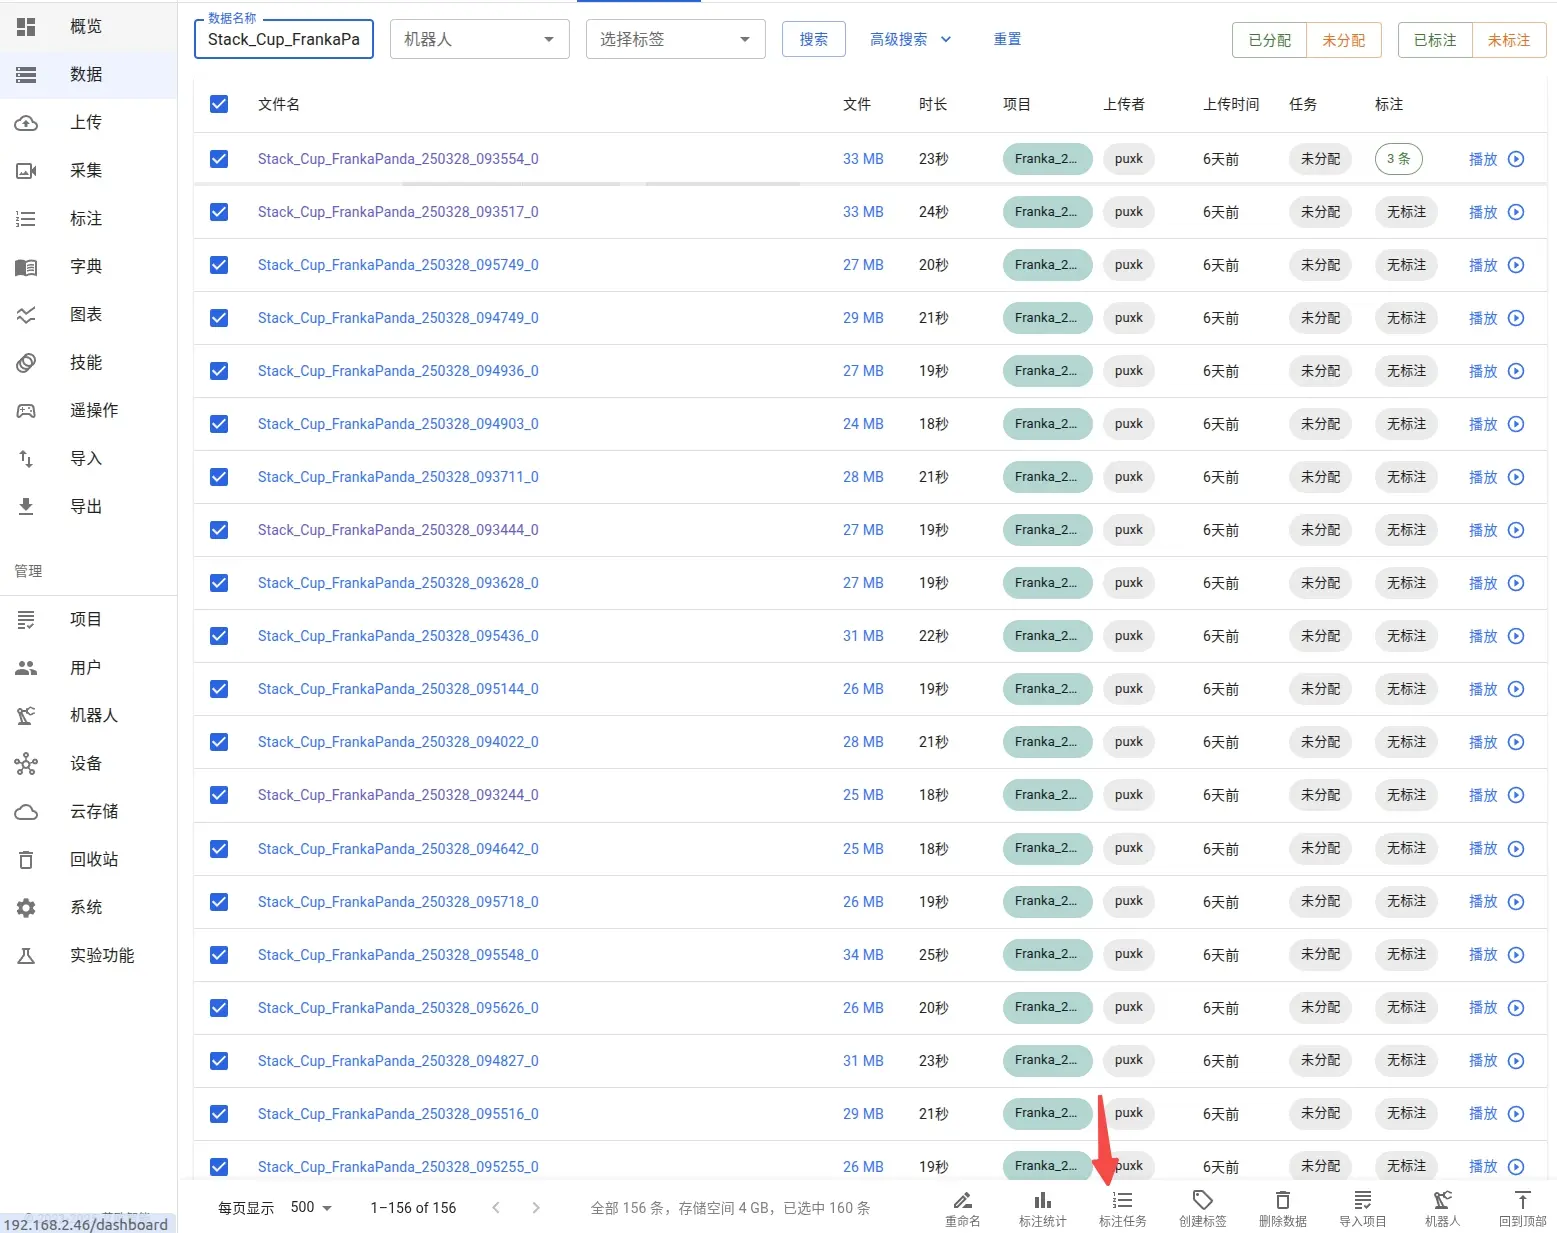
-
Create Annotation Task: Create a new annotation task for these data entries
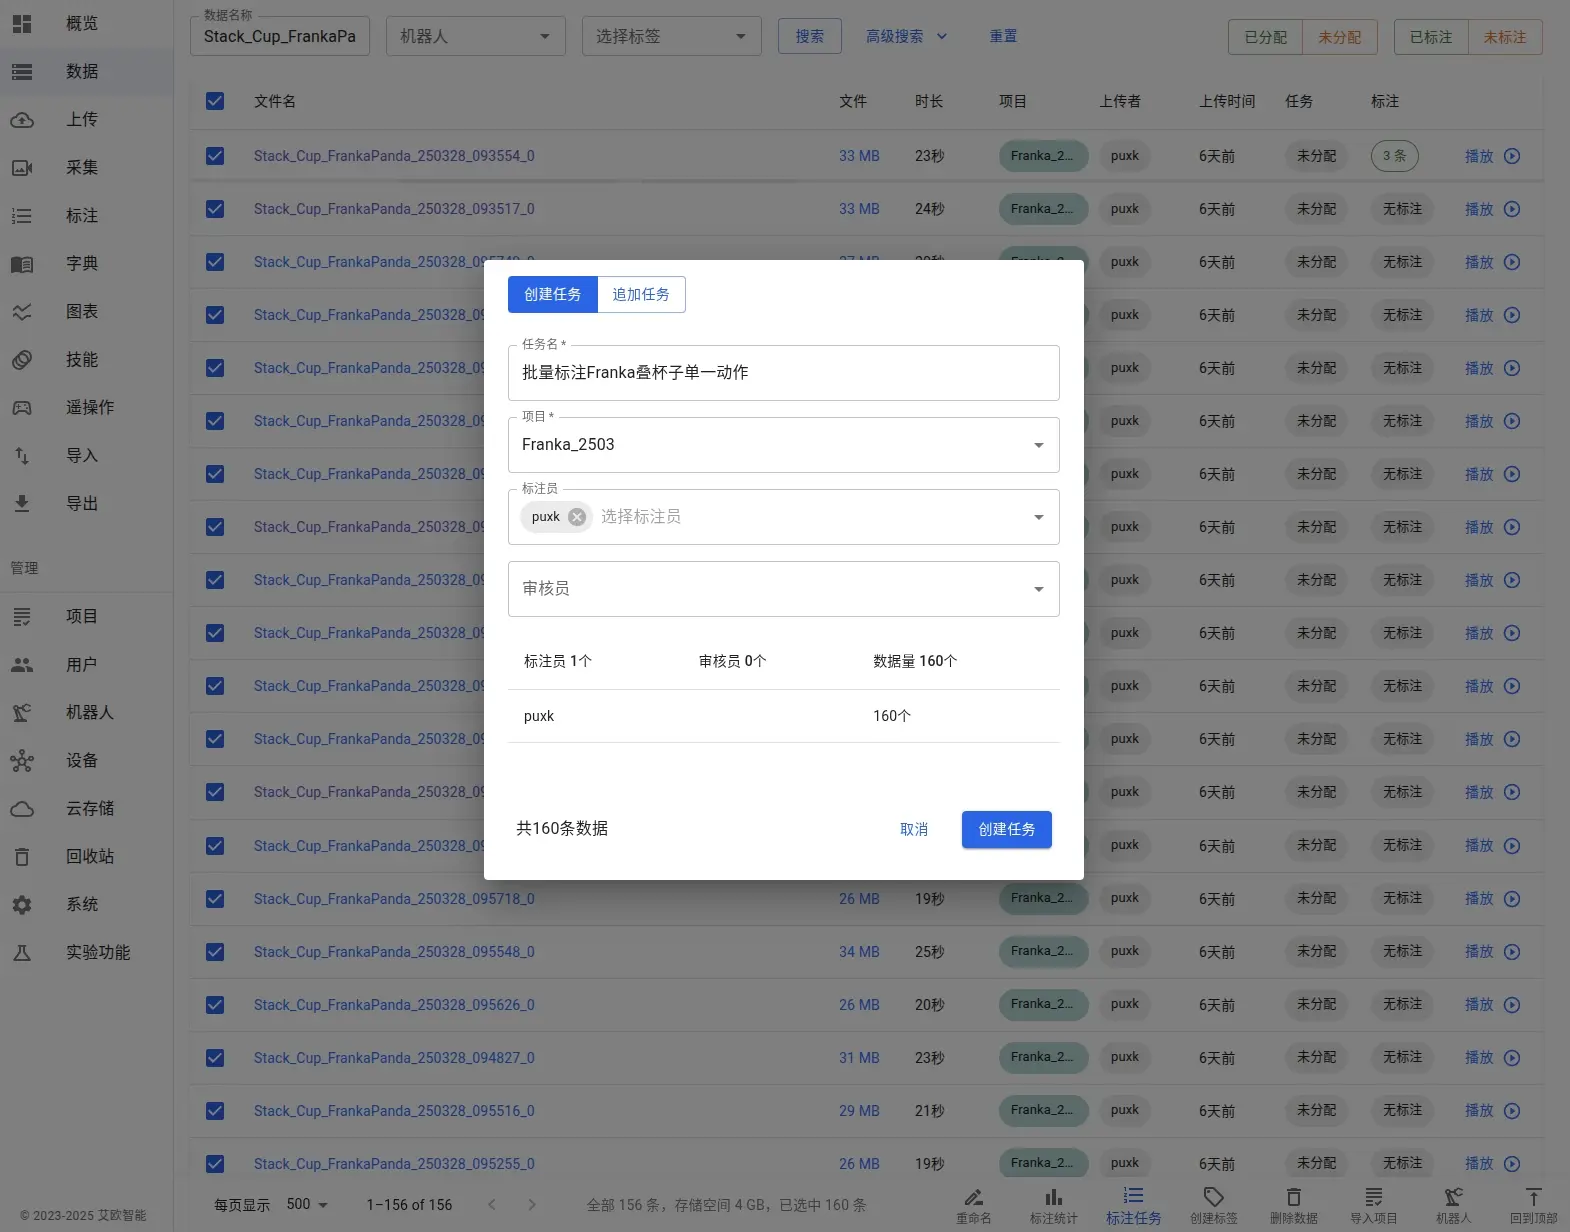
-
Start Annotation: View and start executing the annotation task

-
Complete Sample Annotation: Complete the annotation of a sample according to the fine-grained annotation process
-
Save Sample: Save the completed sample annotation

-
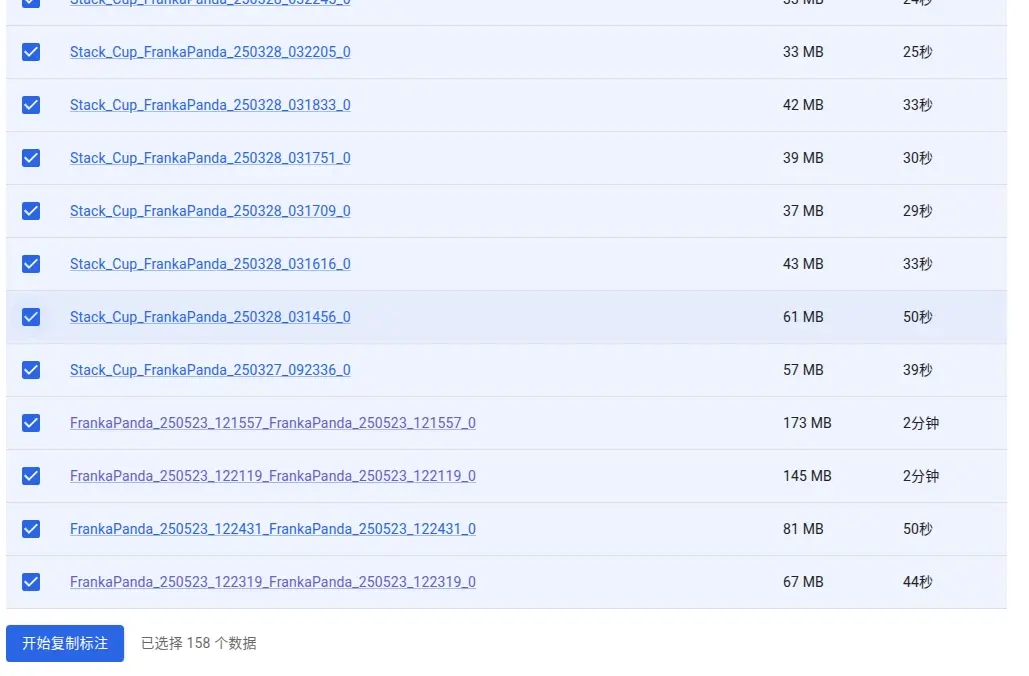
Select Template: Return to the task page and select the annotated sample data as a template
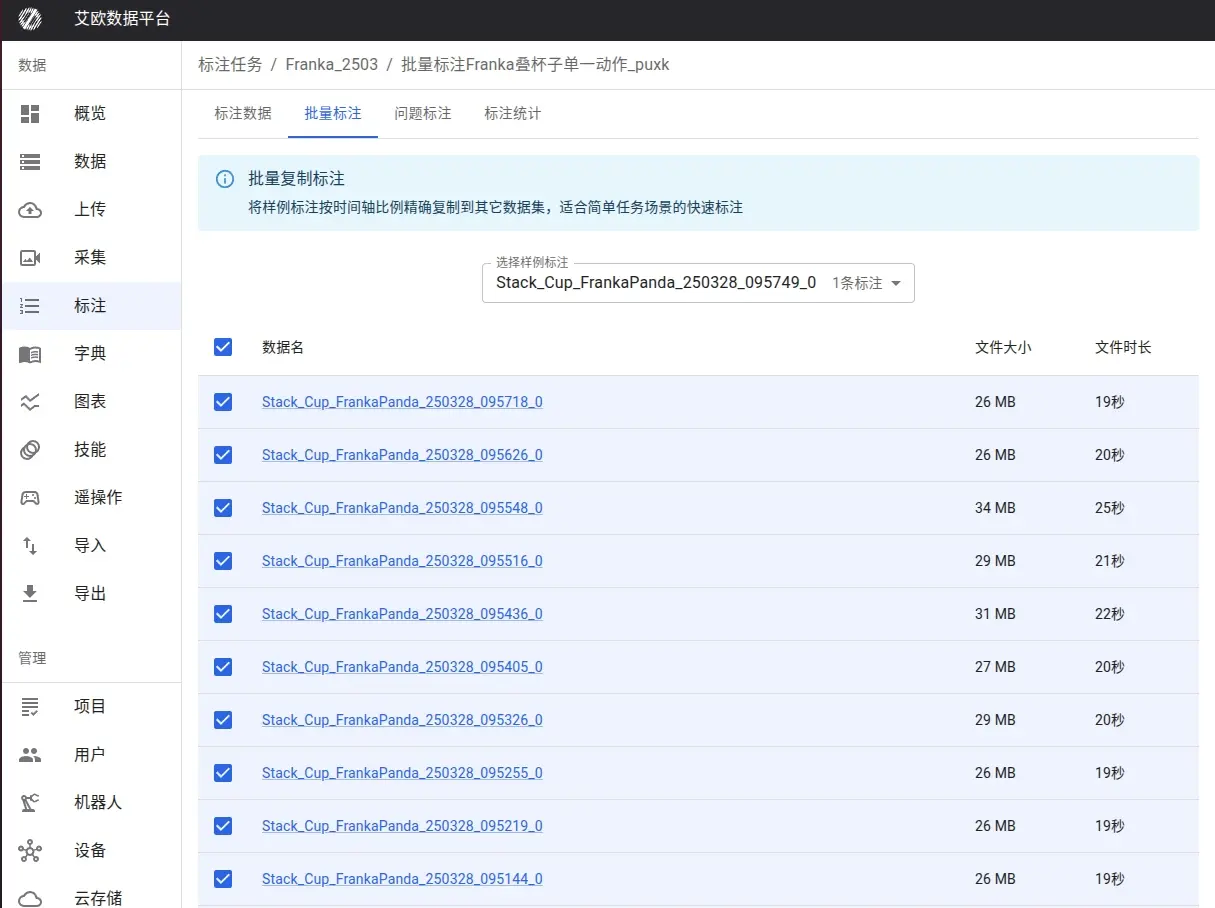
-
Batch Copy: Start batch copying the annotation to other data entries
-
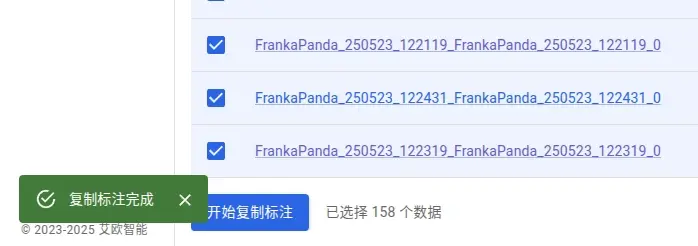
Confirm Success: Confirm that the copy operation was successful
-
View Results: View the final results of the batch annotation
With the batch annotation feature, you can quickly apply standardized annotations to large amounts of data, which is especially suitable for handling large-scale homogeneous datasets and greatly improves work efficiency.