Start Teleoperation
Using the IO TeleXperience App
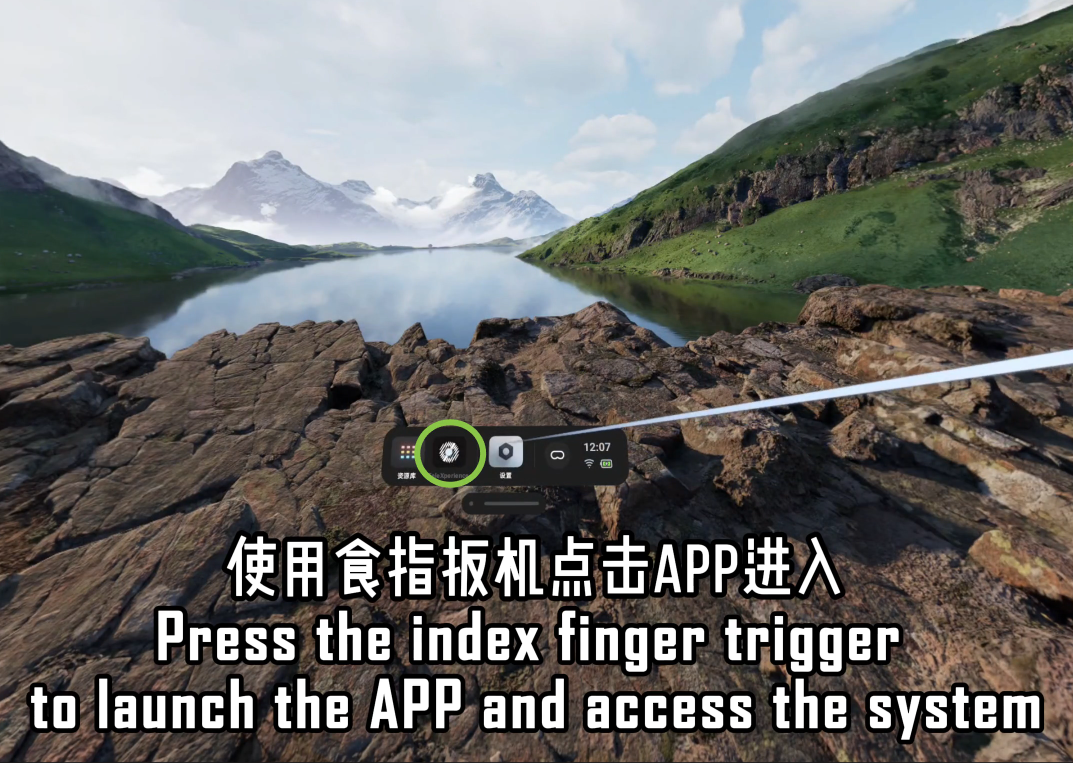
Put on the VR headset and select the TeleXperience_v3 app from the taskbar to enter.
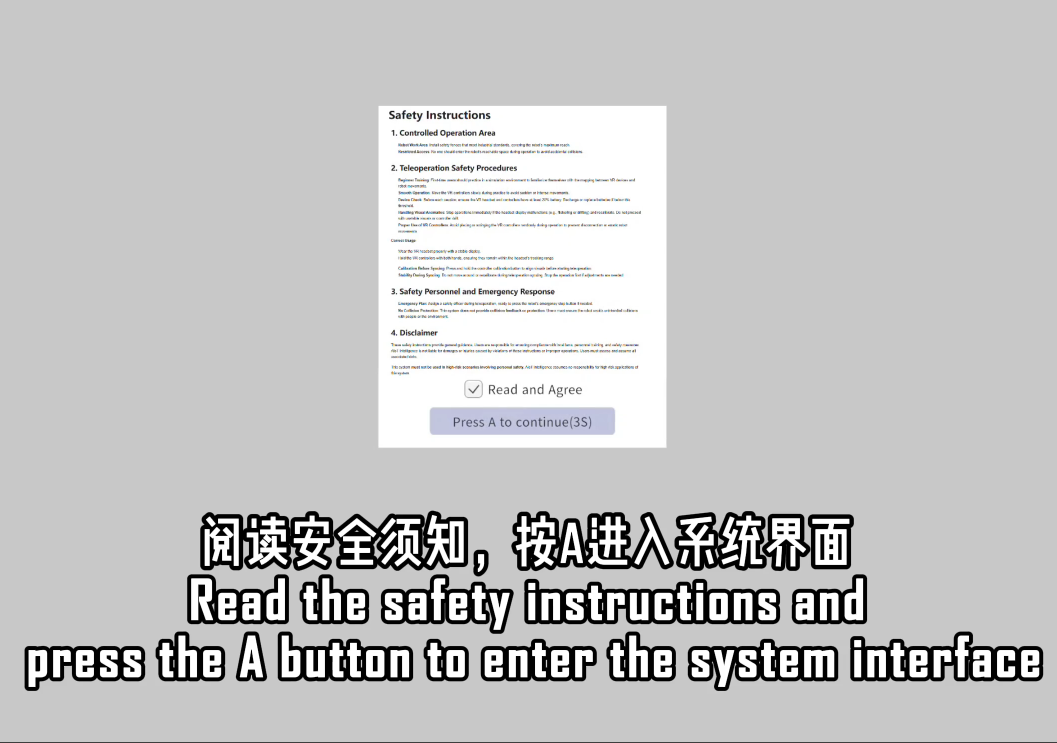
On the system screen, press A to enter.
You will then enter the home page.
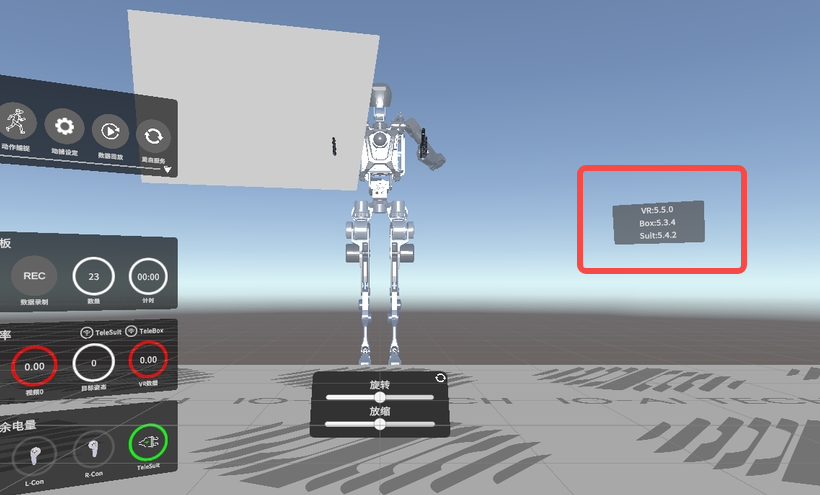
The area highlighted in red in the image shows the TeleSuit version number.
- TeleSuit version V5.4.X corresponds to Version B, referred to as Version B below.
- TeleSuit version V5.5.X corresponds to Version C, referred to as Version C below.
Pose Calibration
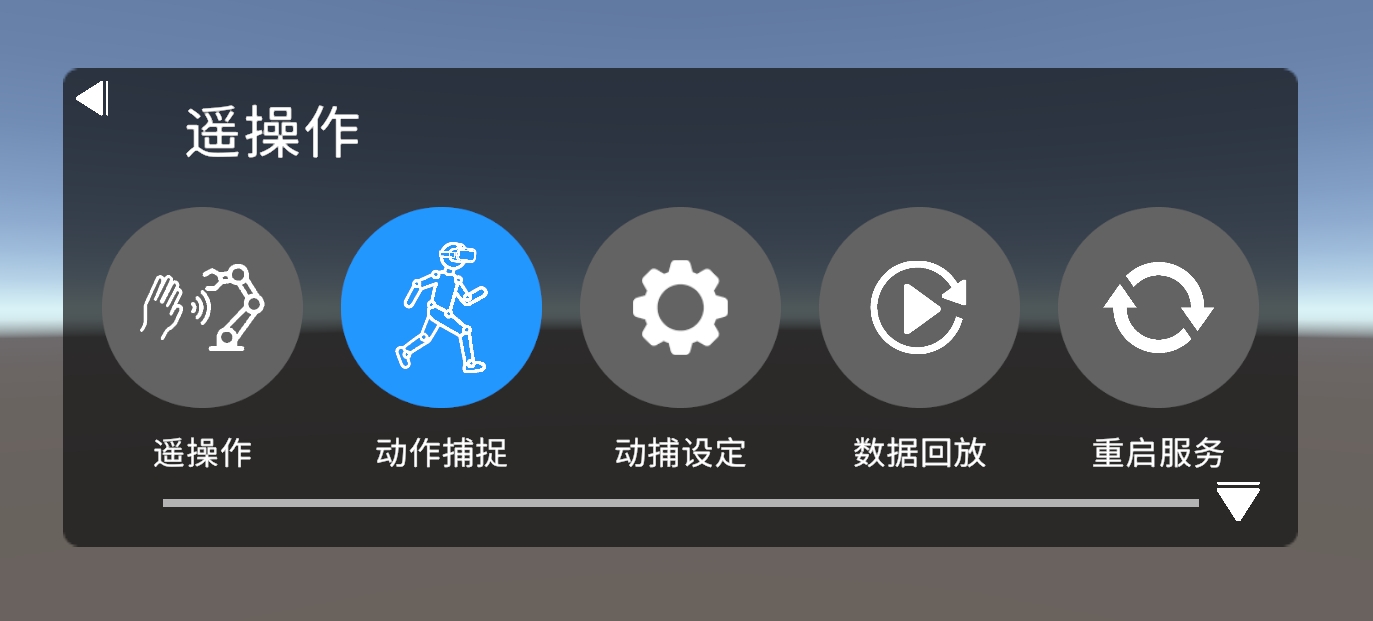
Click Motion Capture Settings.
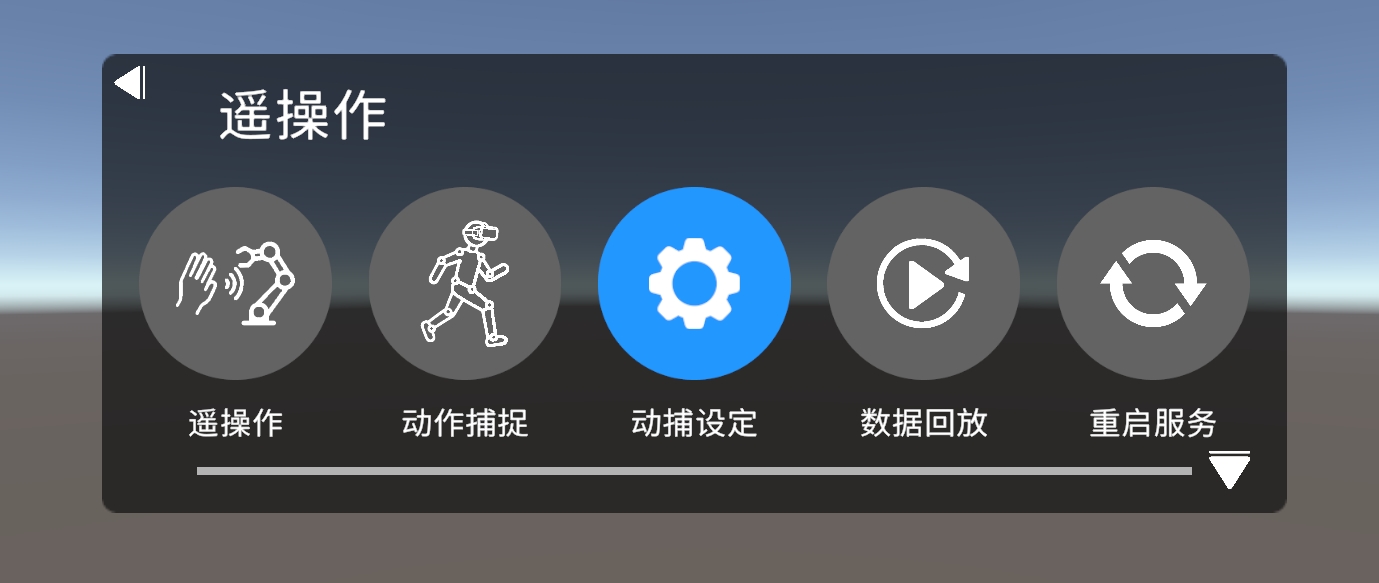
Version B Motion Capture Settings
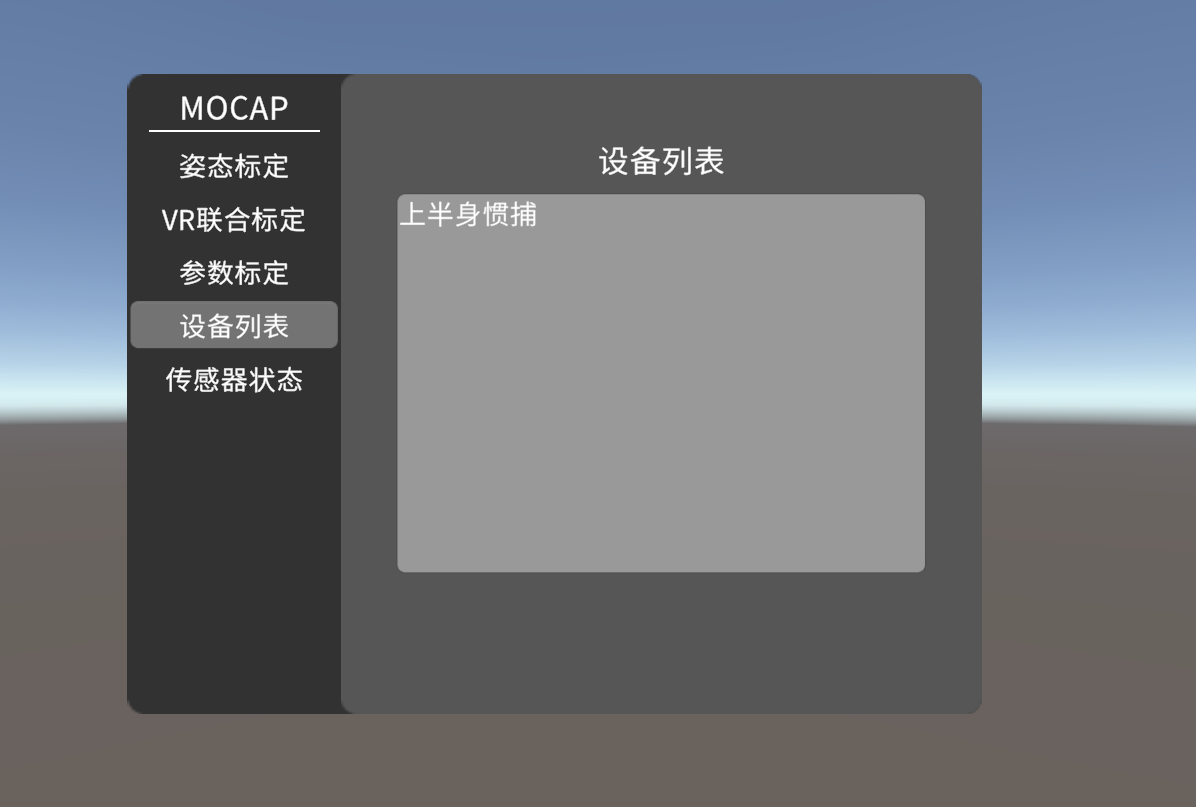
You need to check the devices you are wearing in the device list before enabling motion capture.
The checkboxes in the device list correspond to: upper body mocap, lower body mocap, mocap gloves, exoskeleton gloves, and wireless module.
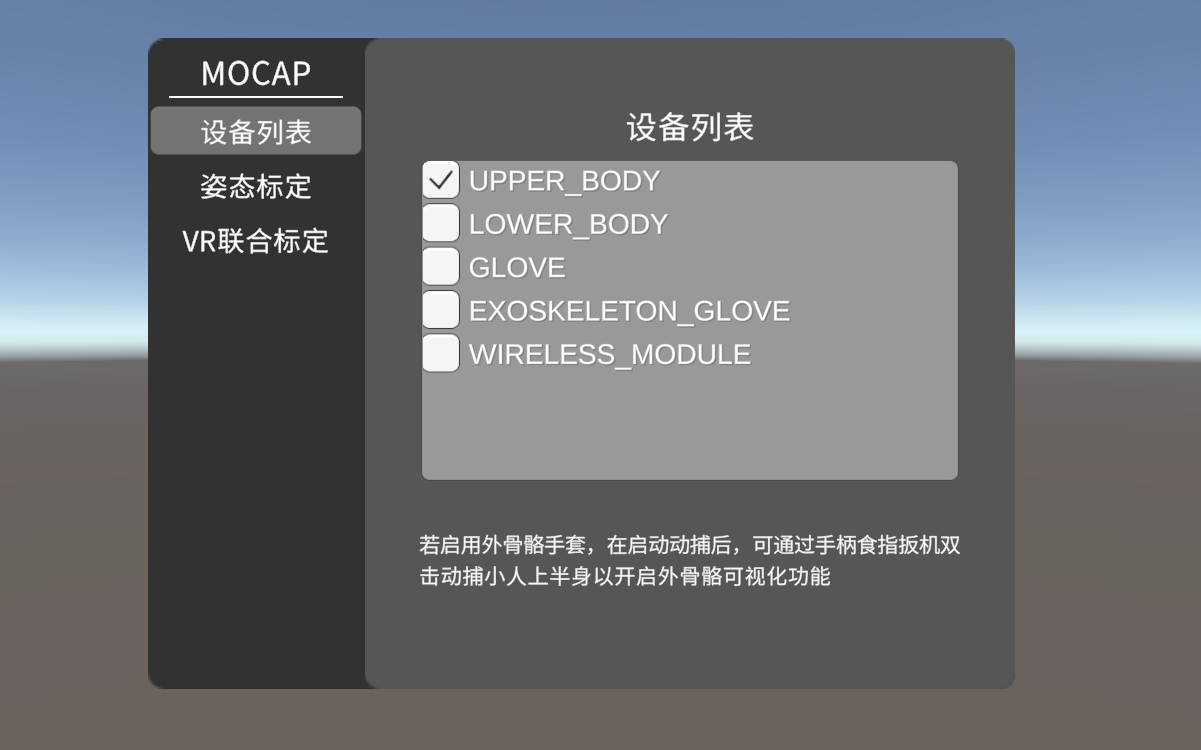
The following functions are only available after motion capture is enabled.
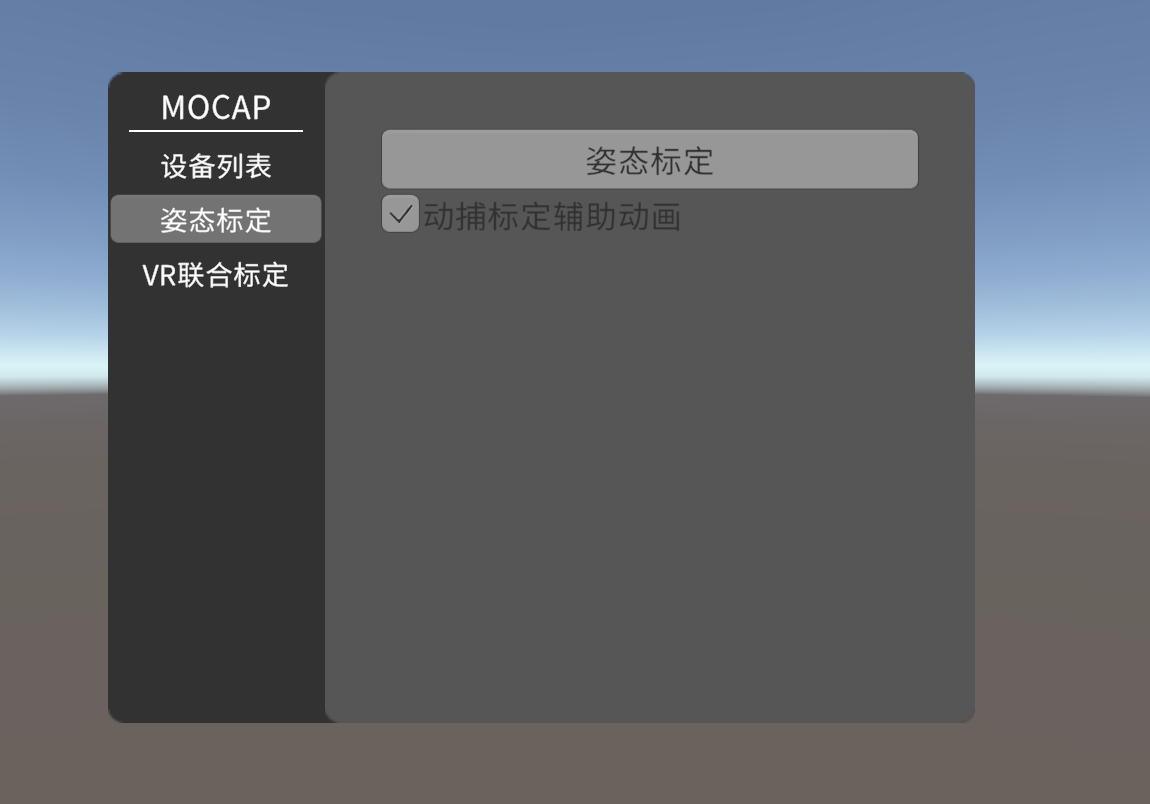
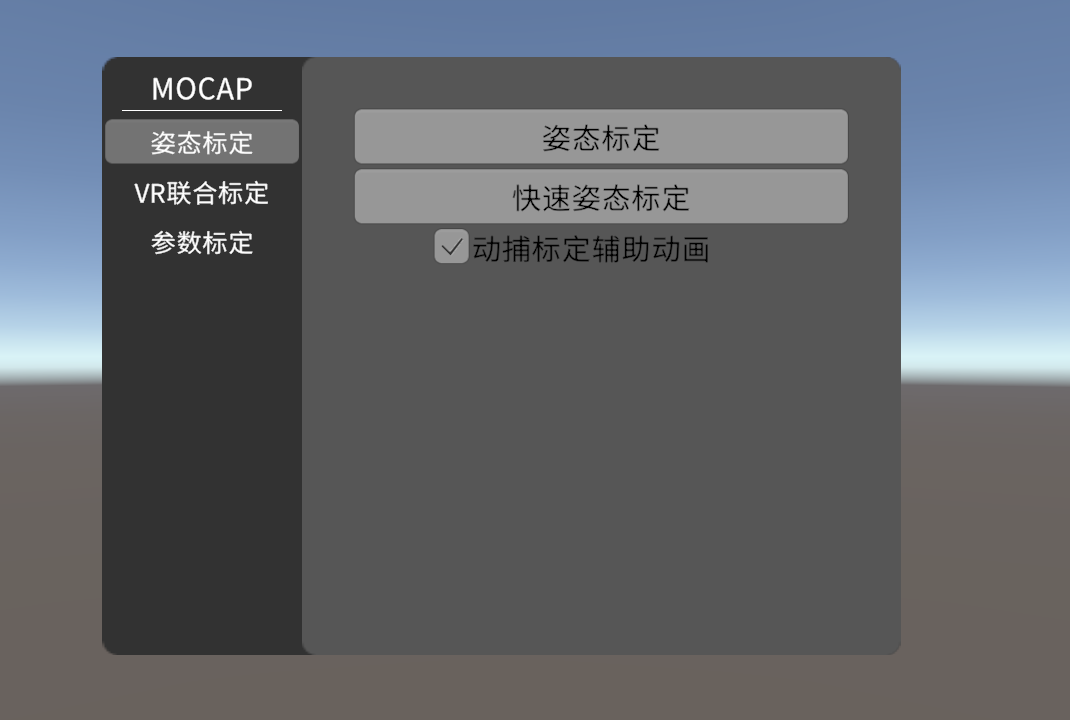
Click Pose Calibration and follow the calibration animation to complete the calibration. After calibration, the pose of the mocap figure matches that of the person being calibrated. The calibration animation is checked by default.
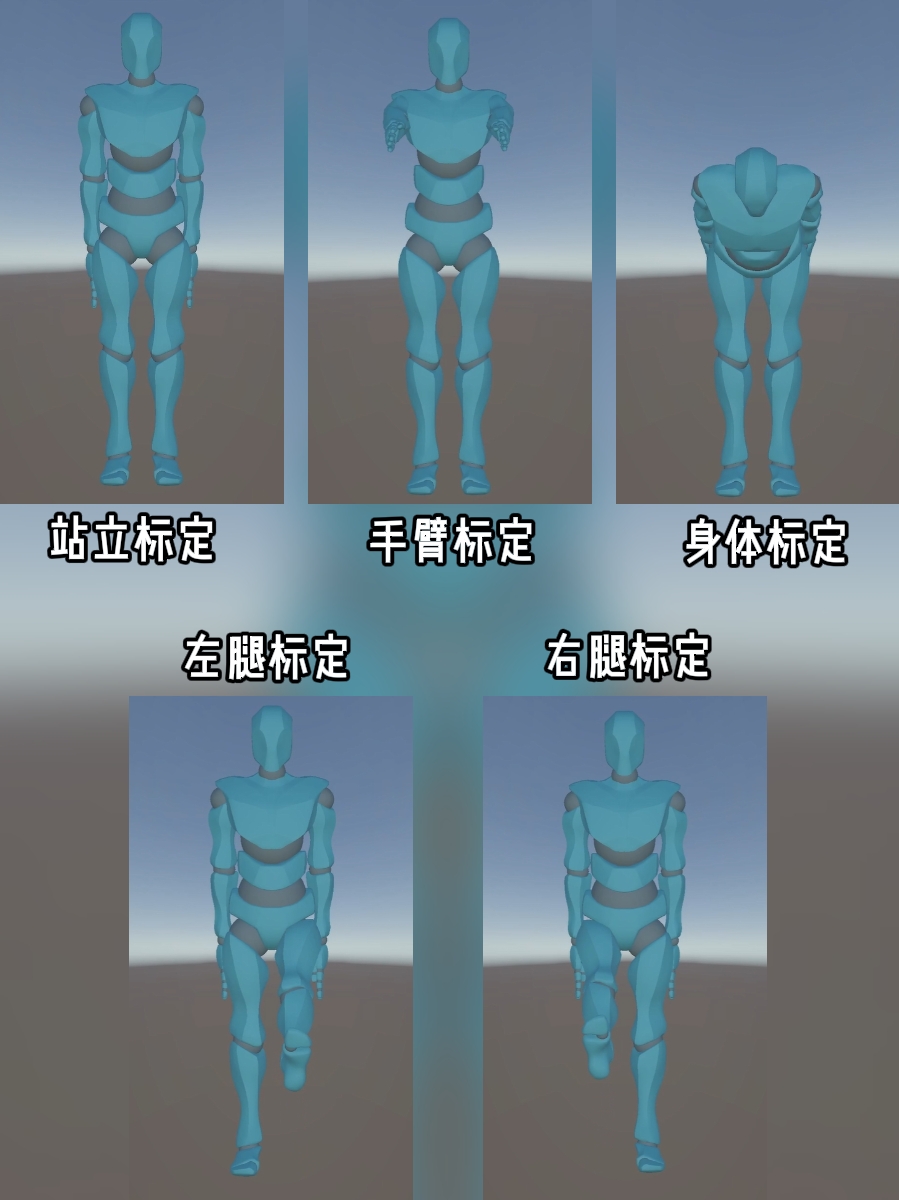
The calibration animation is shown below.
After starting the calibration, listen to the broadcast and follow the mocap figure to complete the following five calibration movements.
Each calibration movement must be completed within three seconds. Every movement must go from a normal standing position to the corresponding calibration movement, and then back to a normal standing position.
Version C Motion Capture Settings
In Version C, no selection is needed in the device list.
Perform pose calibration and follow the voice prompts for motion capture calibration.
After starting the calibration, listen to the broadcast and follow the mocap figure to complete the following five calibration movements.
Each calibration movement must be completed within three seconds. Every movement must go from a normal standing position to the corresponding calibration movement, and then back to a normal standing position.
Teleoperation
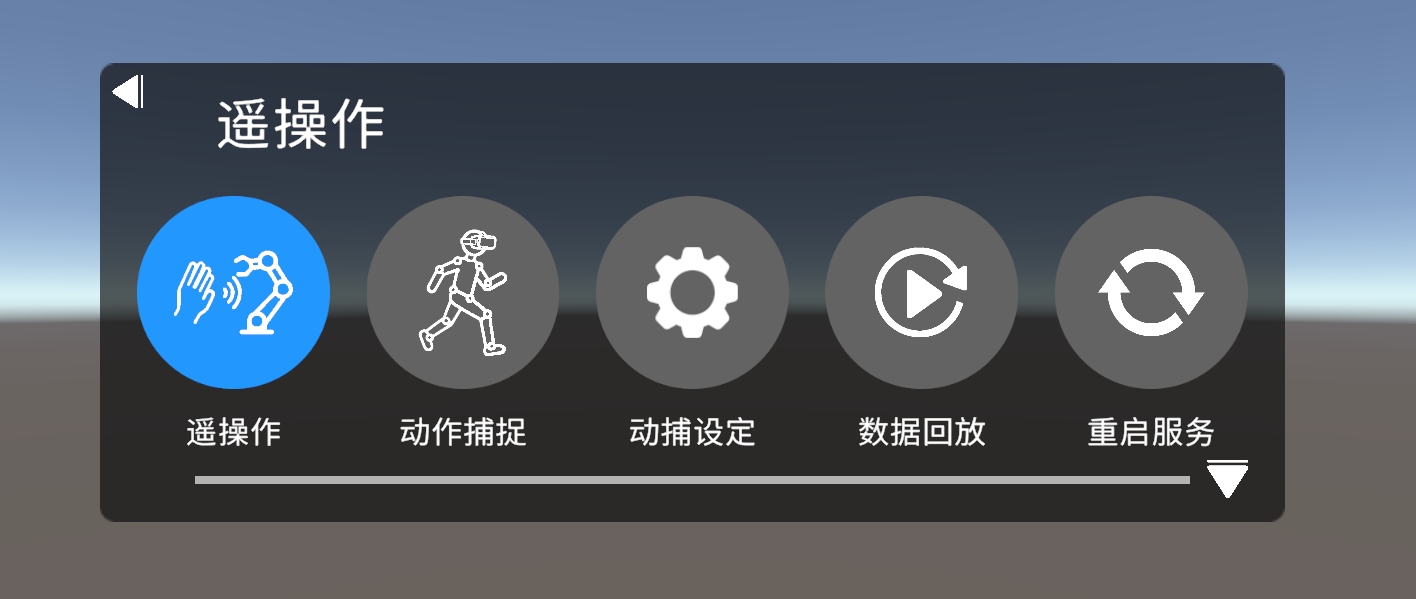
Click the Teleoperation button to enable teleoperation.
The controller usage instructions are as follows.
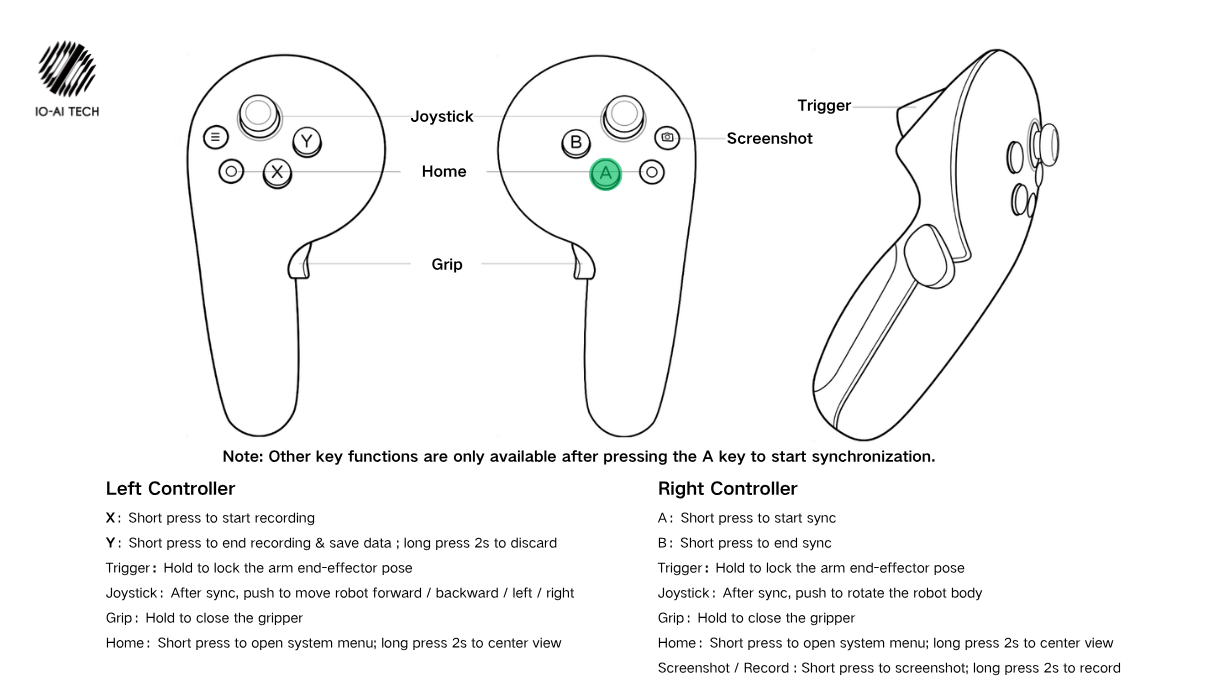
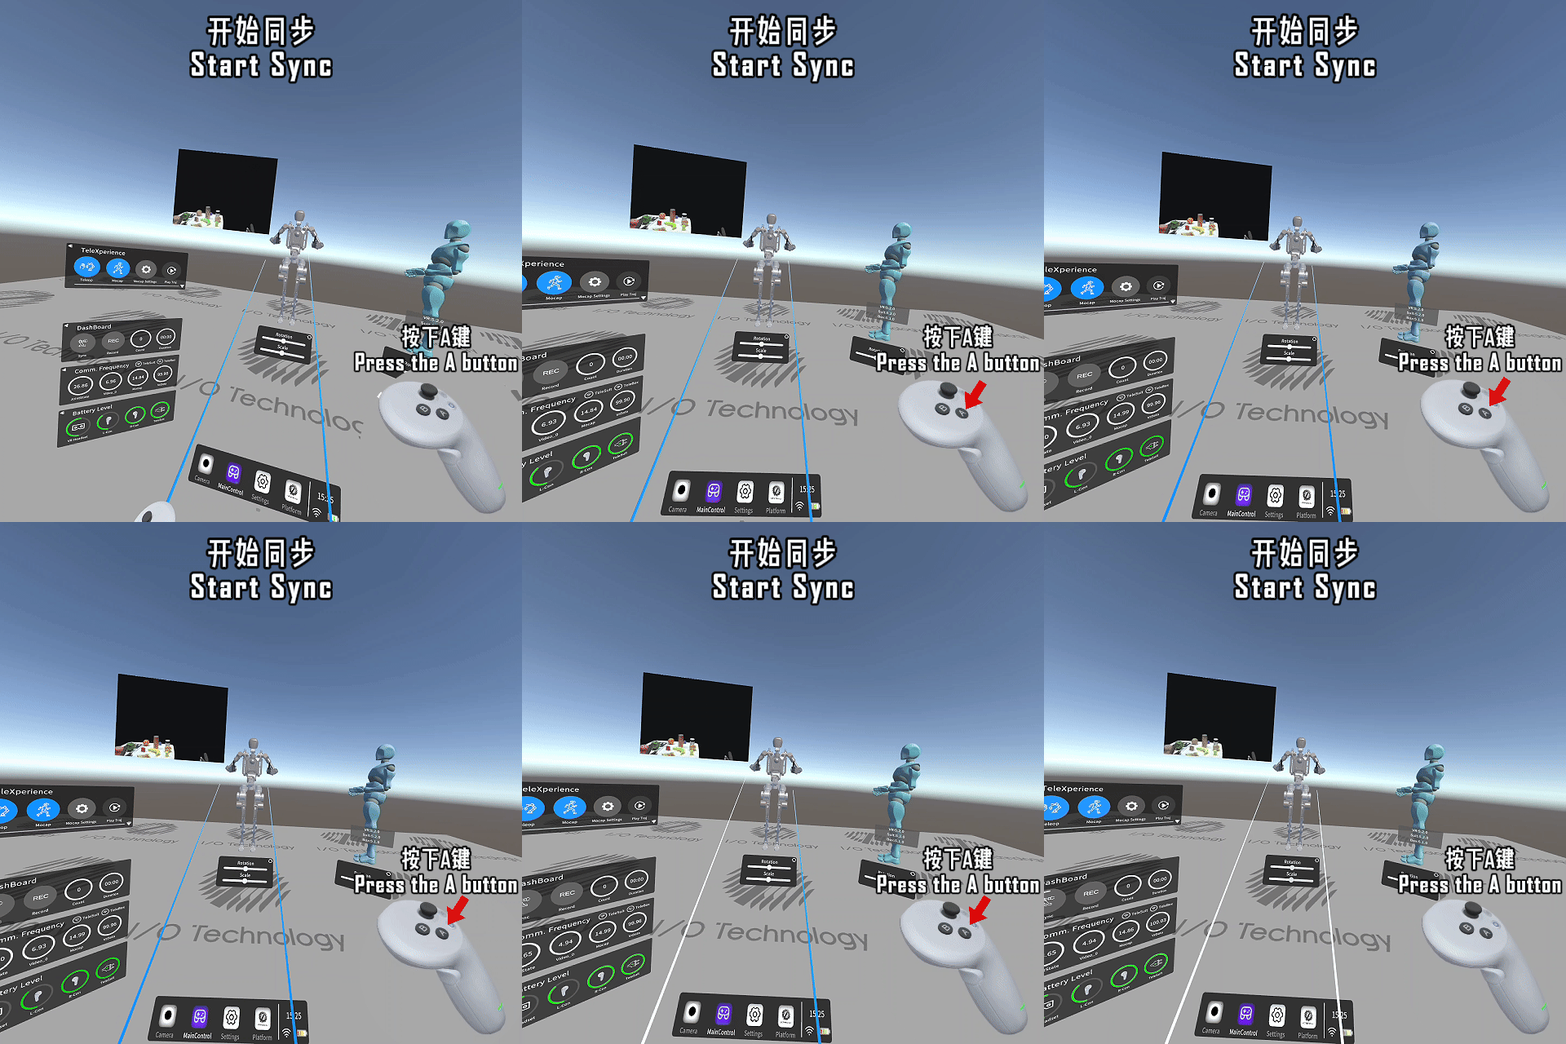
Move your hands to match the robot's zero position, then press A to start synchronization.
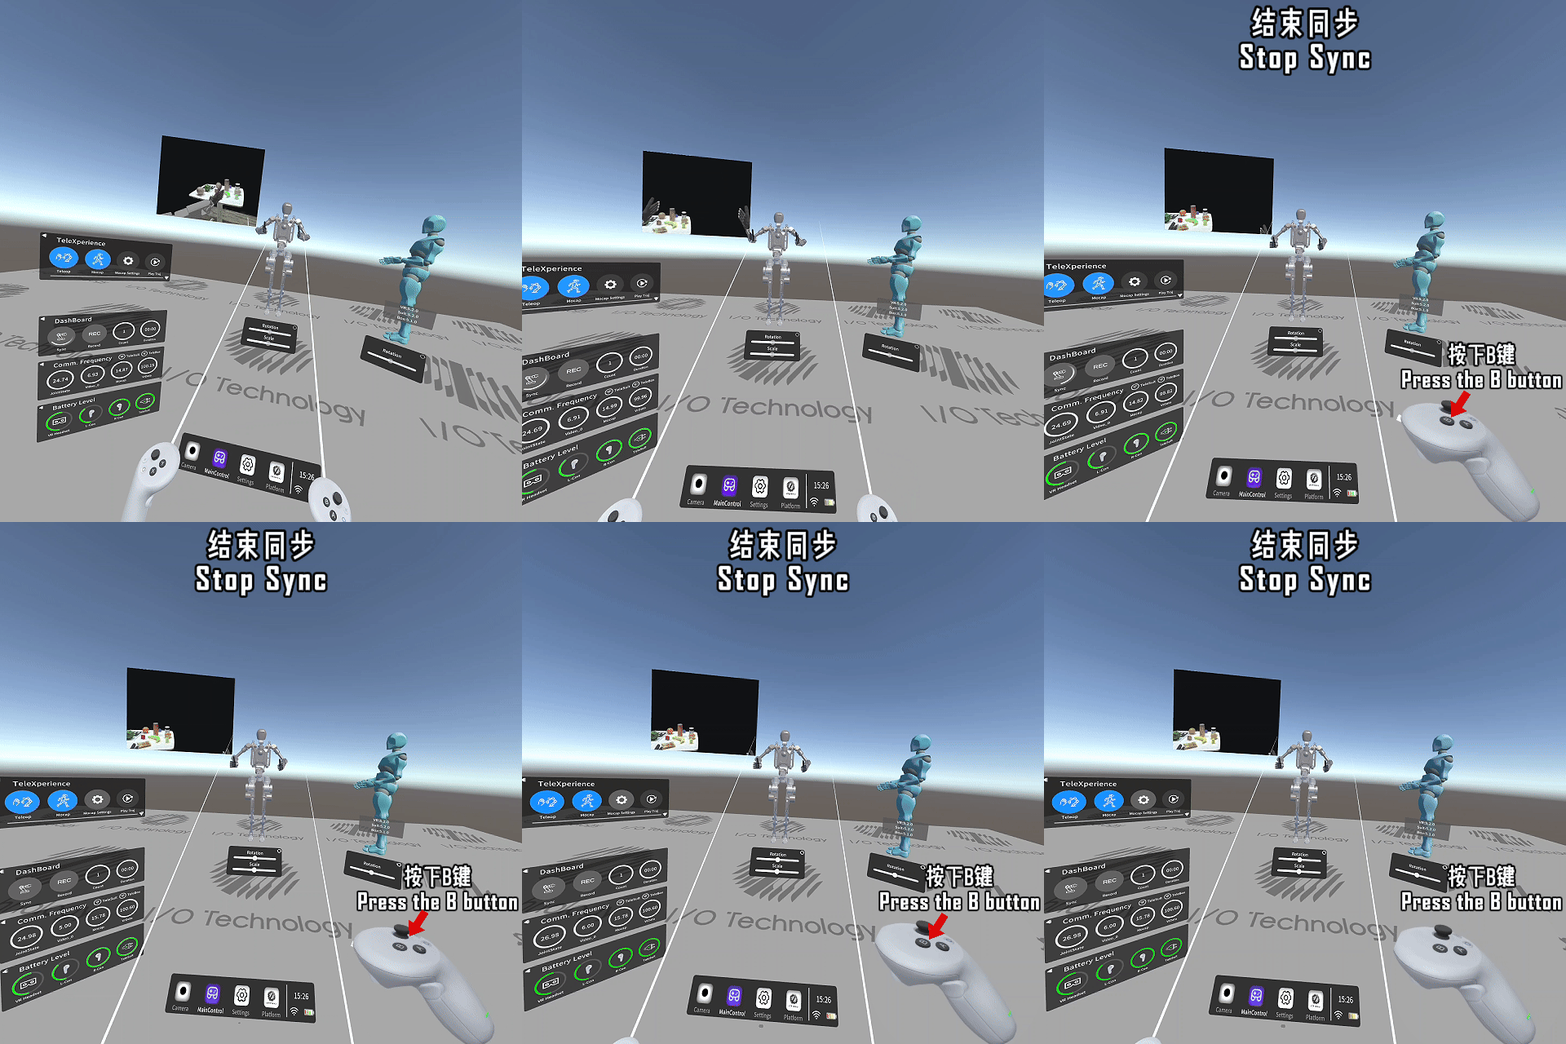
Press B to stop synchronization.
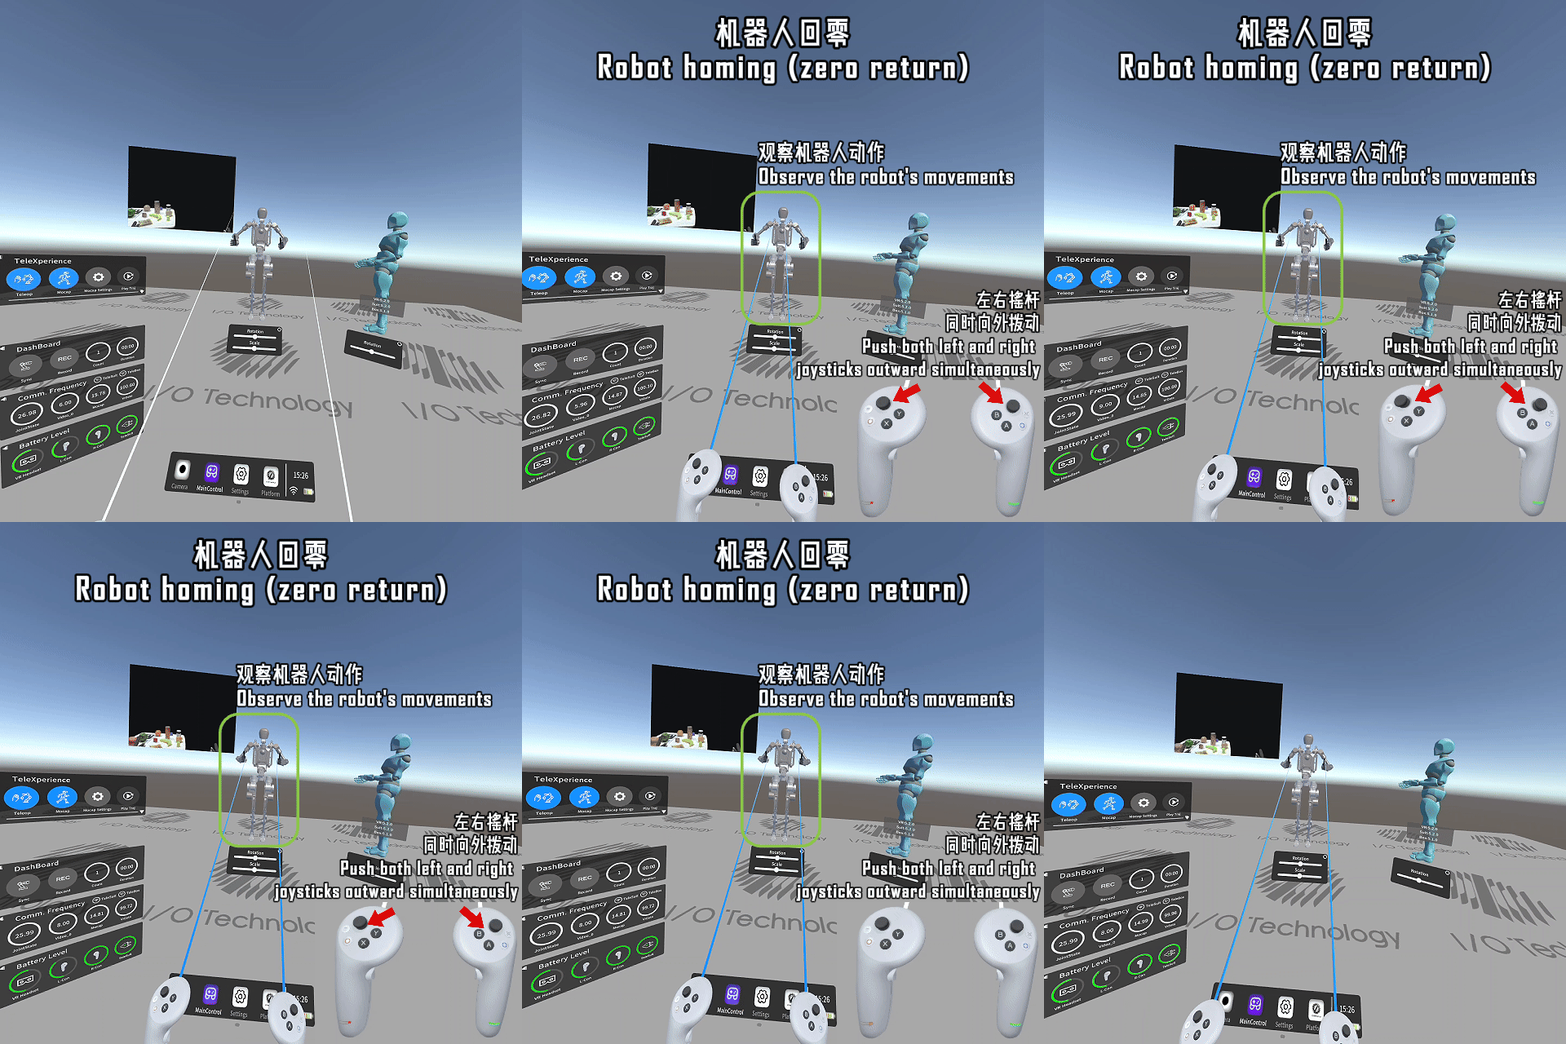
Push both joysticks outward at the same time to return the robot to its zero position.
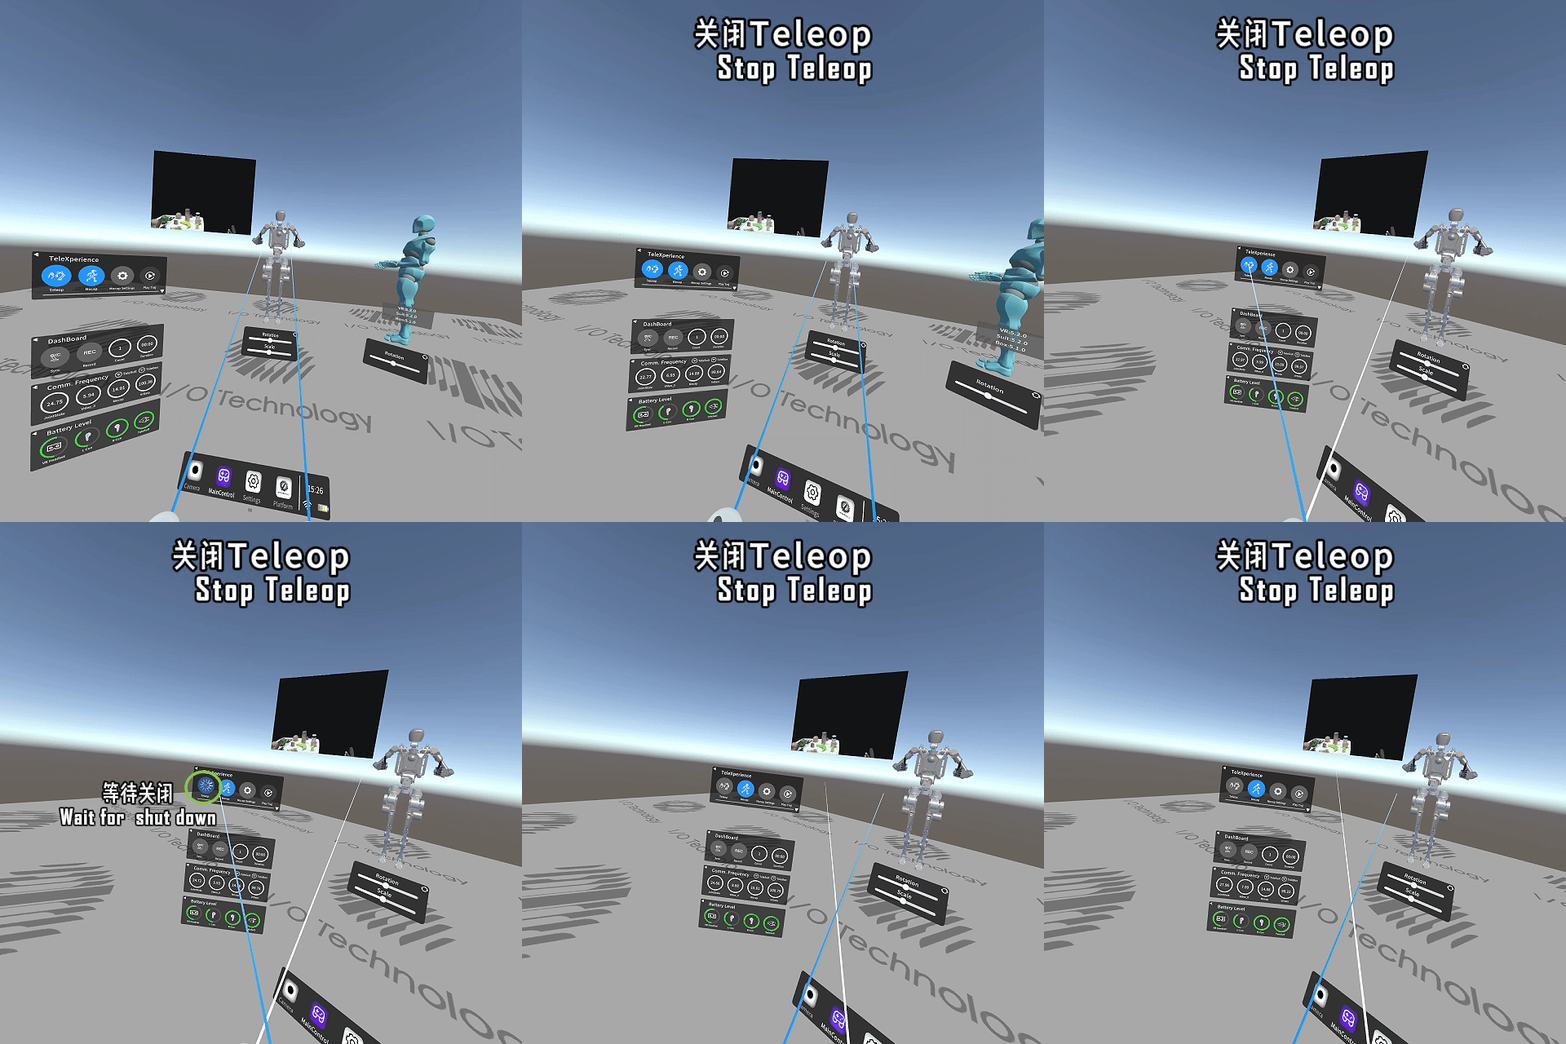
Aim the index finger trigger at the Teleoperation button and press it briefly to turn off teleoperation.
Basic Function Tutorial
The following operations must be performed while synchronized.
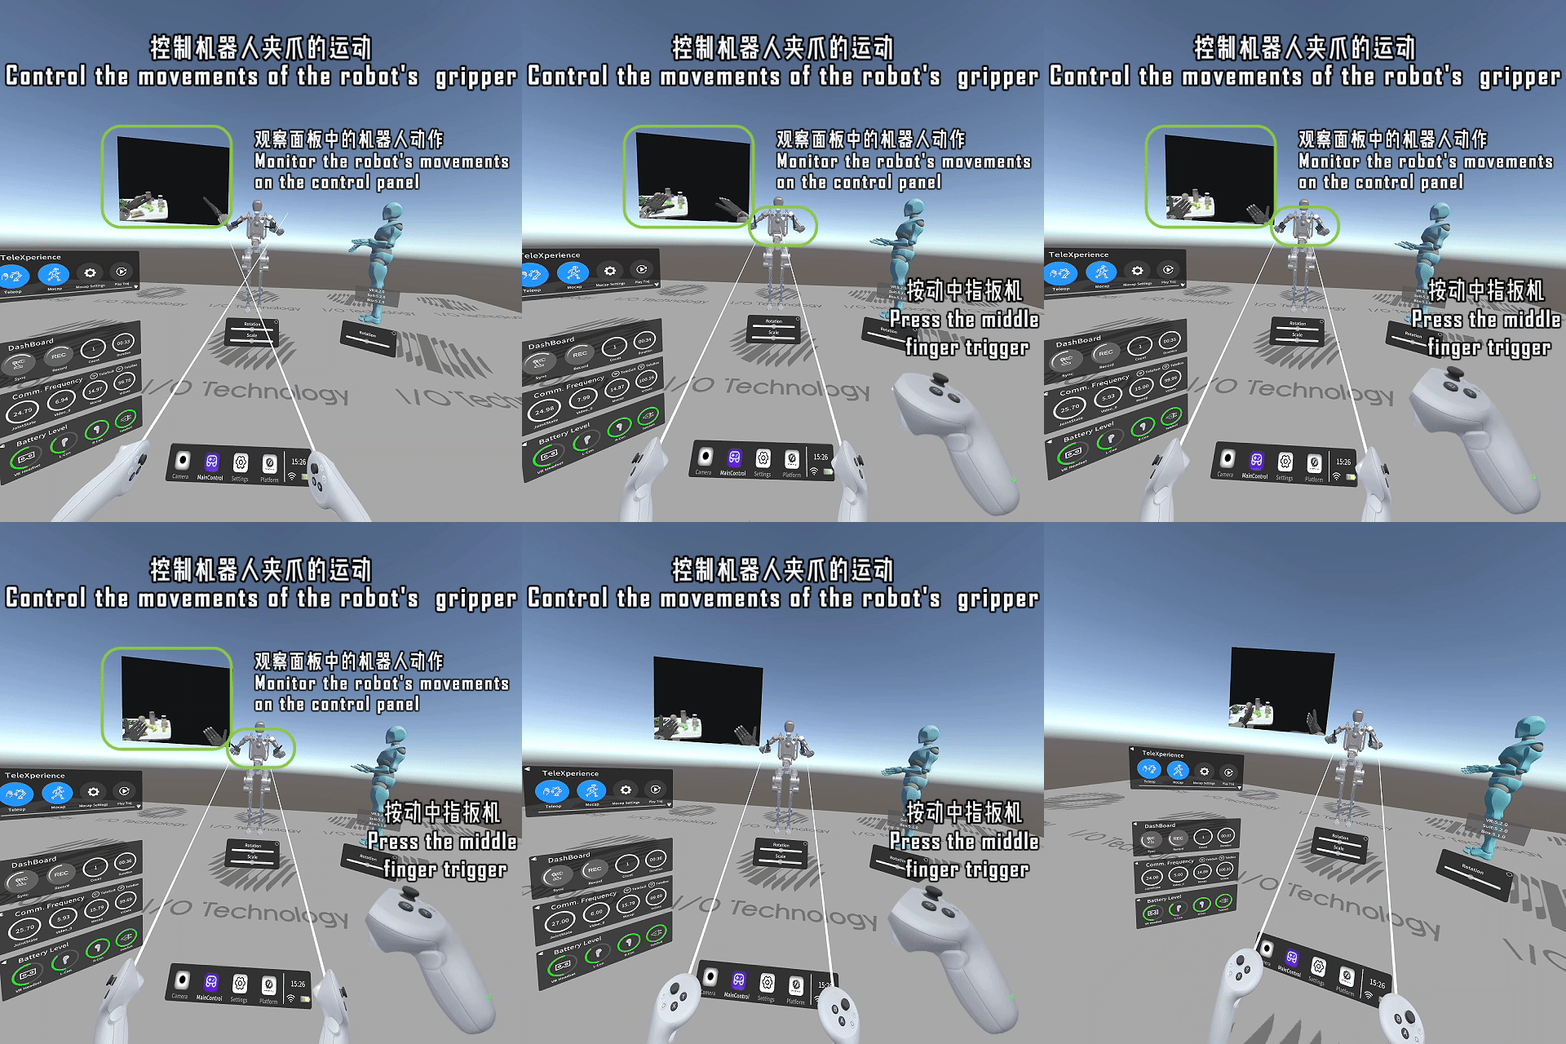
Press the middle finger trigger to control the gripper movement.
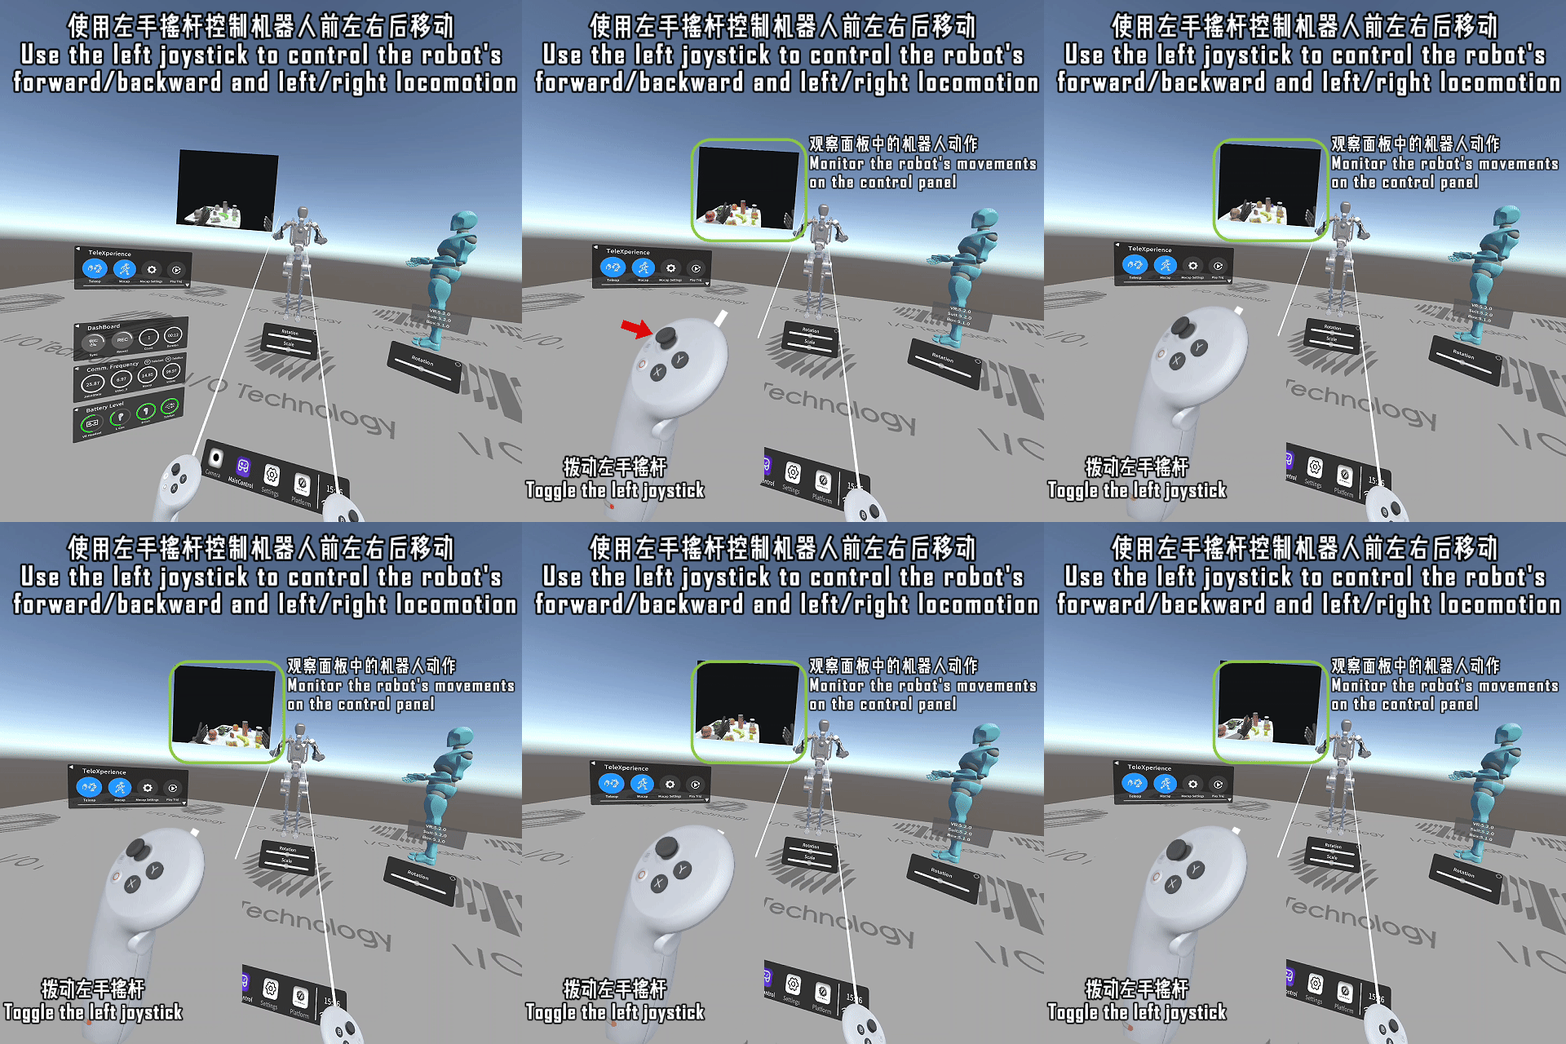
Use the left joystick to move the robot forward, backward, left and right in the environment.
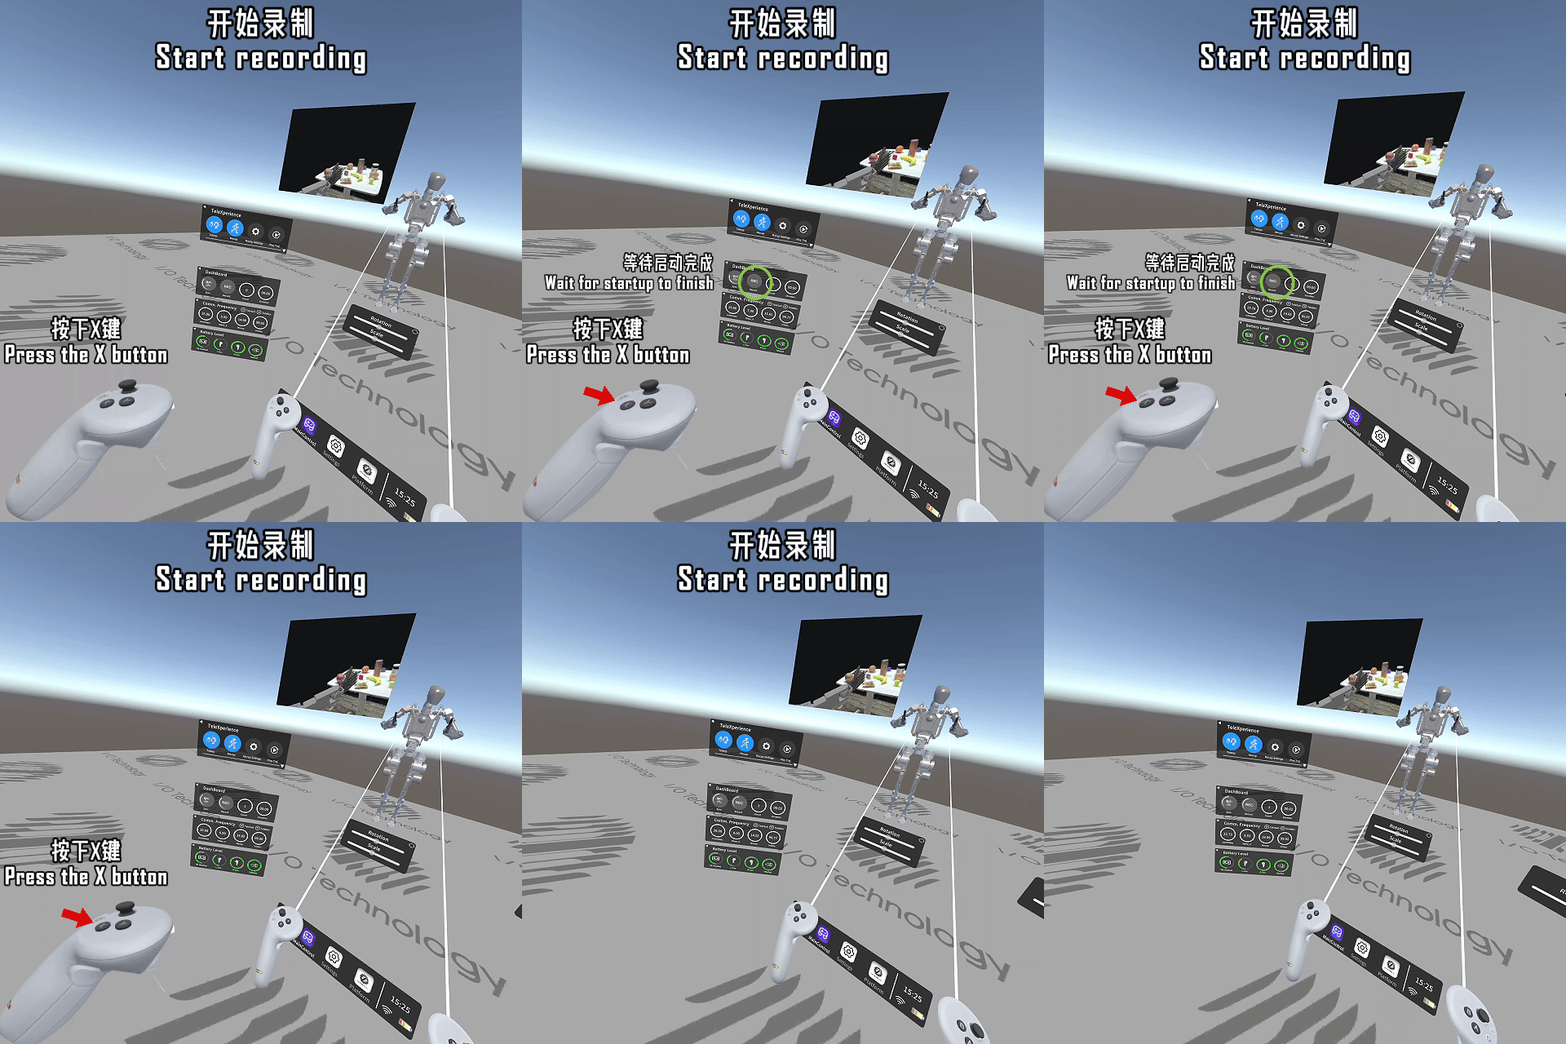
Press X to start recording.
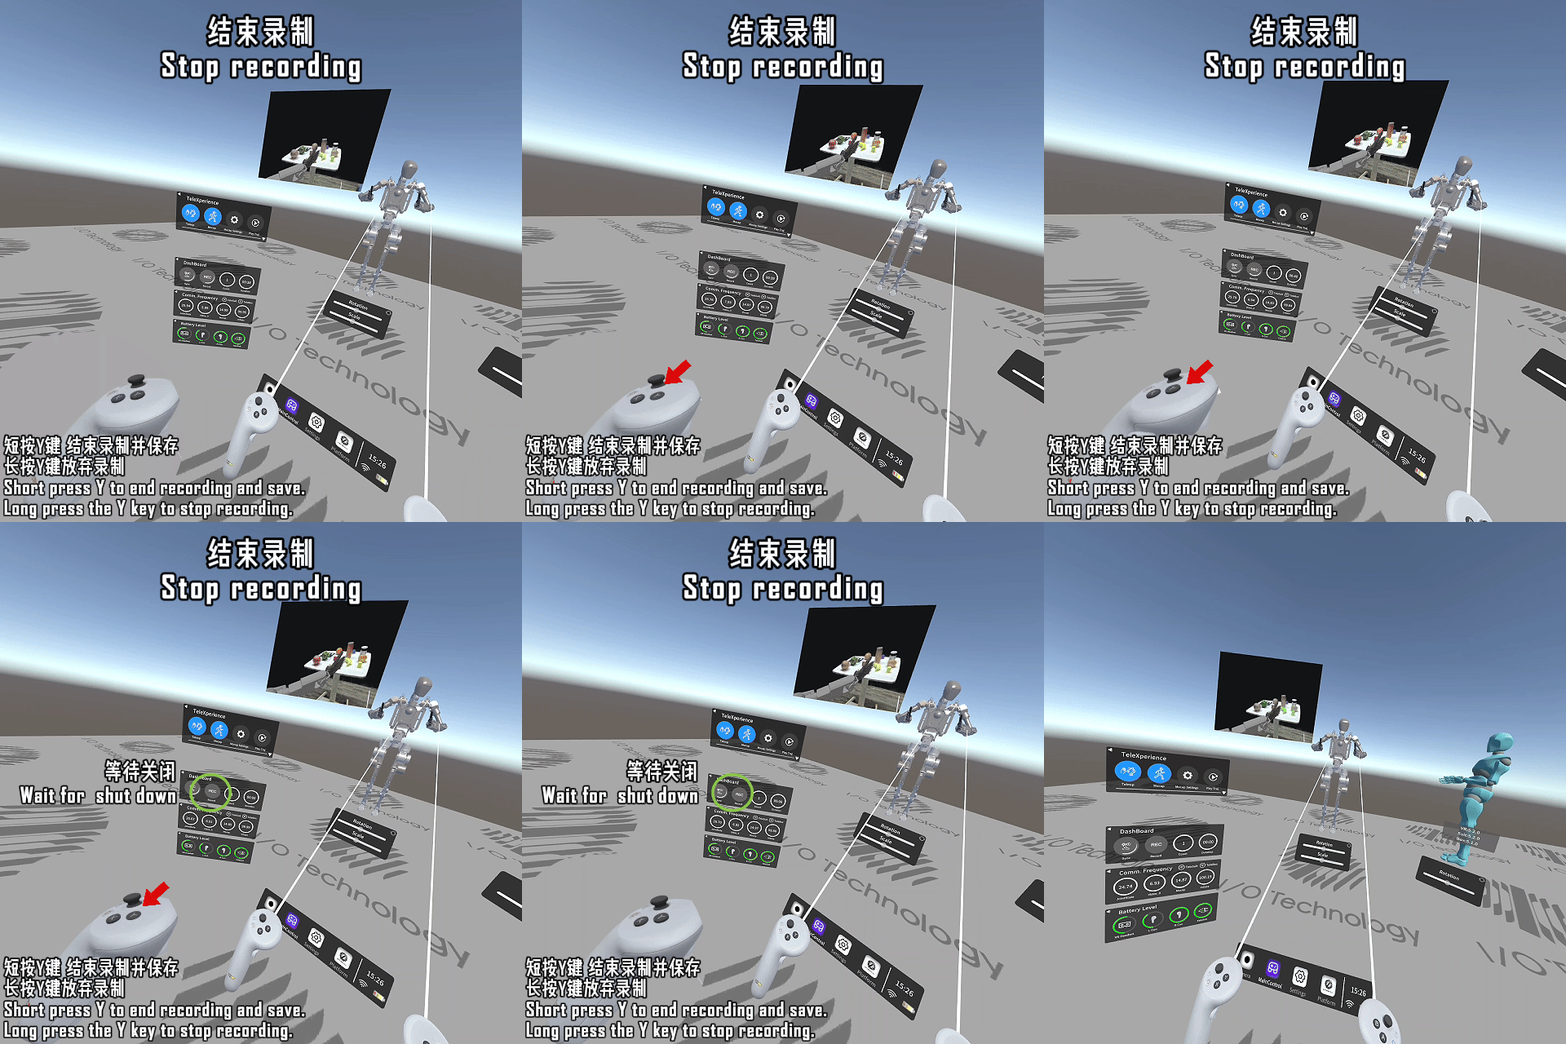
Press Y briefly to stop recording and save.
Press and hold Y for two seconds to stop recording without saving.
Press and hold the left index finger trigger to lock the orientation of the arm end.
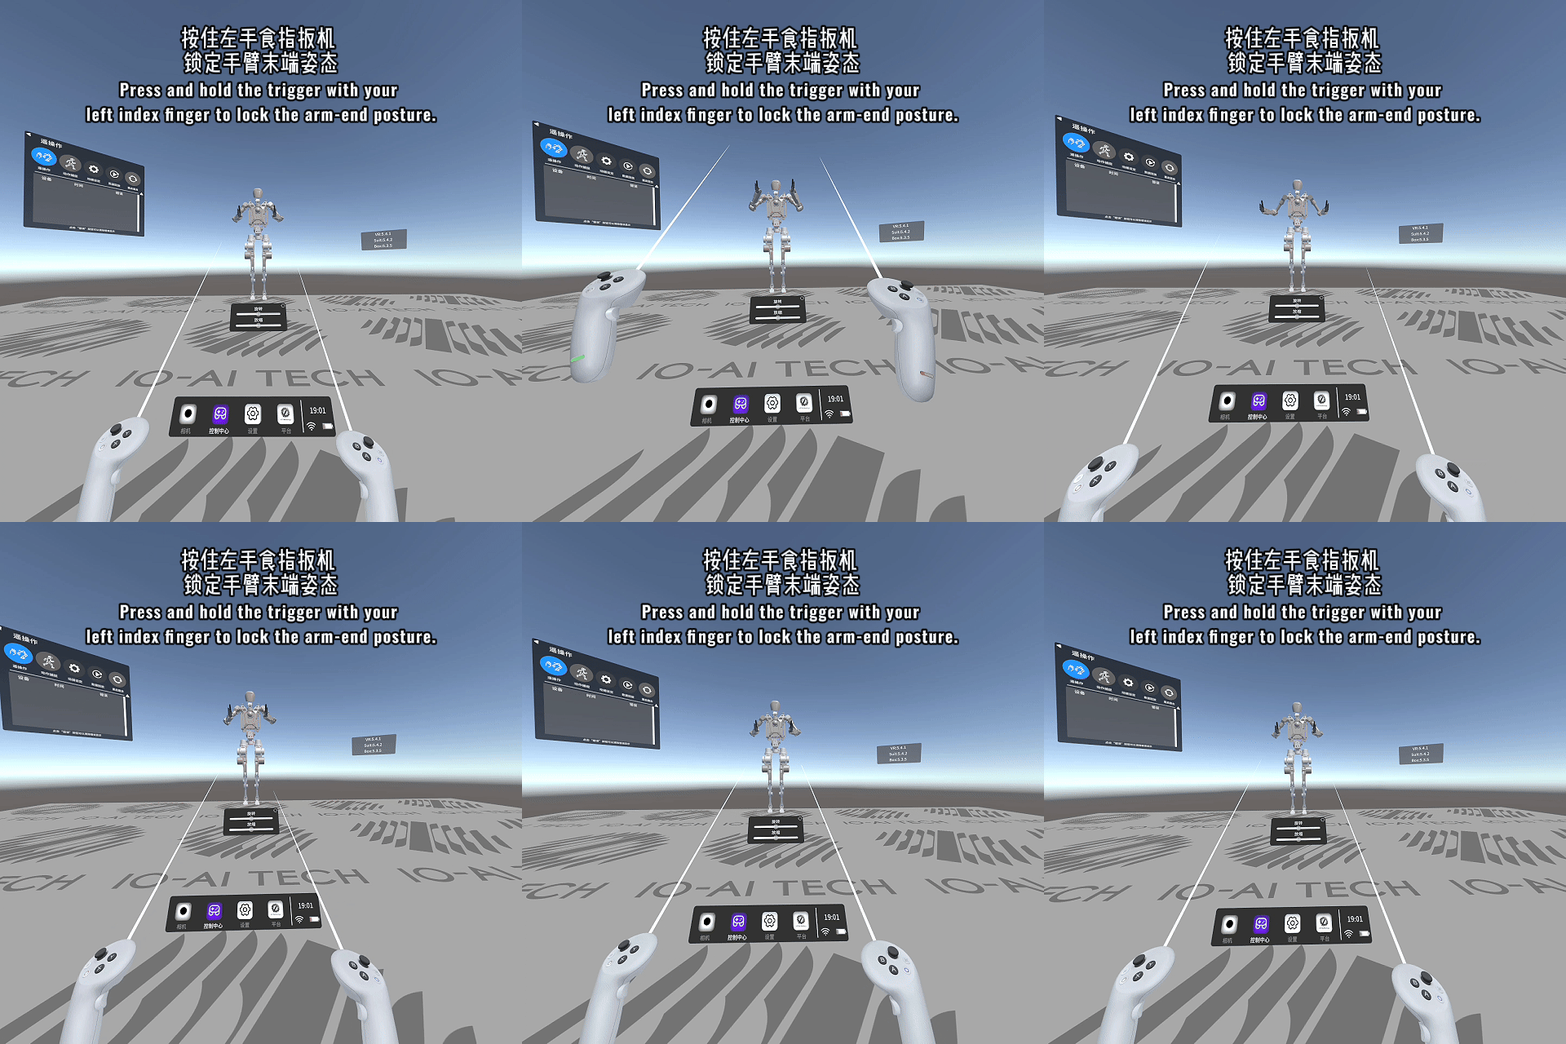
Press and hold the right index finger trigger to lock the position of the arm end.
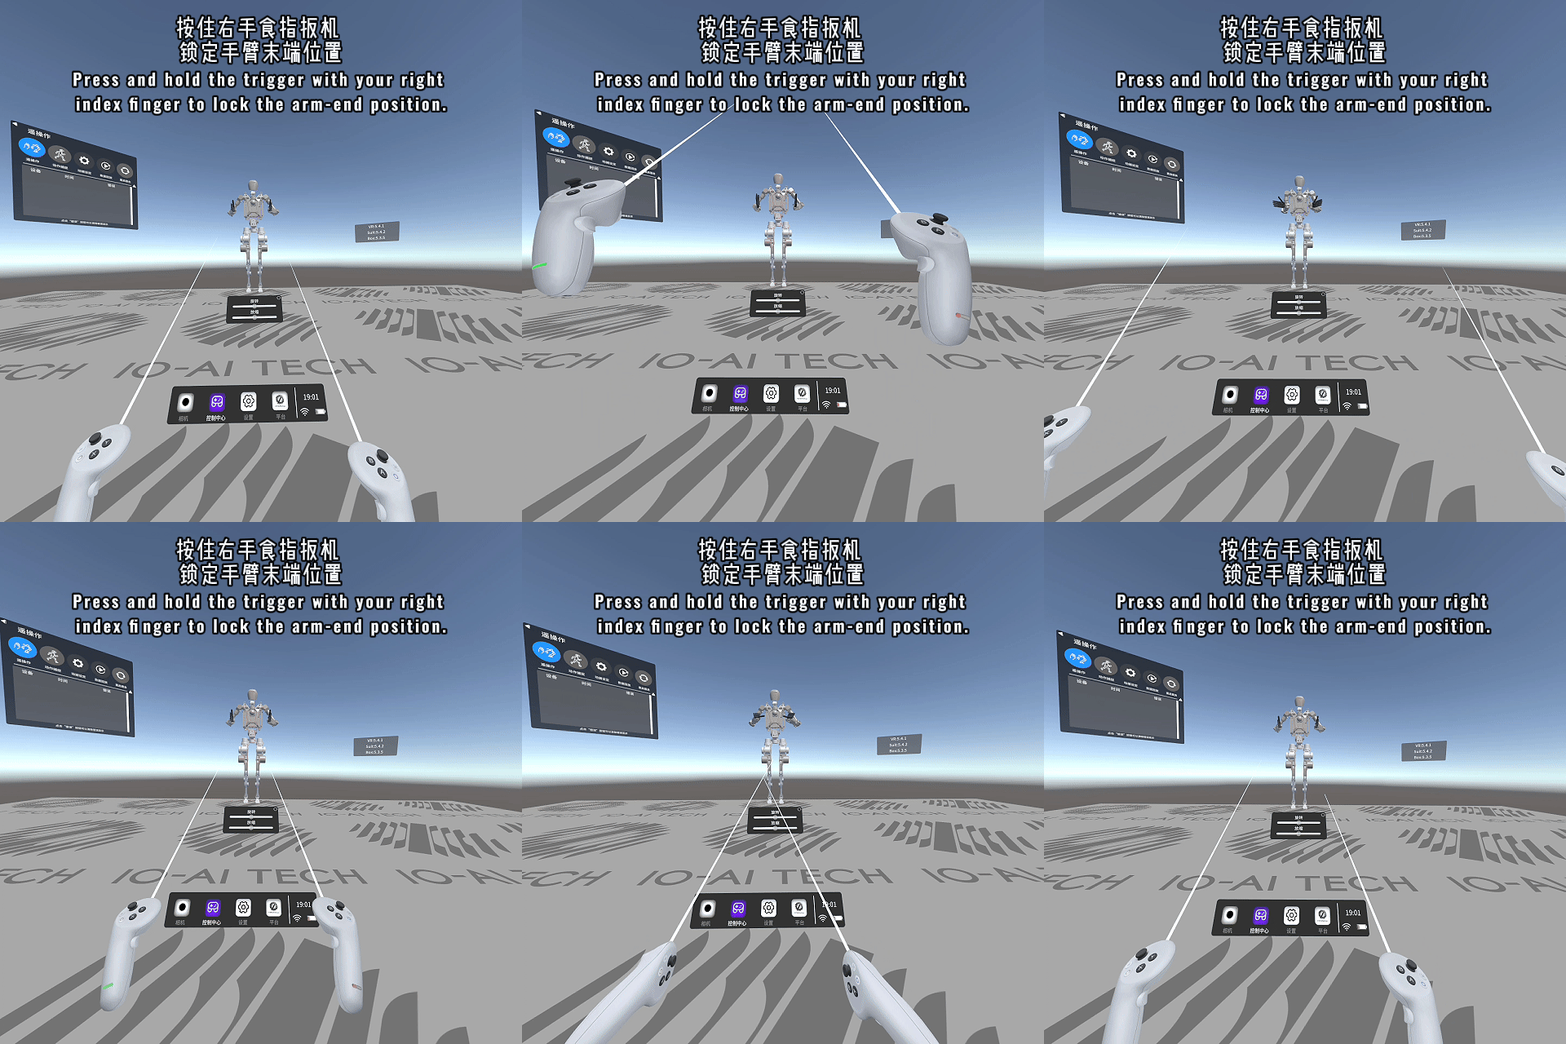
When the index finger trigger is not pressed, the lock function is not activated.
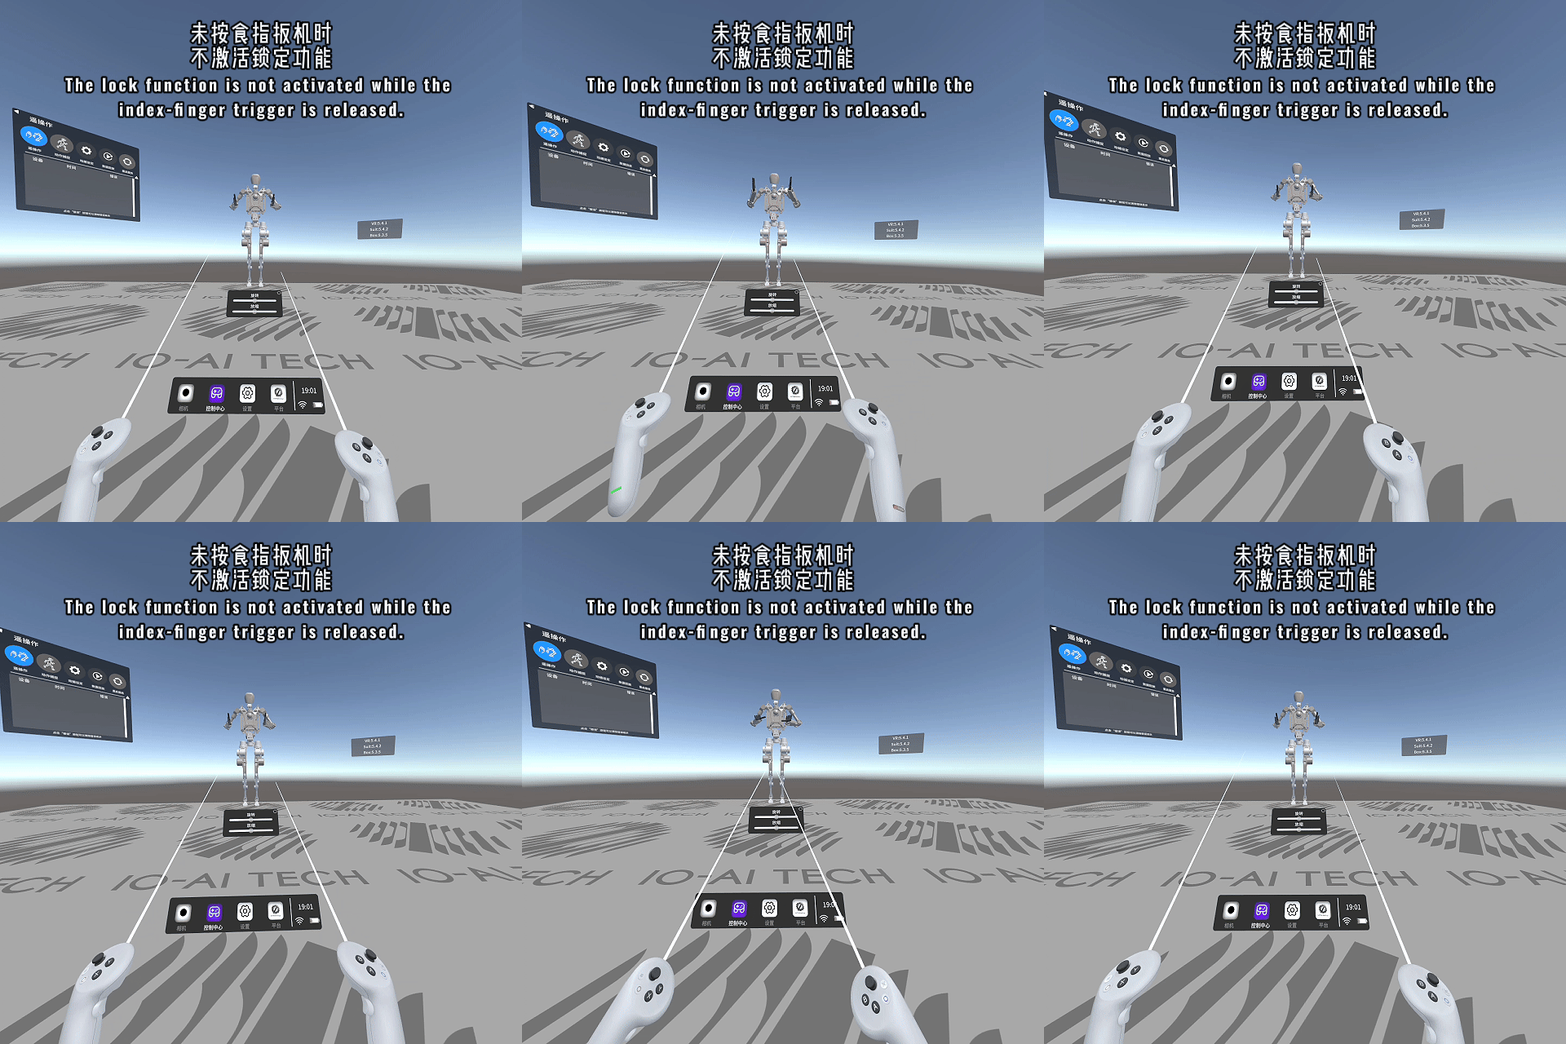
The following operations cannot be performed while synchronized.
Press and hold the middle finger trigger, then use the joystick to drag and rotate.
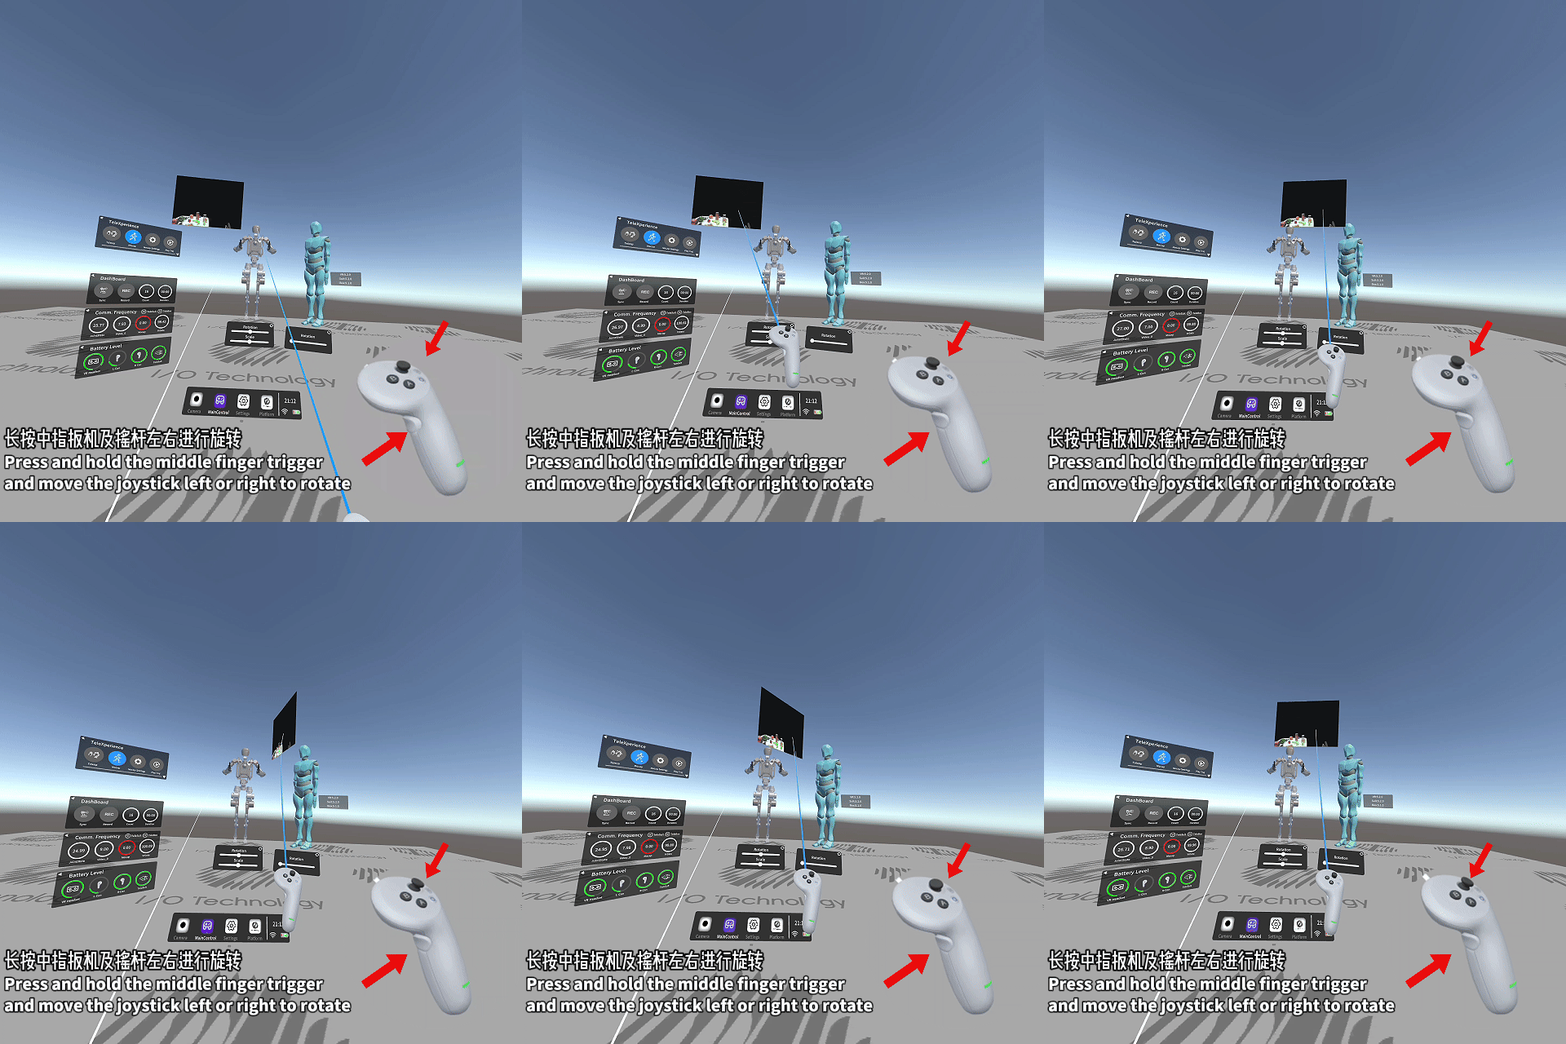
Aim at the panel and press and hold the middle finger trigger, then use the joystick to move the panel forward and backward.
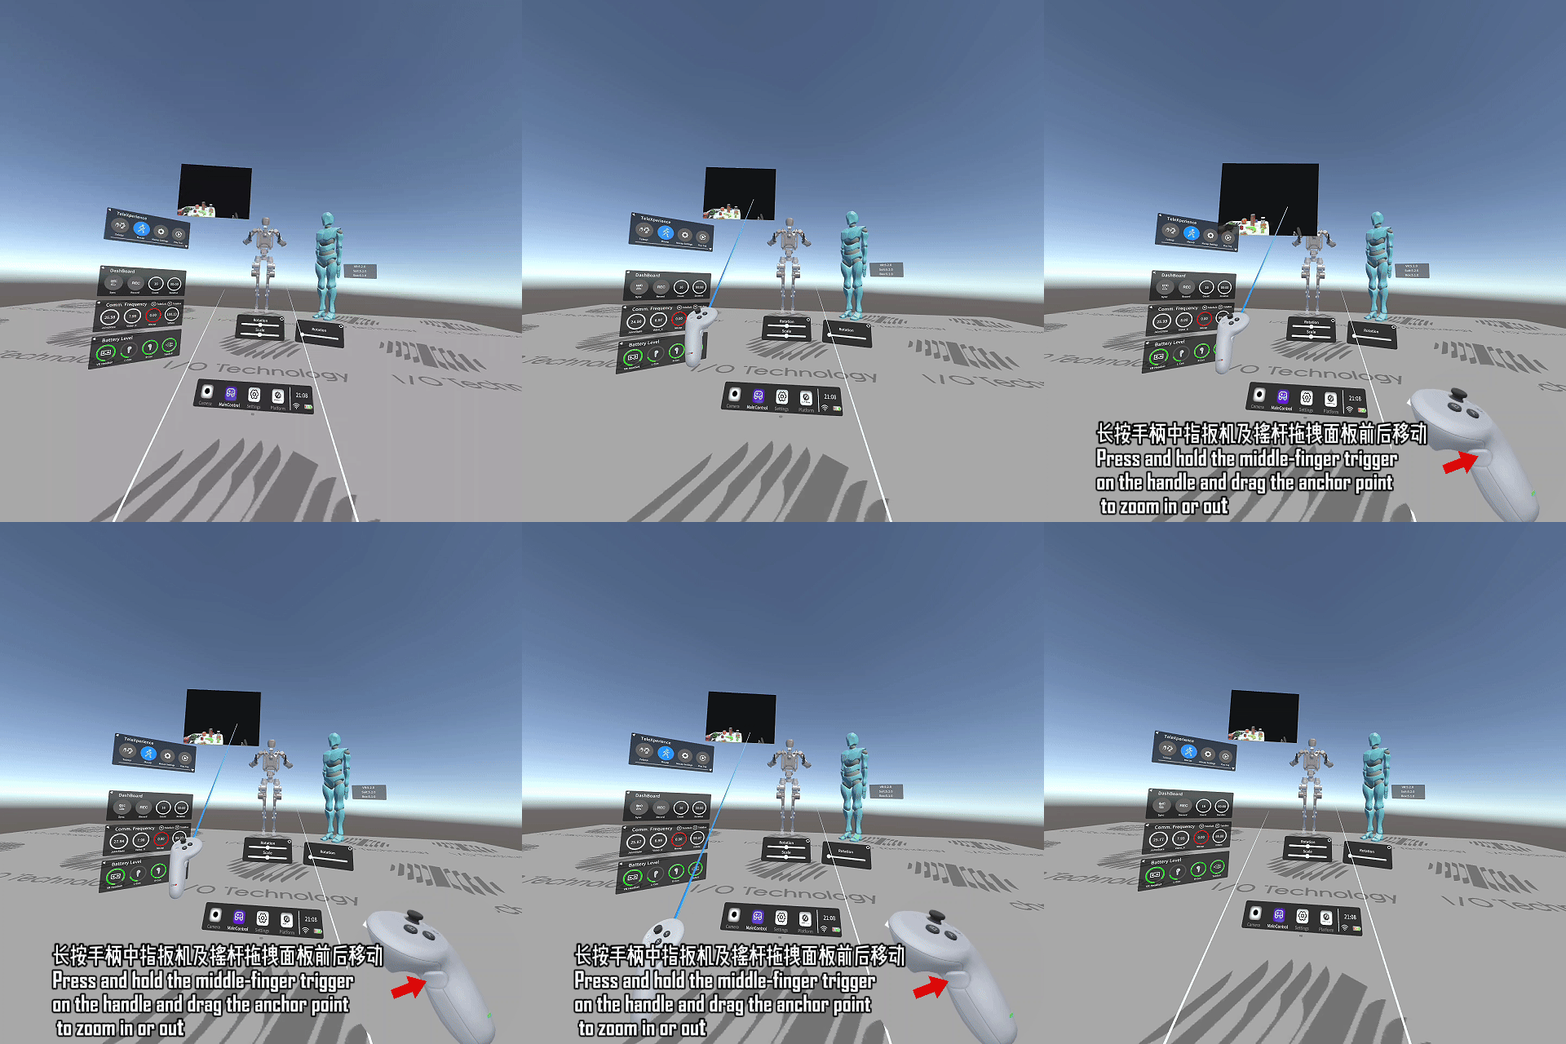
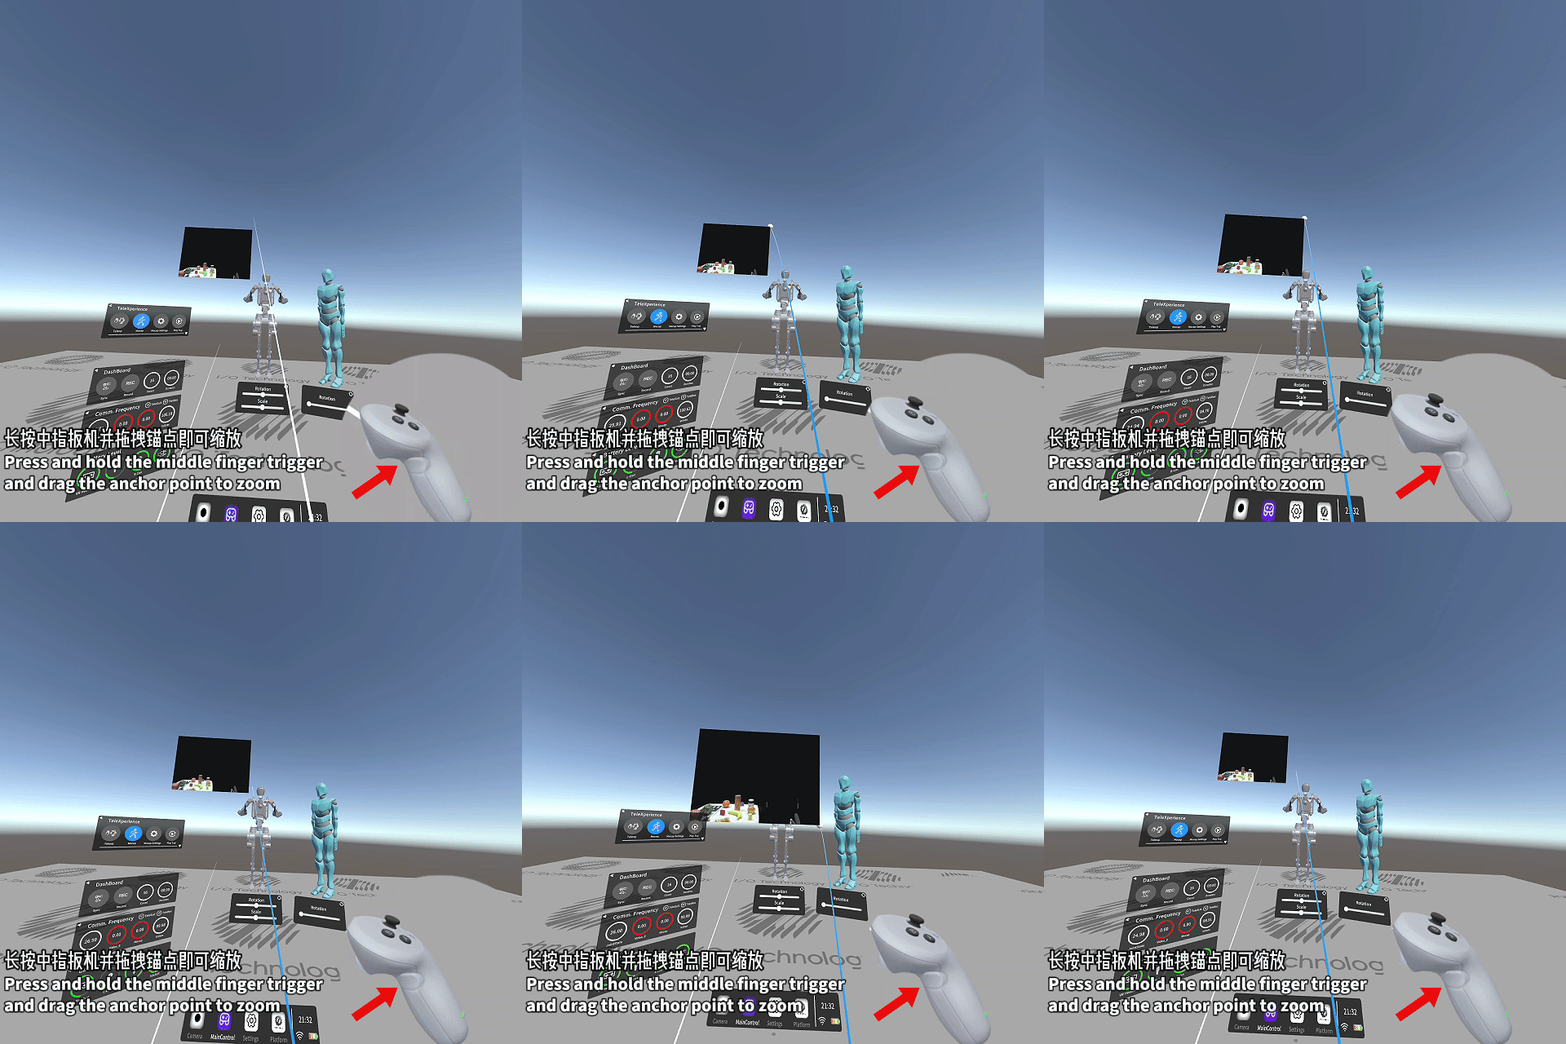
Aim at the anchor point in the corner of the view and press and hold the middle finger trigger to scale the panel.
At this point the Vuer quick start section is complete. To learn more, refer to the VR App Usage Guide (software introduction) and Hardware Connection (hardware introduction).
Once you are familiar with the basic operations above, refer to Switching from Demo to Physical Robot to switch the system to your own robot.