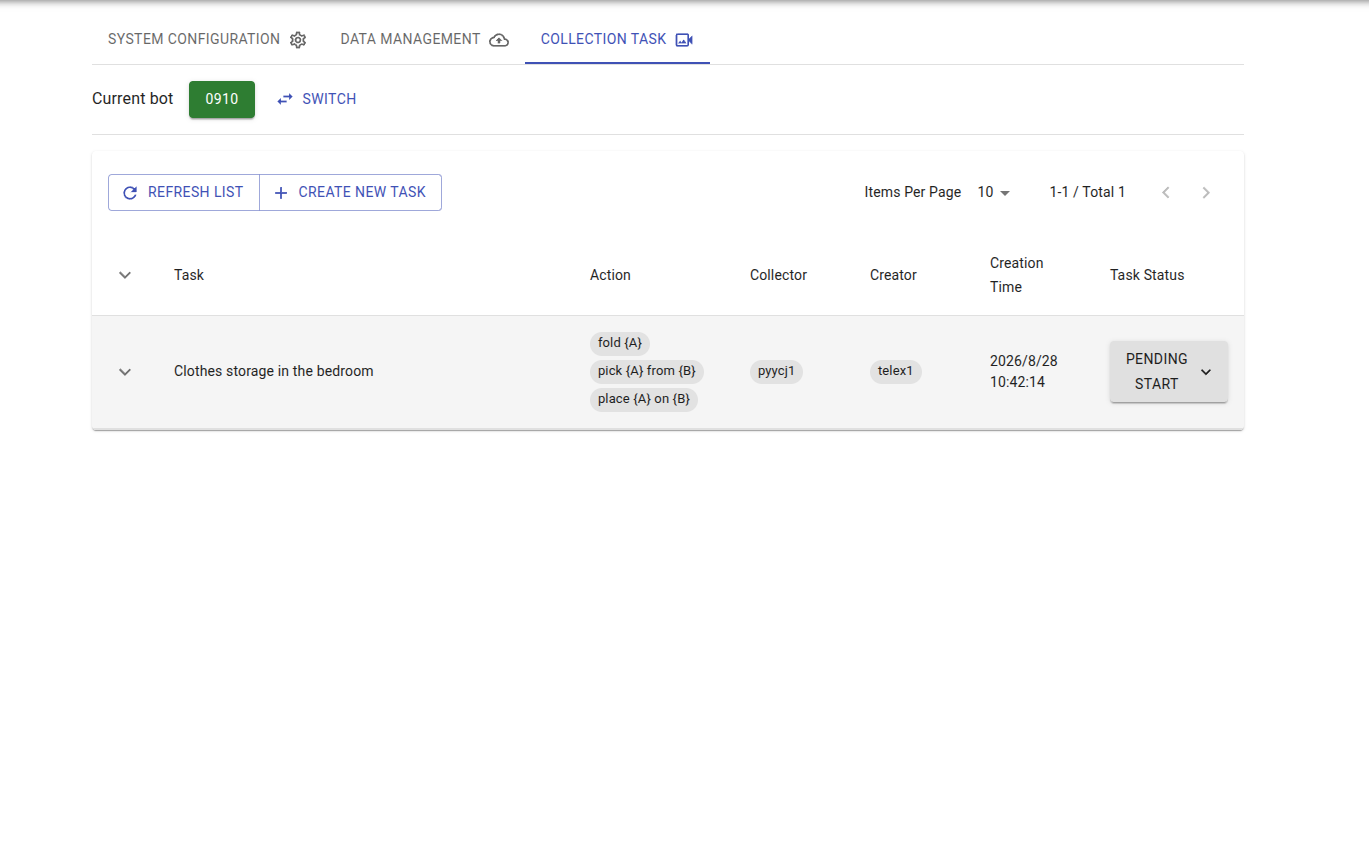
TeleBox Usage Guide
Access the TeleBox Web Interface
Connect through TeleSuit Wi-Fi
Connect your computer to the TeleSuit Wi-Fi, make sure TeleSuit and TeleBox are connected, then open http://10.42.0.3:7876 in a browser. See the On-Site Network Reference for Wi-Fi names and passwords.
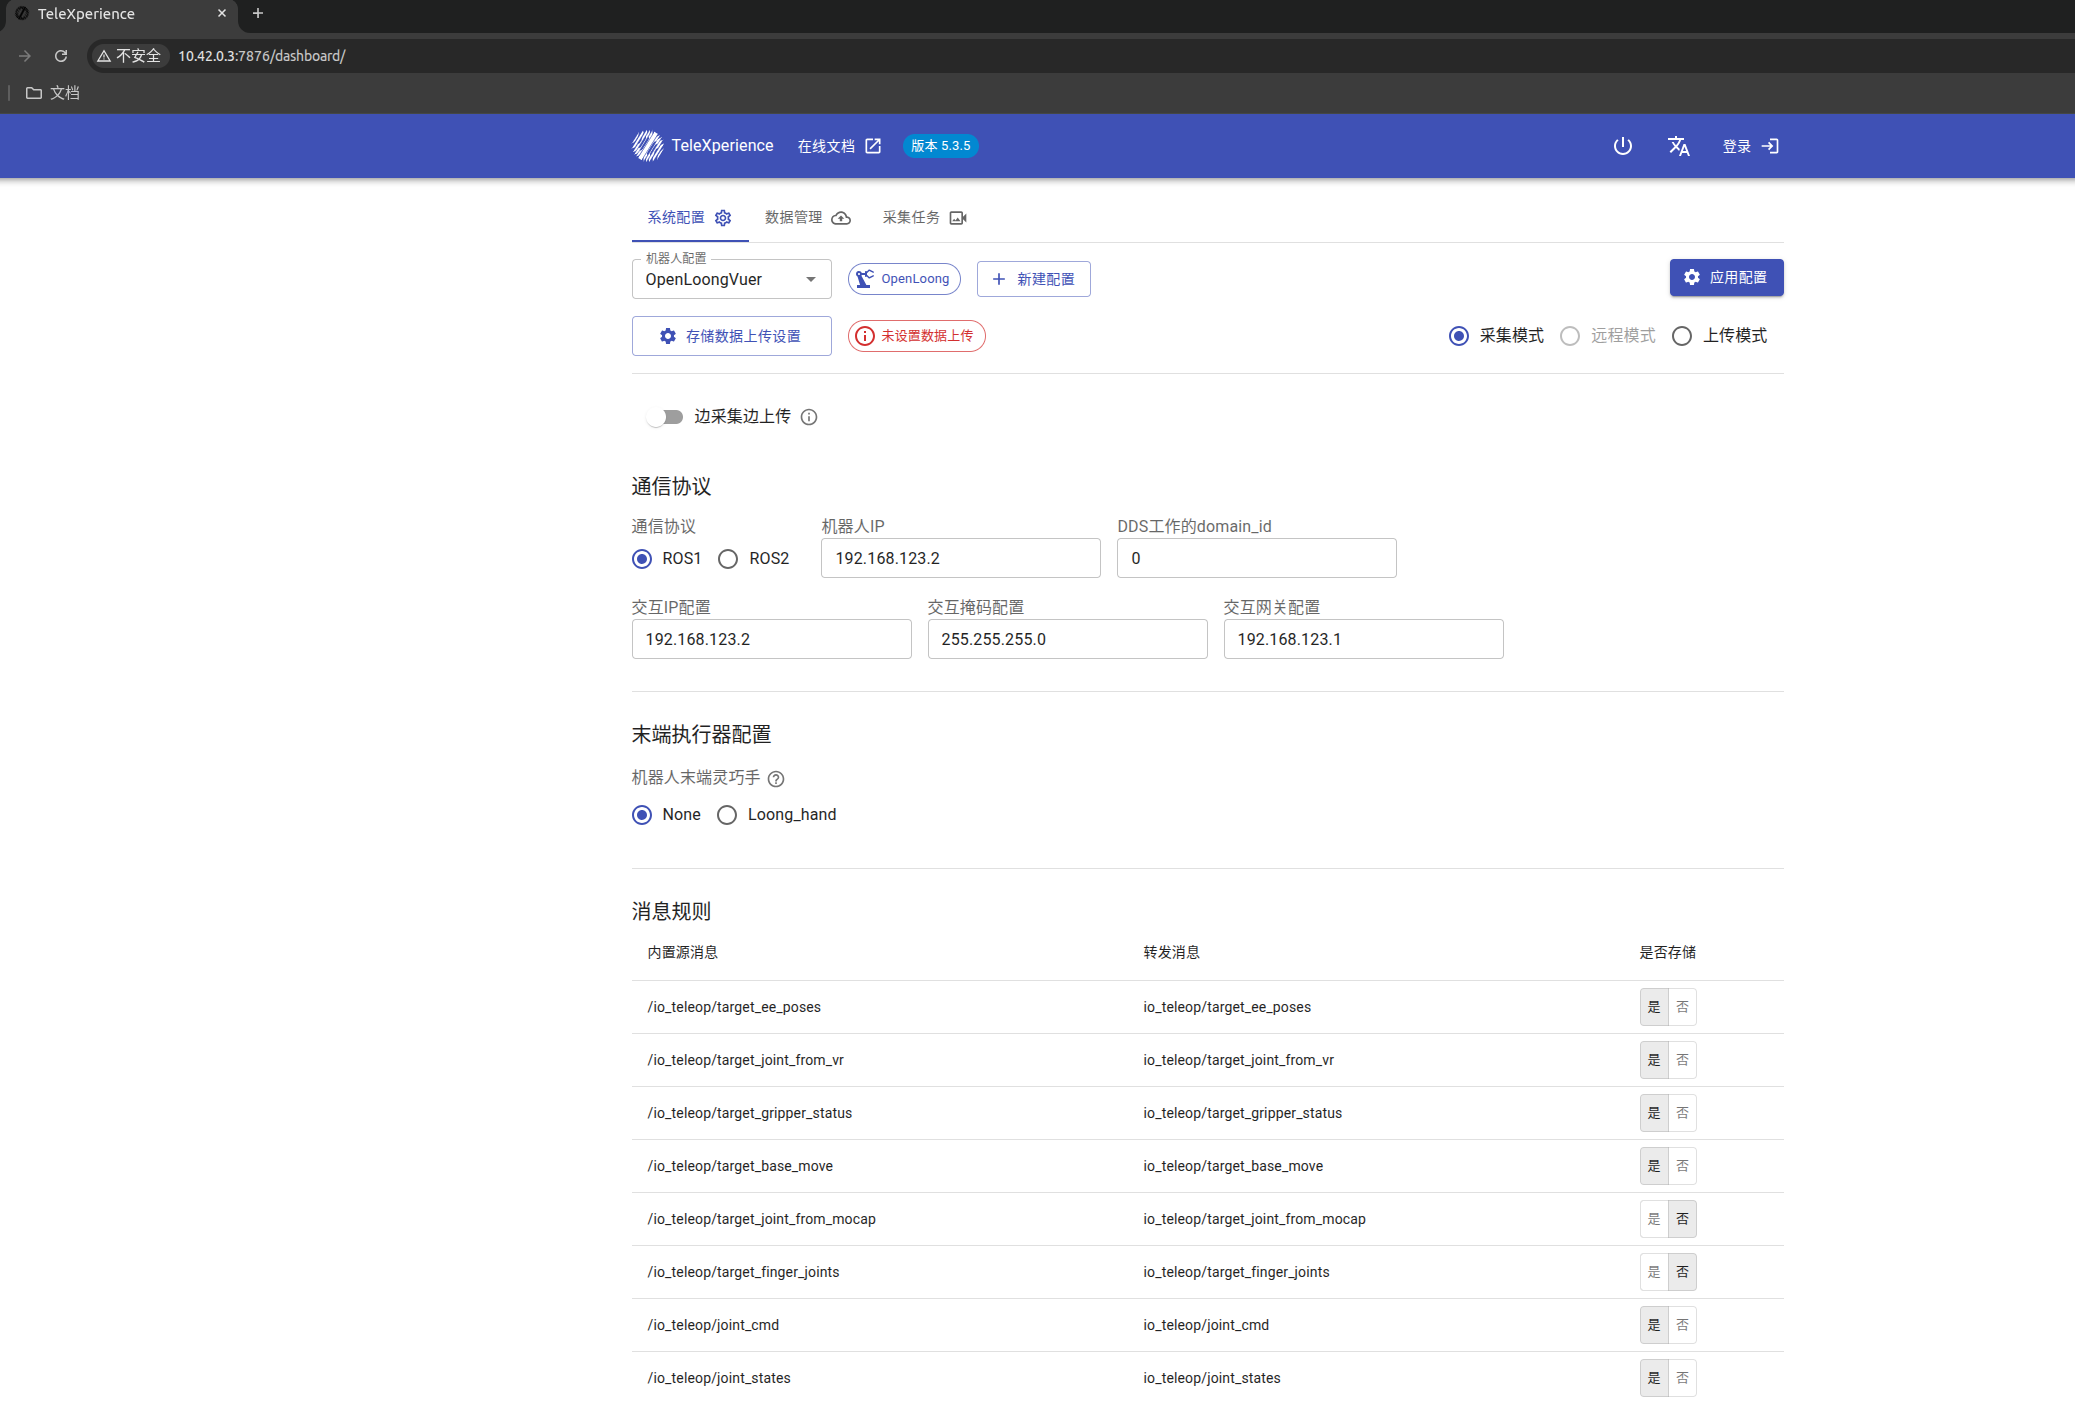
Connect through the TeleBox interactive network
Connect your computer to the TeleBox interactive port, then open http://<TeleBox-interactive-IP>:7876 in a browser. For example, if the interactive IP is 192.168.123.2, open http://192.168.123.2:7876.
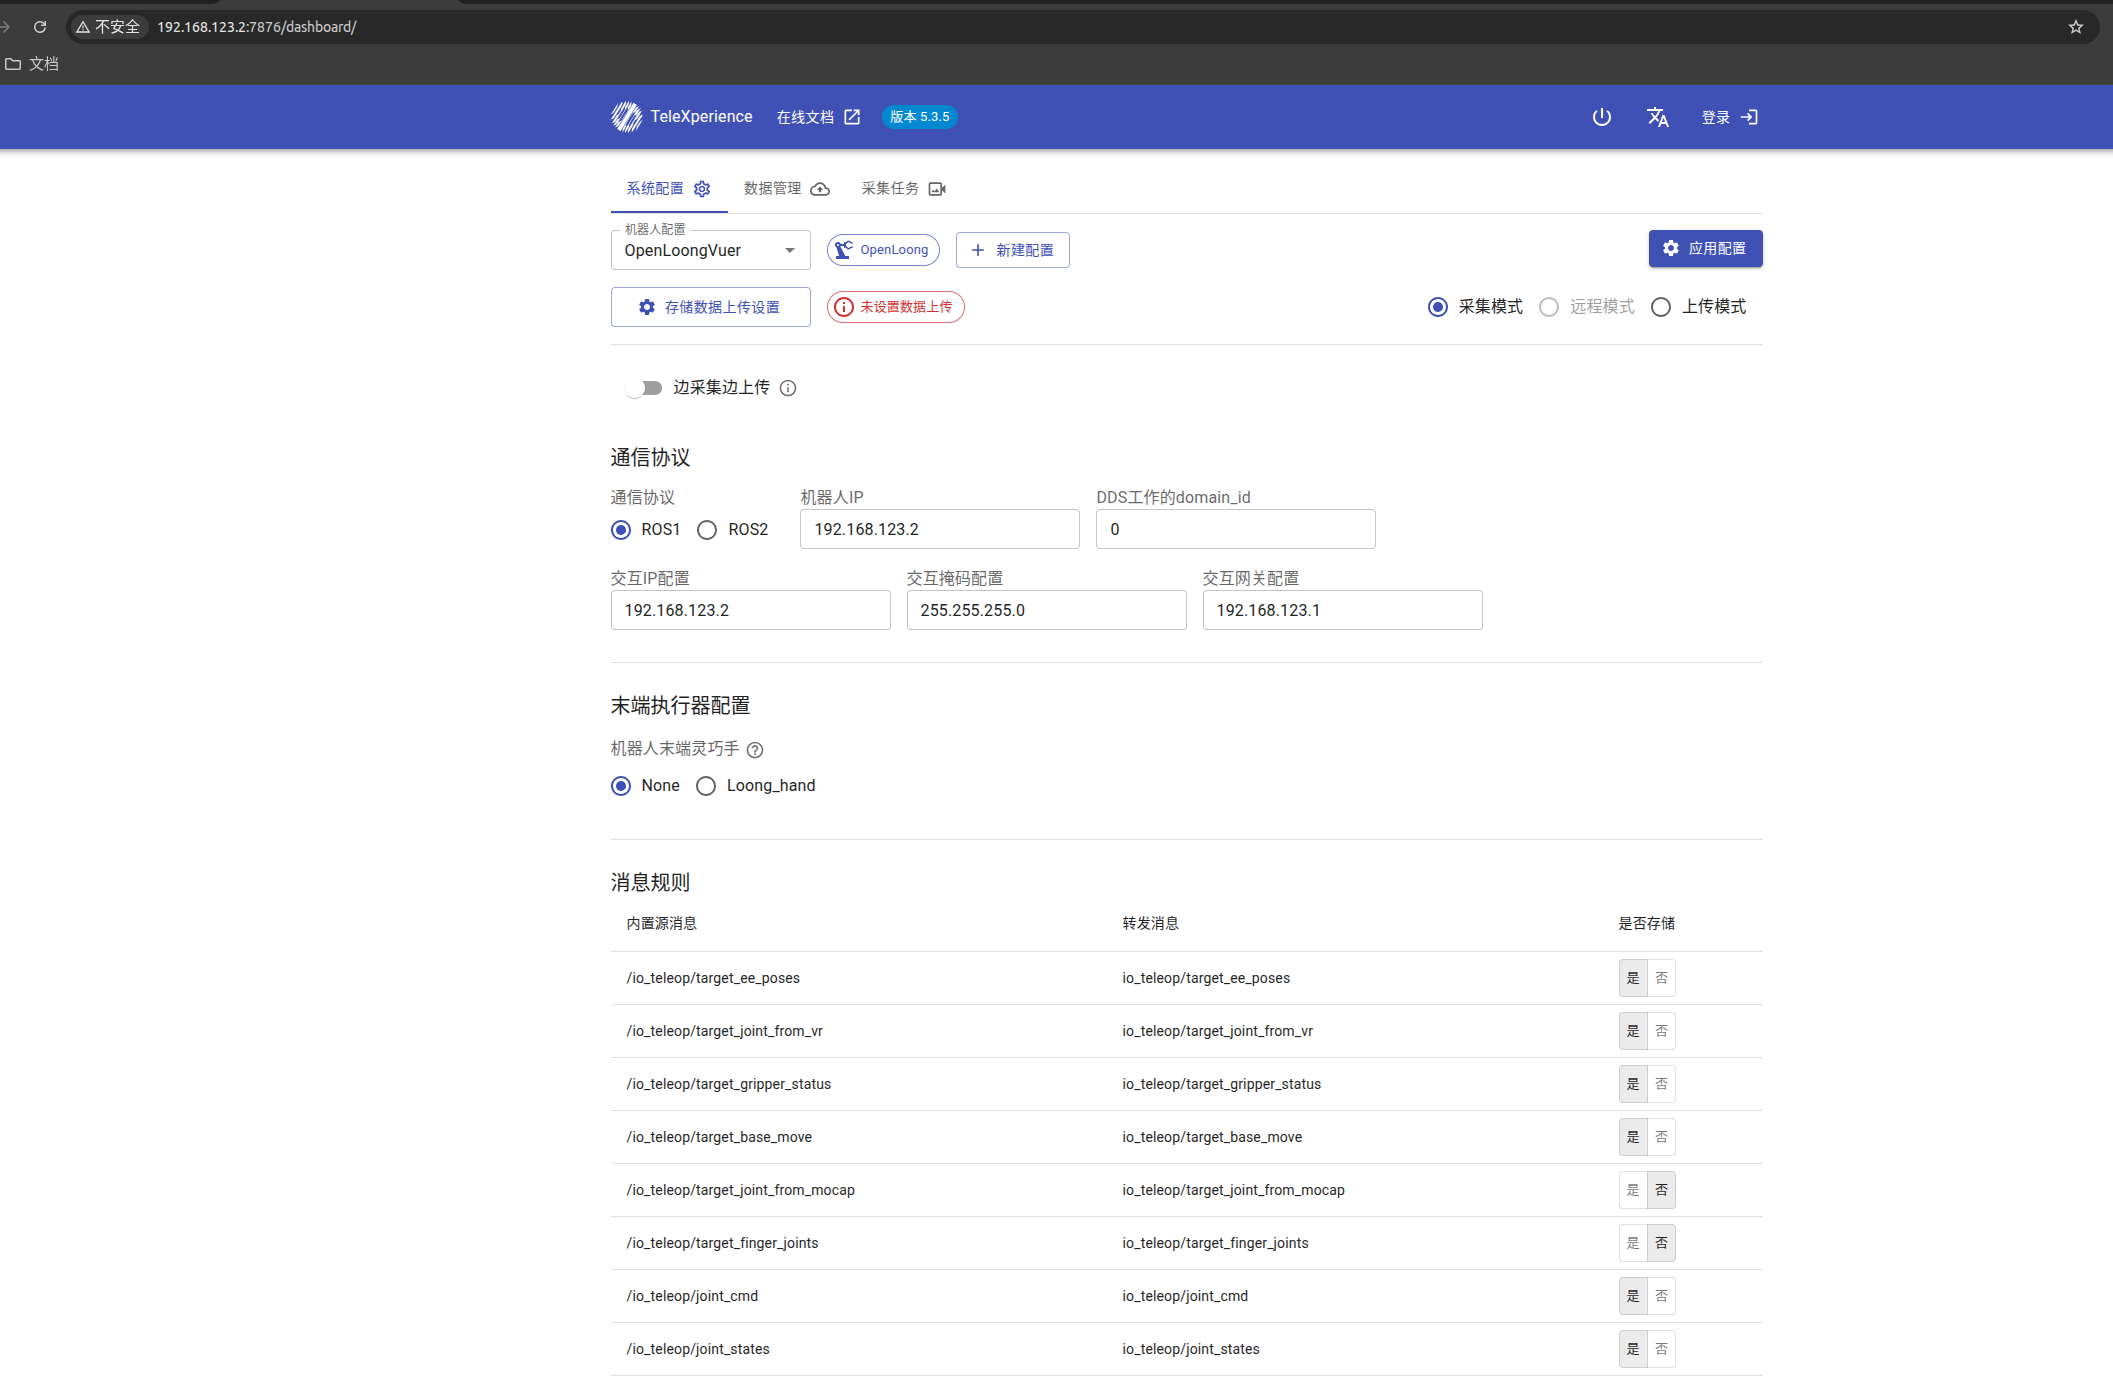
System Configuration
Communication Settings
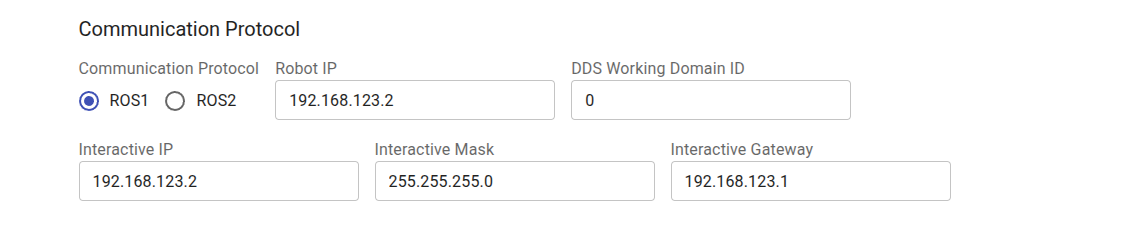
- DDS Domain ID: Sets the DDS communication domain number the device belongs to, used to distinguish communication ranges between different systems.
- DDS Configuration File Selection: You can select FastDDS or CycloneDDS configuration files provided by the system as needed, or configure custom settings.
Select System Configuration
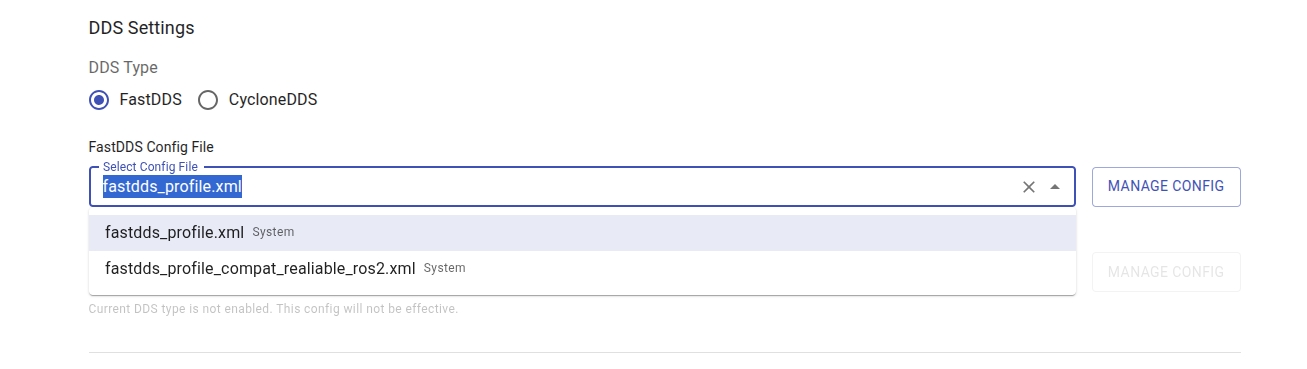
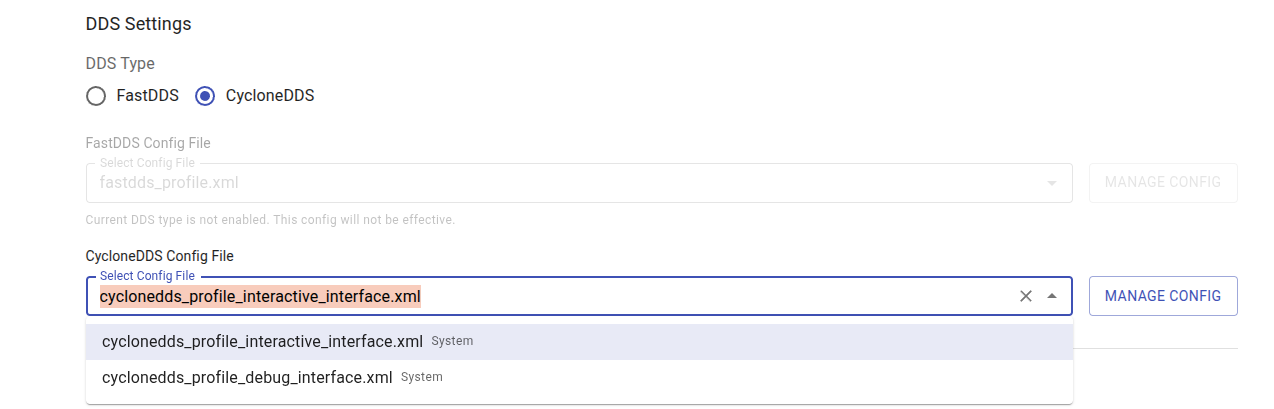
System configuration description:
| DDS Type | Configuration File | Applicable Scenario |
| FastDDS | fastdds_profile | Default mode (requires discovery server) |
| fastdds_profile_compat_reliable_ros2 | Compatibility mode (no discovery server required) | |
| CycloneDDS | cyclonedds_profile_debug_interface | For ROS2 communication via device port |
| cyclonedds_profile_interactive_interface | For ROS2 communication via interactive port |
Upload/Download Configuration
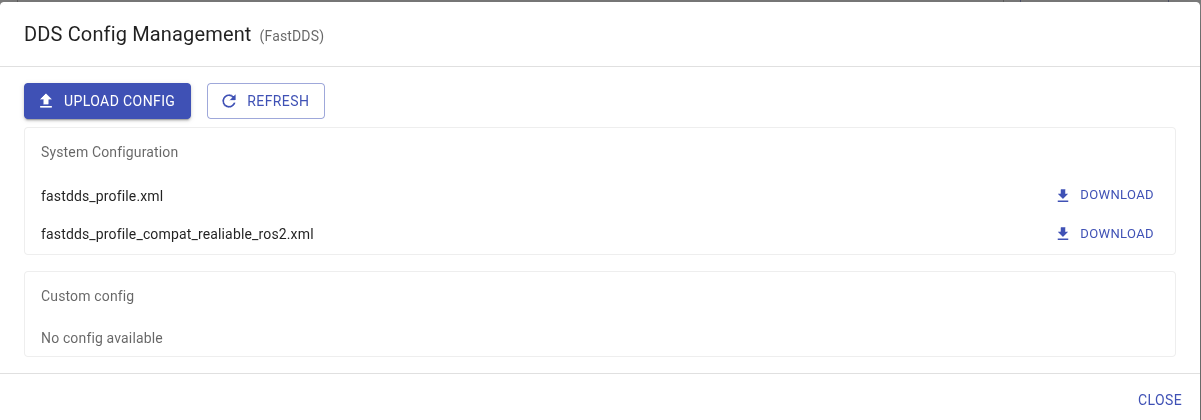
Edit/Delete Uploaded Custom Configuration Files

- Robot IP (ROS1 Mode): Specifies the IP address of the robot industrial PC in ROS1 mode.
- Interactive IP Configuration: Configures the IP address of TeleBox's left interactive port (variable IP port), not the Robot IP (ROS1 Mode) above.
- Interactive Subnet Mask Configuration: Sets the subnet mask for the interactive network, typically
255.255.255.0. - Interactive Gateway Configuration: Sets the default gateway for the interactive network, which must be on the same subnet as the interactive port. For example, for an interactive subnet of
192.168.123.x, the gateway can be192.168.123.1; use a value that matches the actual network configuration.
The arrow in the image below points to TeleBox's left interactive port (variable IP port), which corresponds to Interactive IP Configuration.
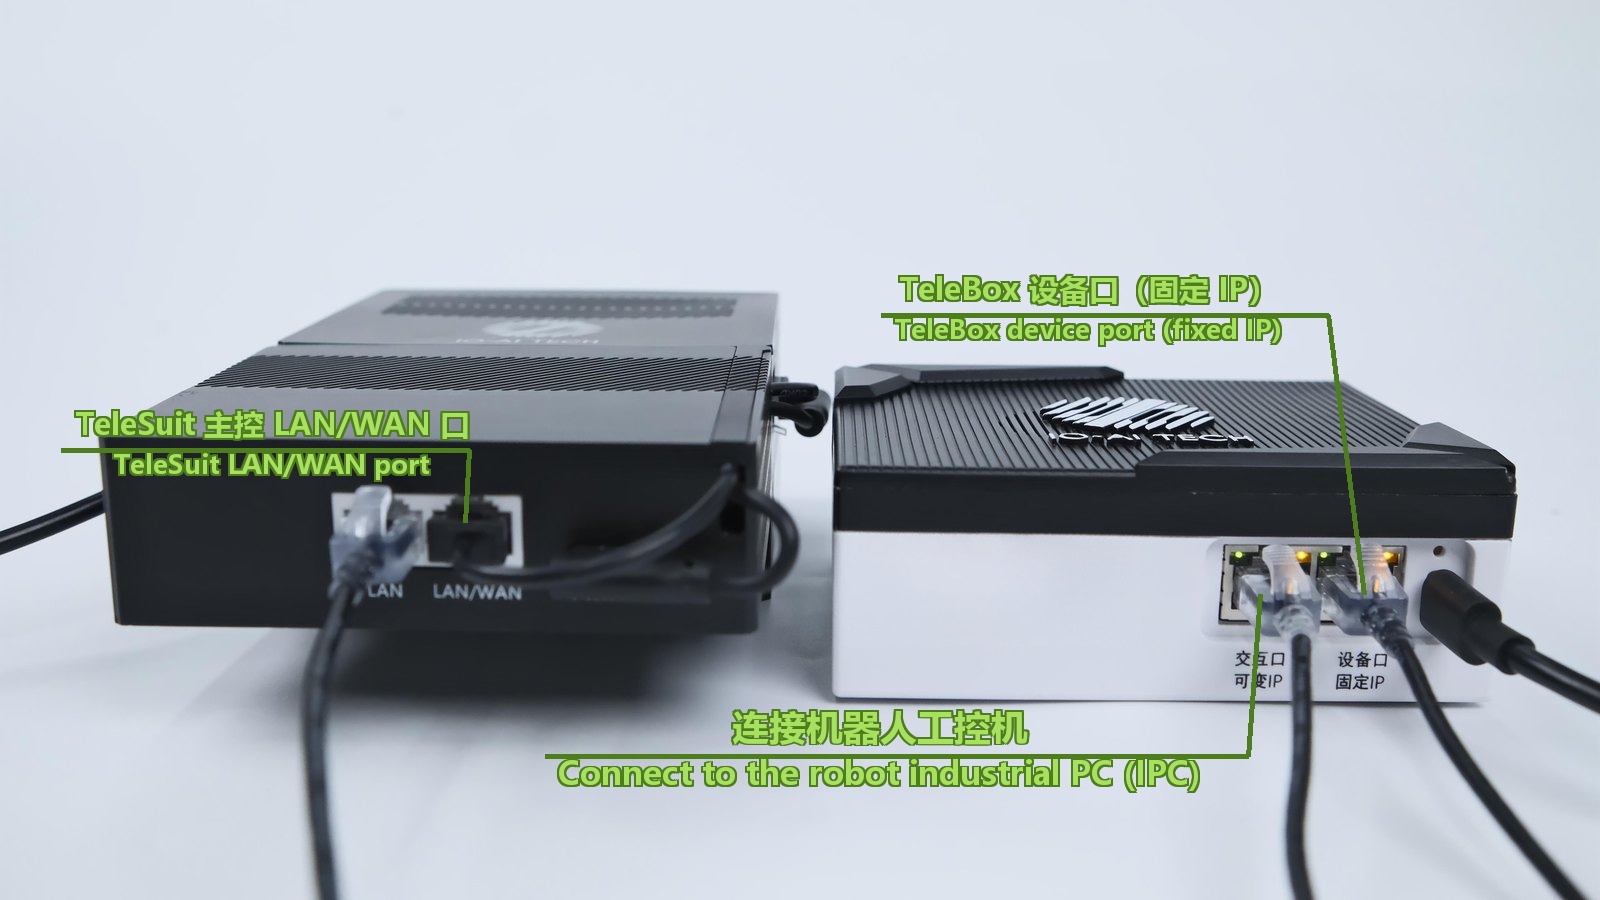 TeleSuit 主控 LAN/WAN 口TeleSuit LAN/WAN portTeleBox 设备口(固定 IP)TeleBox device port (fixed IP)TeleBox 左侧交互口(可变 IP)TeleBox left interactive port (variable IP)
End-Effector Configuration
- If the device package includes motion capture gloves and the end-effector is a dexterous hand, please select the corresponding dexterous hand model according to the actual configuration to enable corresponding control functions.
- If the end-effector is non-dexterous hand (such as two-finger grippers, etc.), this function is not currently supported. Please select None in the options.
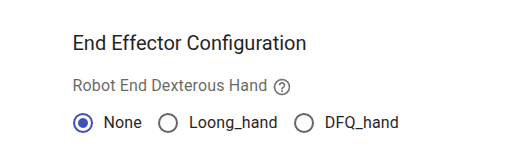
For example, to use the OpenLoong VUER dexterous hand, select OpenLoong VUER as the robot configuration and Loong_hand as the end-effector configuration. After synchronizing in the app, check that the hand follows the exoskeleton's movements.
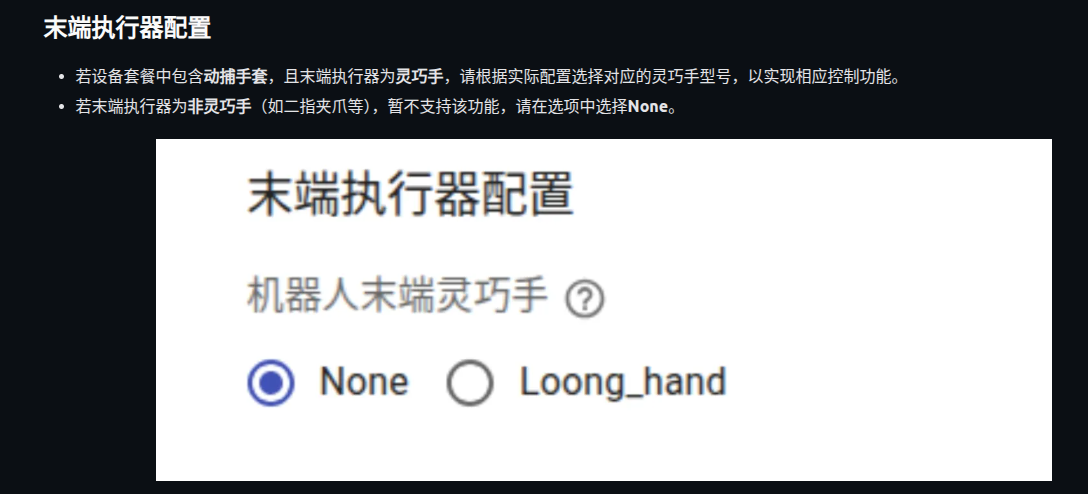
Message Management
Set Whether to Store Messages During Recording
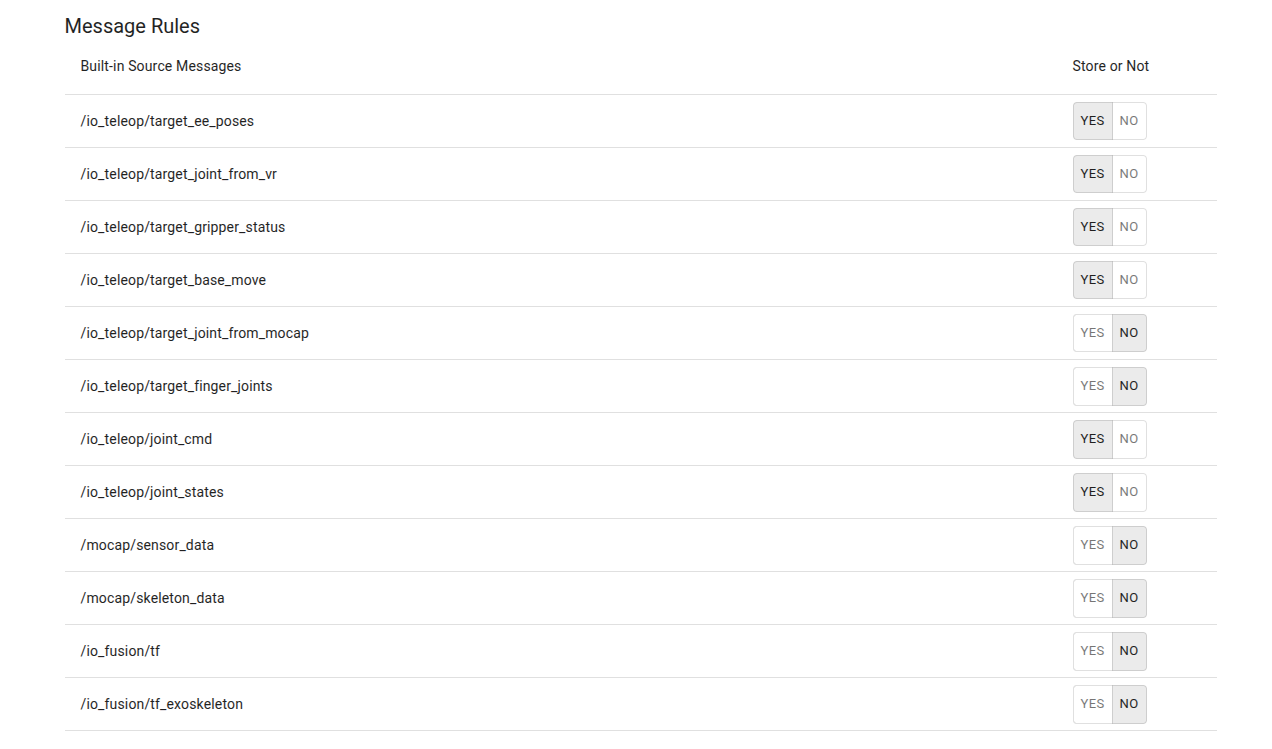
Add Camera Messages
In the Custom Messages section, click Edit.

Select the message type to add, fill in the original message name and mapped message name.
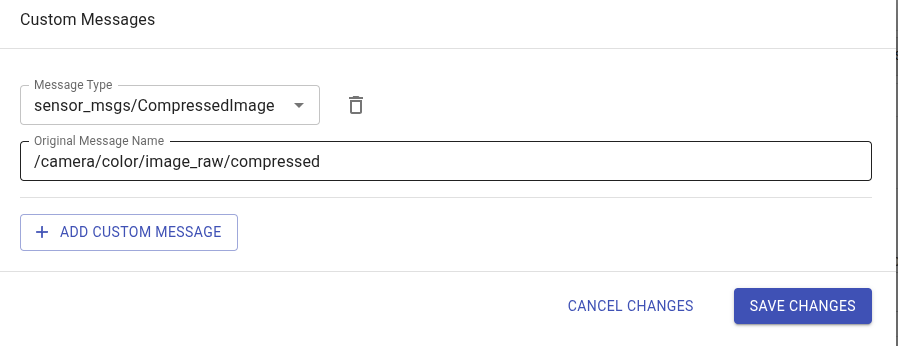
Click Save Changes to complete the addition.
After successful addition, you can select it in the Display Effect interface.

Specify encoding format and camera type.
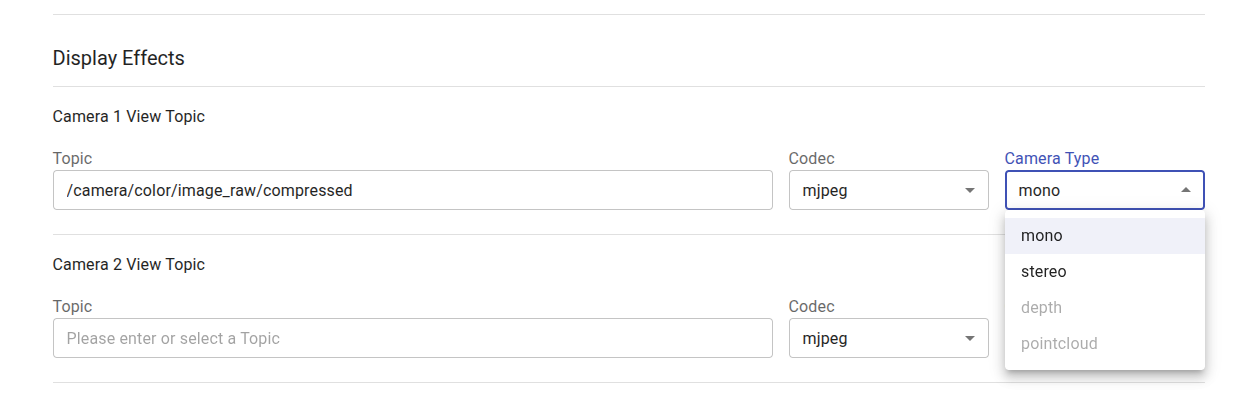
Current version only supports one stereo camera under ROS2 protocol.
Mode Switching
Switch via Web Interface
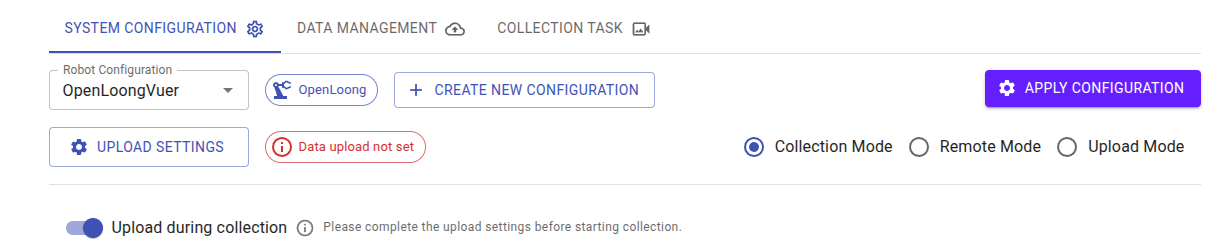
Select the desired mode and click Apply Configuration.

Switch via Physical Button
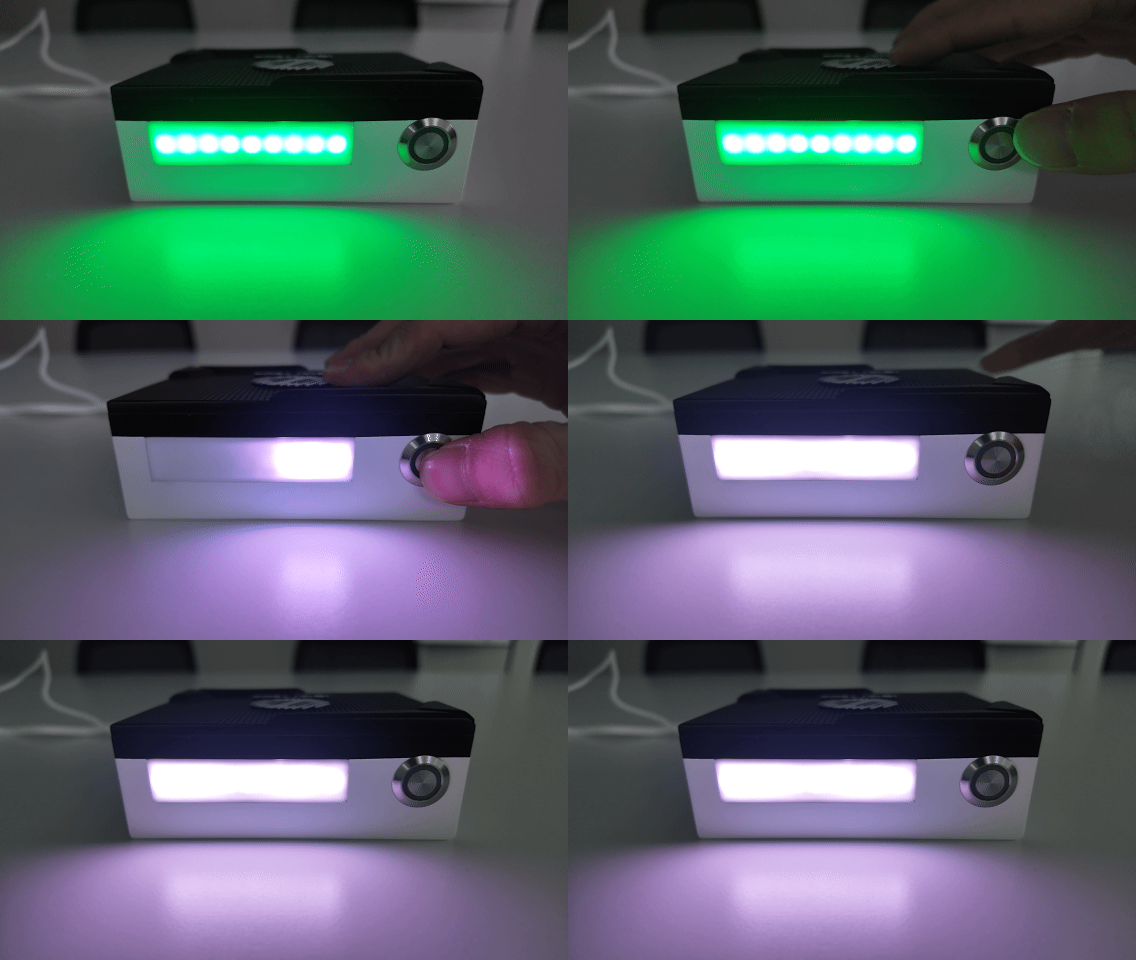
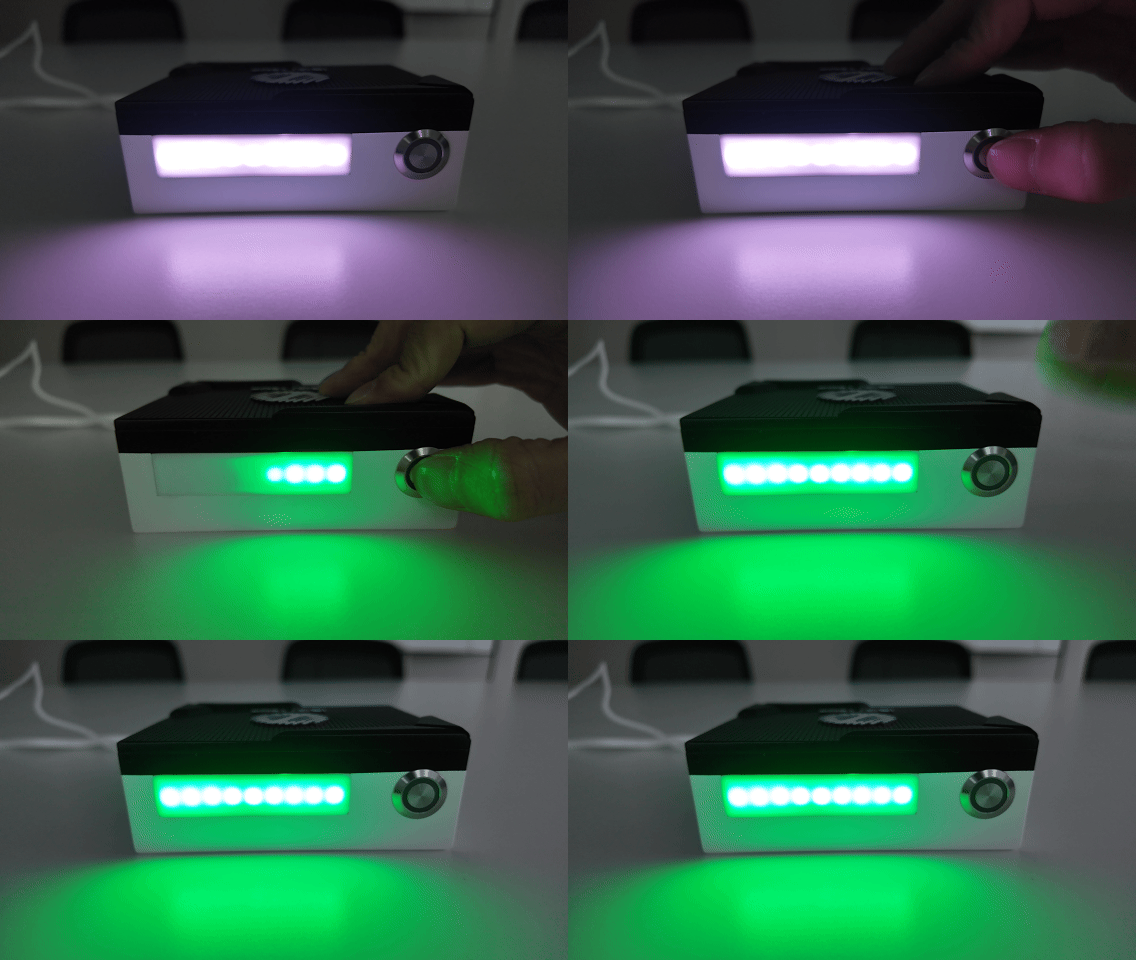
Long press the physical button on the box to switch between upload mode and collection mode. Before switching, please complete the network connection settings according to the relevant section.
Data Management
View Data List
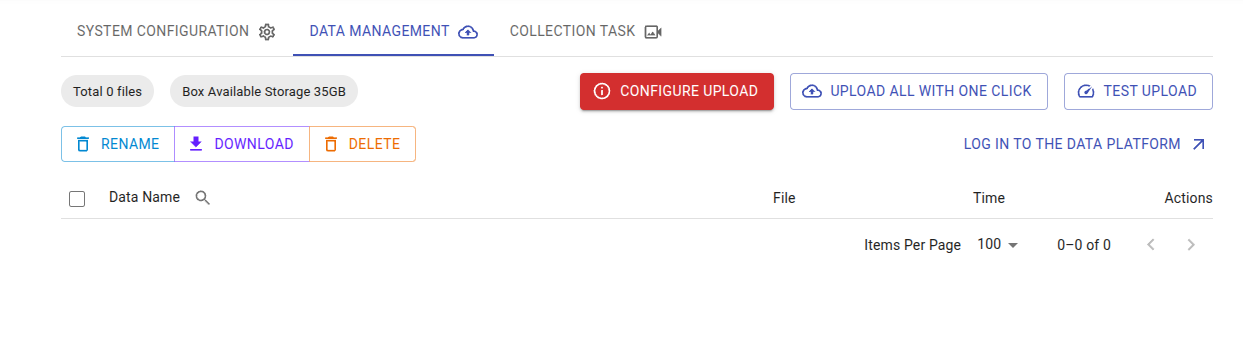
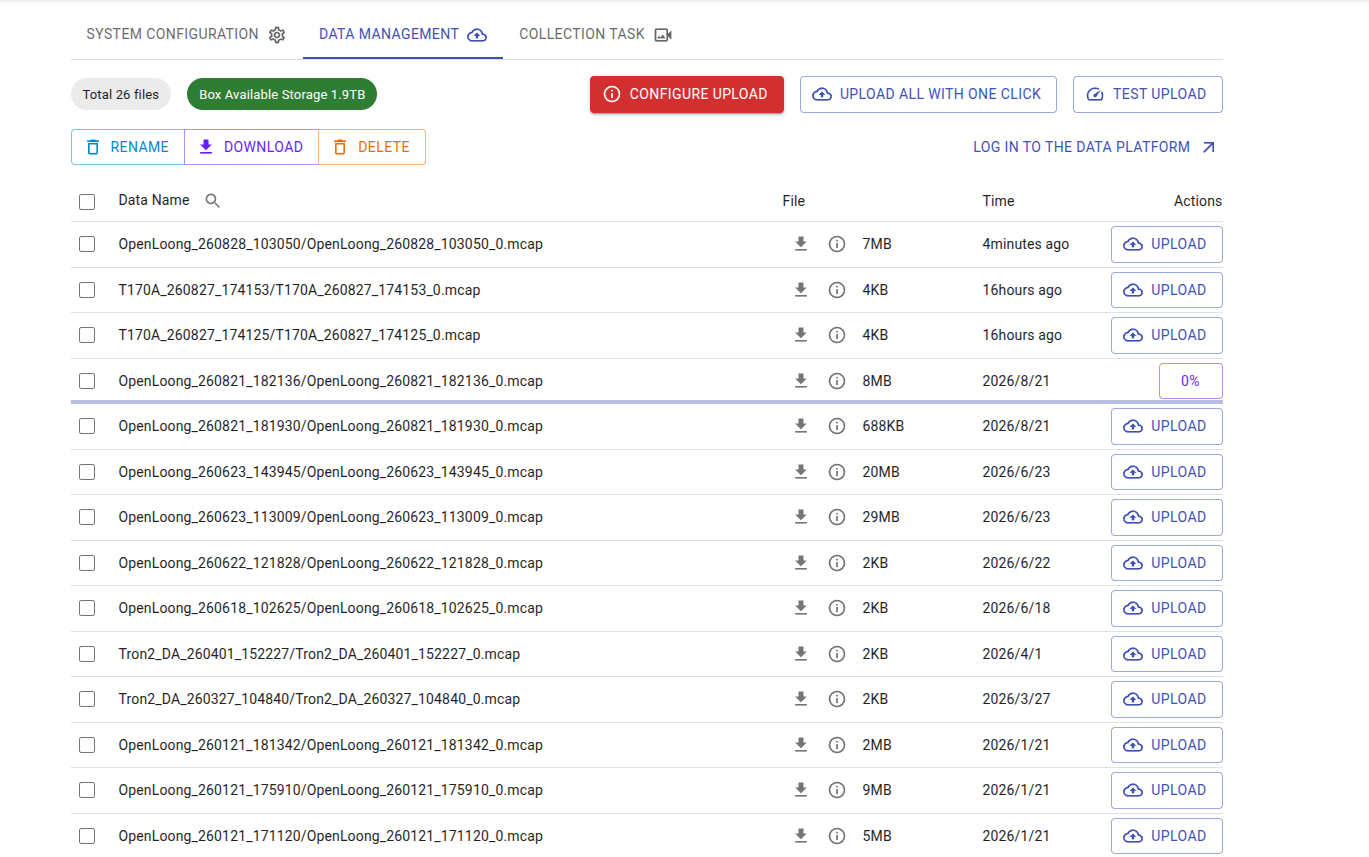
Click the Data Management tab to view collected data.
Upload Data from BOX to Platform
Refer to TeleBox Standalone Internet Connection for network settings.
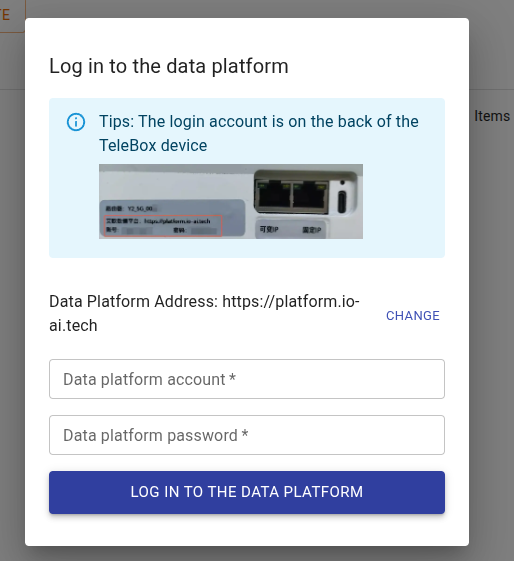
Login to Platform
Click Login in the upper right corner of the page, enter the account and password provided on the box device, and log in to the data platform.
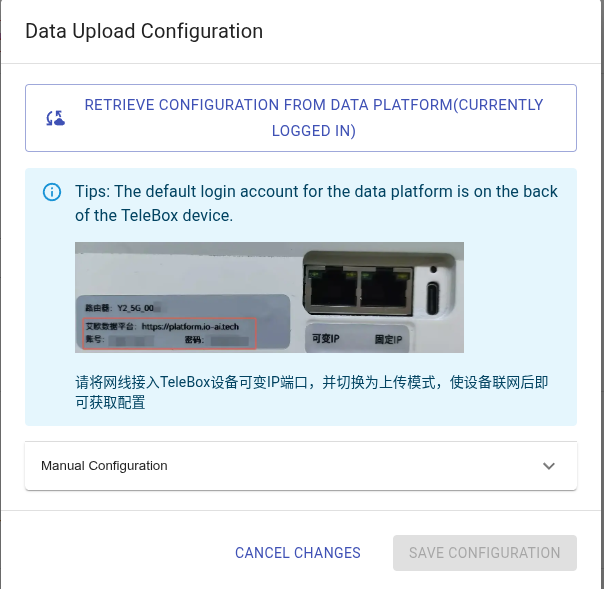
Click Get Configuration from Data Platform, then click Save Configuration to complete the setup.
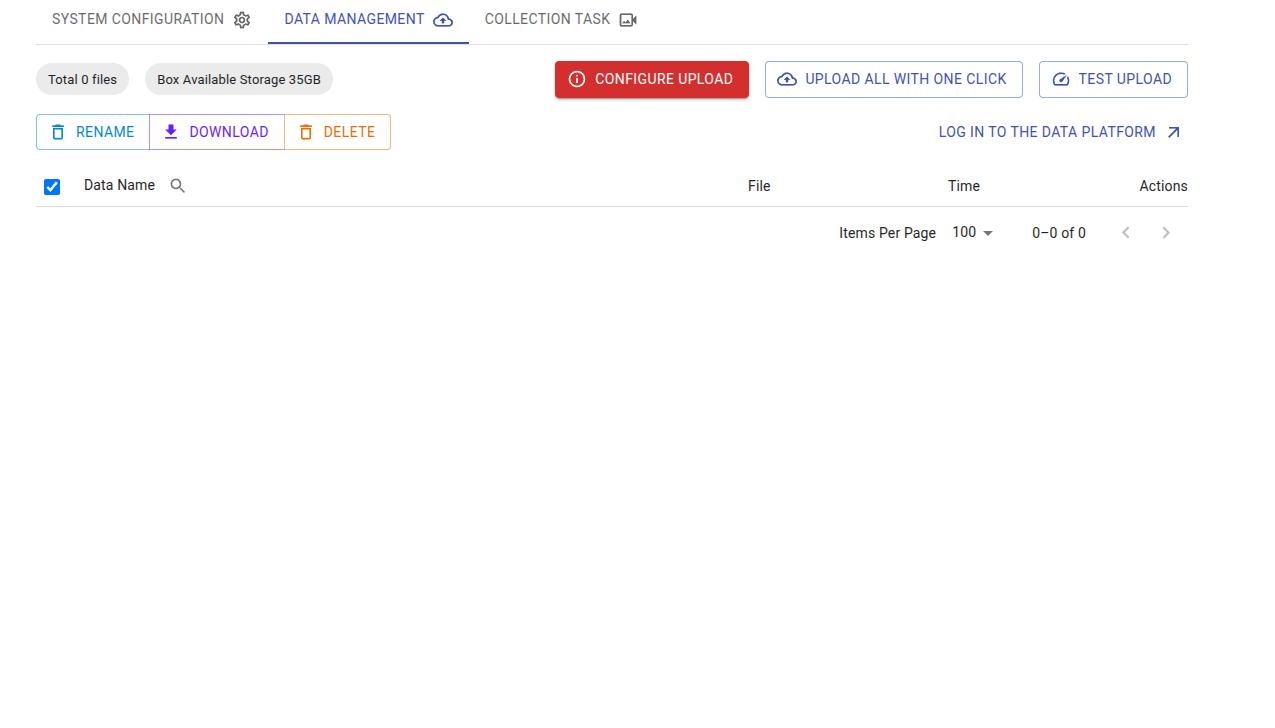
Manual Upload
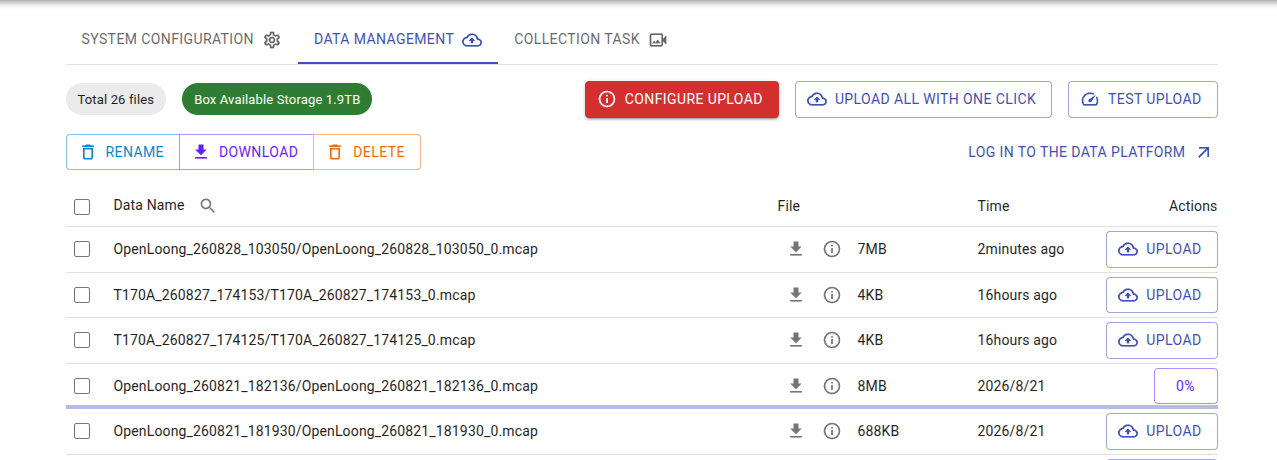
Check the data to upload, then click Upload, or directly click Upload All to upload to the data platform.
Do not refresh the webpage during an upload, as this may interrupt it.
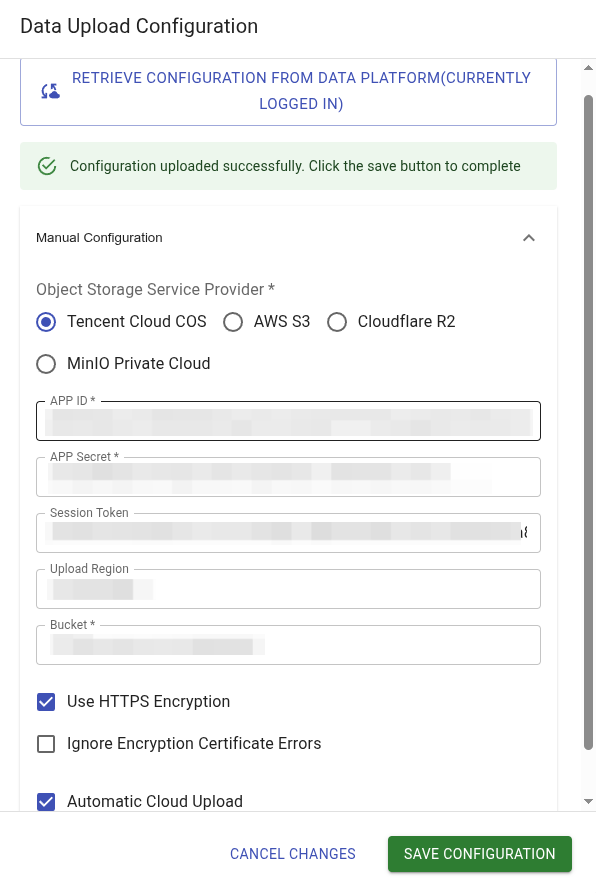
Automatic Upload
When getting platform configuration, check Auto Upload to Cloud. Next time you switch to upload mode, data will be uploaded automatically.
Upload During Collection
In collection mode, you can optionally enable this feature. When enabled, the system will automatically start uploading during data collection, helping to identify data issues sooner. Before using this feature, please connect to the internet via Enable Wireless Relay and ensure upload settings are complete.
Do not refresh the webpage during an upload, as this may interrupt it.
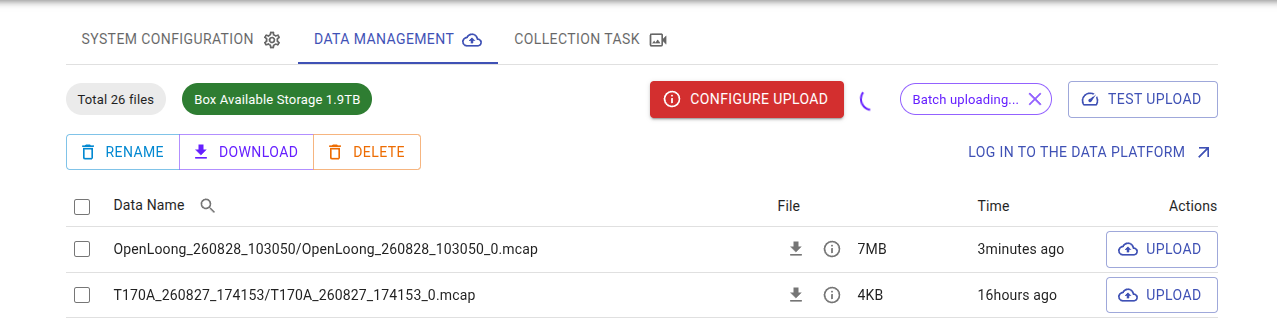
Cancel Upload
During upload, you can click "×" to cancel all ongoing and queued upload tasks. You can also click the percentage icon of an uploading item to cancel that upload.
Download BOX Data to Local
Select the files to download and click Download to save the data files locally.
Collection Task Management
This feature is a customized service. Related operations need to be completed with the assistance of a professional team. We recommend contacting your sales representative to obtain a remote function account and receive specific guidance from the technical support team.